Homemade Raspberry Jam Recipe
Introduction
Making your own raspberry jam is a delightful way to capture the fresh flavors of summer berries. This simple recipe uses just a few ingredients to create a sweet, tangy spread perfect for toast, desserts, or gifts.
Ingredients
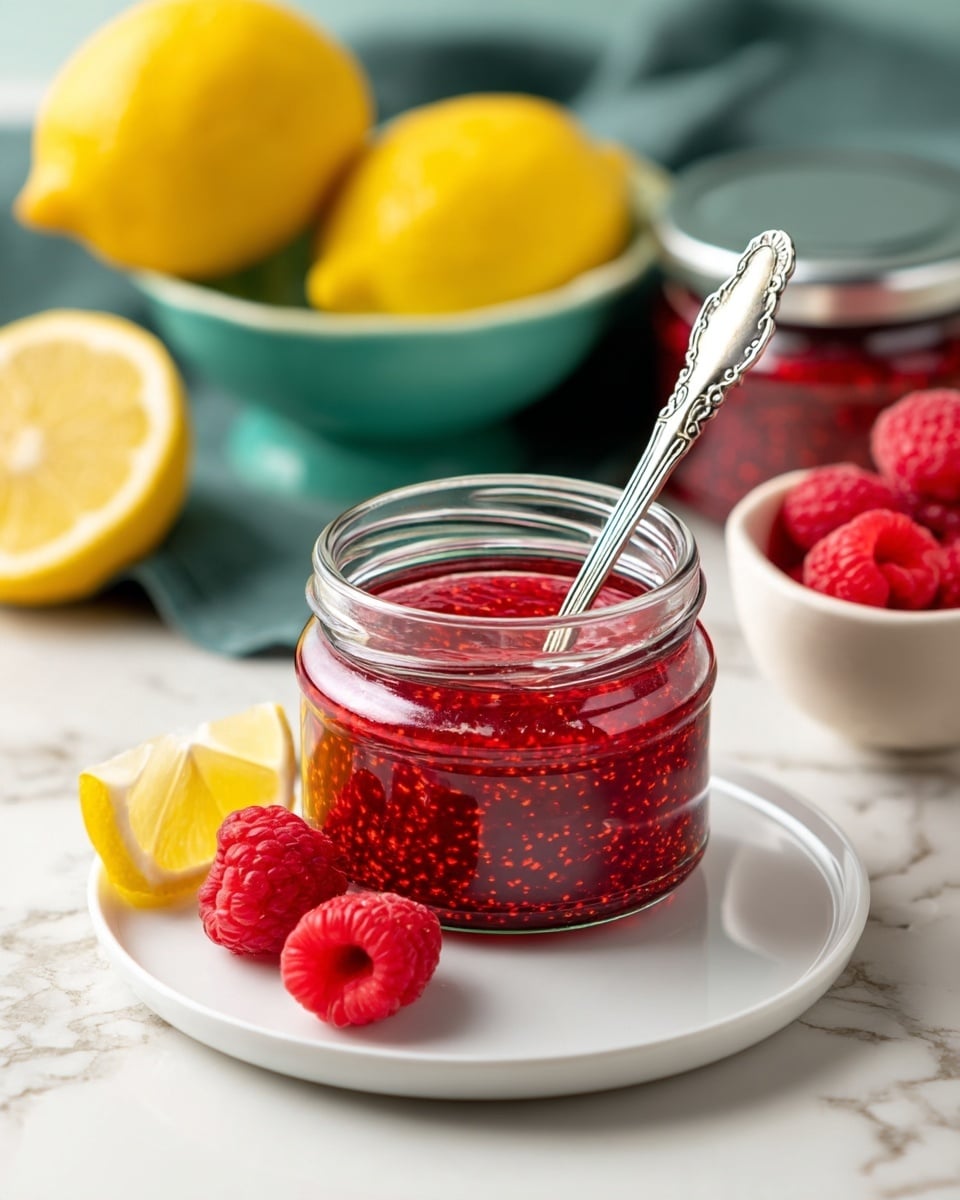
- 4 cups fresh raspberries
- 2 1/4 cups granulated sugar
- Juice of 1 lemon
Instructions
- Step 1: Wash your jars, lids, and bands in hot soapy water, rinse well, and dry. Set them aside on a clean towel.
- Step 2: In a large, heavy-based pot, combine the raspberries, sugar, and lemon juice. Gently stir to mix, then let the mixture sit at room temperature for 20 minutes to help dissolve the sugar and release the berry juices.
- Step 3: Place the pot over medium-high heat and bring the mixture to a rolling boil. Stir often and skim off any foam that forms. Boil for 10-15 minutes until the jam thickens and reaches 220°F on a candy thermometer.
- Step 4: Test the jam’s consistency by dropping a small amount onto a chilled plate. If it wrinkles lightly when pushed with your finger, it is ready. Remove the pot from heat and let it cool for 10 minutes.
- Step 5: While the jam is still warm, fill your sterilized jars and seal them immediately.
- Step 6: Allow the jars to cool completely at room temperature before storing.
Tips & Variations
- Use slightly underripe raspberries for a tarter jam with more pectin, helping it set better.
- Add a teaspoon of vanilla extract or a pinch of cinnamon for a unique flavor twist.
- For a smoother texture, gently mash the berries before cooking or use an immersion blender briefly.
Storage
Store the cooled jars of jam in the refrigerator and use within 2-3 weeks for the best flavor and quality. If properly sealed and processed in a water bath canner, raspberry jam can be stored in a cool, dark pantry for up to a year. Reheat gently if desired before serving.
How to Serve
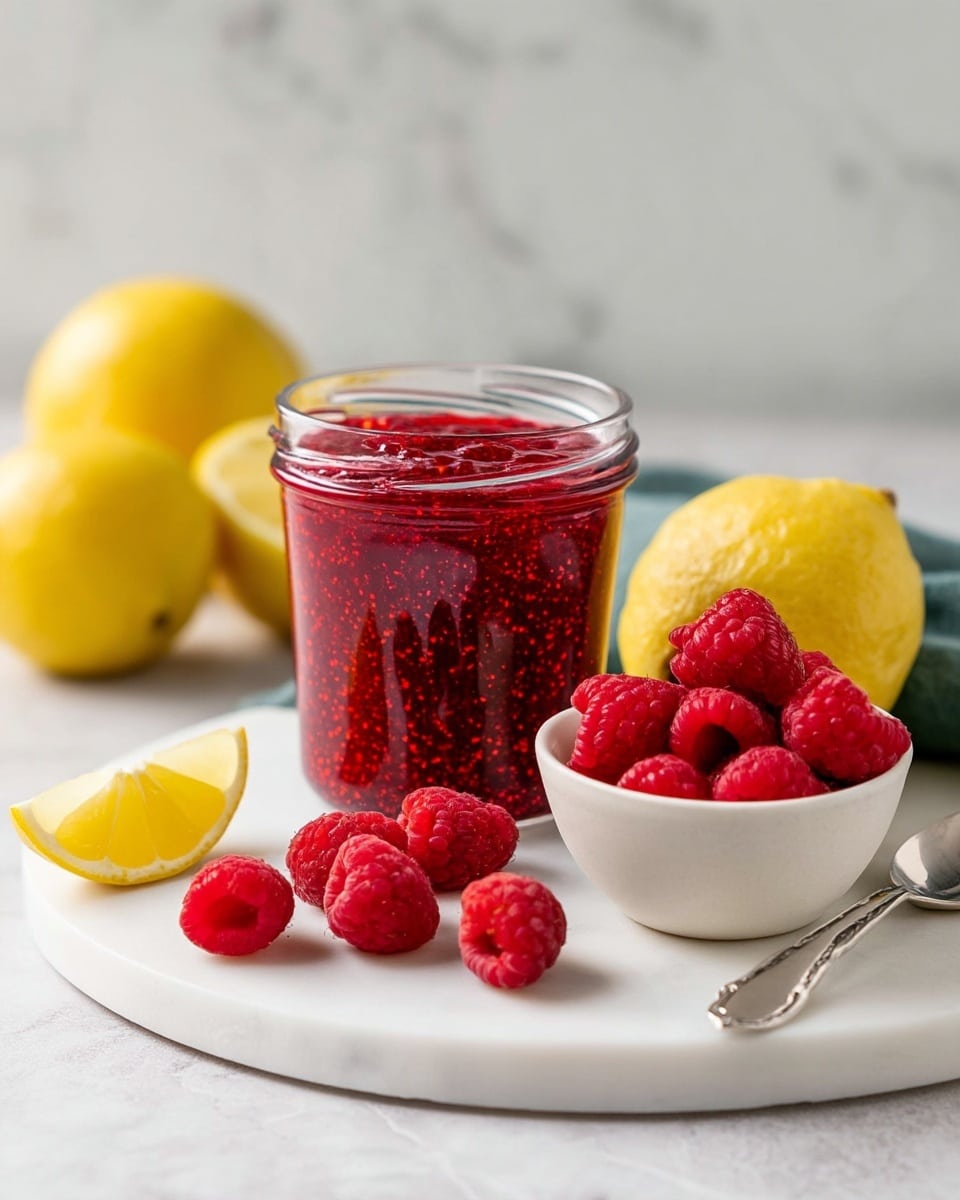
Serve this delicious recipe with your favorite sides.
FAQs
Can I use frozen raspberries to make this jam?
Yes, you can use frozen raspberries. Thaw them completely and drain any excess liquid before cooking to avoid a watery jam.
How do I know when the jam has set properly?
The best test is to drop a small amount onto a chilled plate; if it wrinkles when pushed gently with your finger, the jam is set. Alternatively, use a candy thermometer to reach 220°F.
PrintHomemade Raspberry Jam Recipe

This homemade Raspberry Jam recipe offers a simple and delightful way to preserve fresh raspberries into a sweet, tangy spread perfect for toast, desserts, and more. Using fresh raspberries, sugar, and a hint of lemon juice, this jam is cooked on the stovetop until it thickens to a perfect consistency, creating a luscious and vibrant jam to enjoy year-round.
- Prep Time: 25 minutes
- Cook Time: 15 minutes
- Total Time: 40 minutes
- Yield: Approximately 3 half-pint jars (about 6 cups) of raspberry jam 1x
- Category: Condiment
- Method: Stovetop
- Cuisine: American
- Diet: Vegetarian
Ingredients
Ingredients
- 4 cups fresh raspberries
- 2 1/4 cups granulated sugar
- Juice of 1 lemon
Instructions
- Clean jars: Wash your jars, lids, and bands in hot soapy water, rinse them well, and then dry thoroughly. Place them on a clean towel to keep them sterile before filling.
- Combine ingredients: In a large, heavy-based pot, combine the fresh raspberries, granulated sugar, and freshly squeezed lemon juice. Gently stir the mixture and allow it to sit at room temperature for about 20 minutes to help the sugar dissolve and the berries release their juices.
- Boil: Place the pot over medium-high heat and bring the mixture to a rolling boil. Stir frequently to prevent burning and skim off any foam that forms on the surface. Continue boiling for 10 to 15 minutes until the jam thickens and reaches 220°F (104°C) on a candy thermometer.
- Fill jars: To check if the jam has set, place a small dollop on a chilled plate. If it wrinkles when pushed lightly with your finger, it is ready. Remove the pot from the heat and let it cool for 10 minutes before carefully ladling the warm jam into the sterilized jars. Seal the jars immediately with their lids.
- Cool: Leave the jars to cool completely at room temperature. Once cooled, store the raspberry jam in the refrigerator and consume within 2 to 3 weeks for the best freshness and flavor.
Notes
- Using fresh raspberries ensures the best flavor and texture for the jam.
- Be careful during boiling; continuous stirring prevents scorching and sticking.
- The lemon juice not only adds brightness but also helps the jam set by aiding the natural pectin in the fruit.
- Always sterilize jars properly to avoid spoilage.
- If you prefer thinner jam, reduce cooking time slightly, but ensure to test the set before storing.
- For longer storage, consider proper canning methods including water bath processing.
Keywords: raspberry jam, homemade jam, fruit preserve, stovetop jam, berry jam