High-Protein Banana Pudding Recipe
Introduction
This high-protein banana pudding is a creamy, satisfying treat that combines the classic flavors of banana pudding with an added protein boost. It’s perfect for a healthy dessert or a post-workout snack that feels indulgent without the guilt.
Ingredients
- 1/2 cup vanilla protein powder
- 1 (3.4-oz.) package vanilla instant pudding mix
- 1 1/2 cups whole or nondairy milk, cold
- 1 1/4 cups heavy cream
- 1/3 cup high-protein vanilla yogurt (such as Siggi’s)
- 3 ripe bananas, thinly sliced
- 27 Nilla Wafers, lightly crumbled, plus 4 whole wafers
Instructions
- Step 1: In a medium bowl, whisk the protein powder and pudding mix together. While whisking constantly, slowly stream in the cold milk until the mixture is smooth and free of lumps, about 1 minute. Cover the bowl with plastic wrap and refrigerate for at least 40 minutes, or up to overnight. The pudding will be slightly looser than regular pudding at this point.
- Step 2: In a large bowl, use a handheld mixer on medium-high speed to beat the heavy cream until soft peaks form. Add the vanilla yogurt and continue beating until stiff peaks form, about 30 to 60 seconds more. Scoop out 1/2 cup of the whipped cream mixture and refrigerate it for topping later.
- Step 3: Gently fold the remaining whipped cream mixture into the chilled pudding mixture using a rubber spatula until no streaks remain.
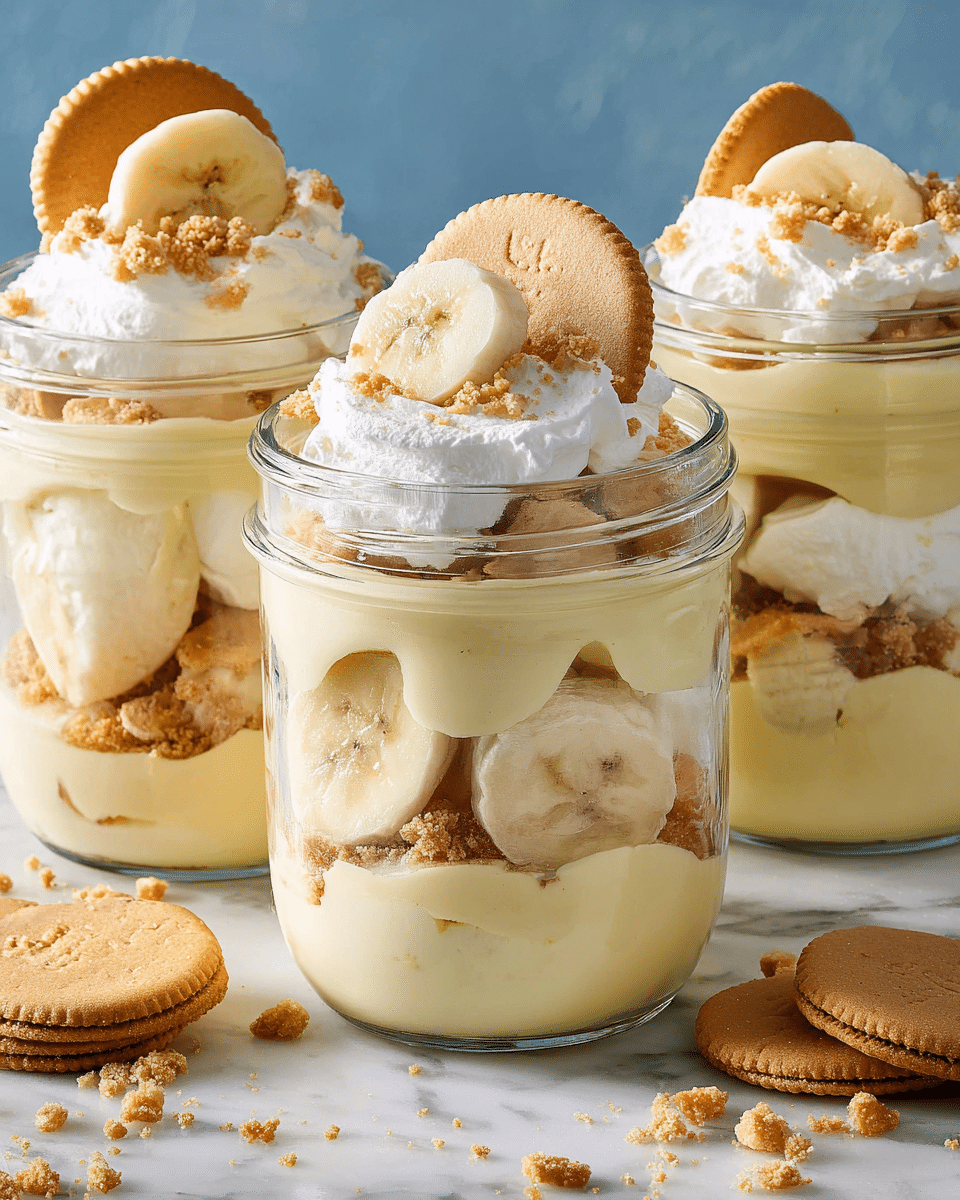
- Step 4: In small jars or serving glasses, create layers by starting with 1/4 cup of the pudding mixture, followed by 4 to 5 banana slices, and about 2 crumbled Nilla Wafers. Repeat these layers once more, finishing with 1/4 cup of pudding on top. Repeat this process for all jars or glasses.
- Step 5: Top each serving with a spoonful of the reserved whipped cream, a whole Nilla Wafer, and additional banana slices for garnish.
Tips & Variations
- For a dairy-free version, use nondairy milk, coconut cream instead of heavy cream, and almond or coconut-based yogurt.
- Add a sprinkle of cinnamon or nutmeg between layers for extra warmth and flavor.
- Try substituting chocolate or peanut butter protein powder to change the flavor profile.
- Chill the serving glasses before assembling to keep the pudding cool longer.
Storage
Store any leftover banana pudding covered in the refrigerator for up to 2 days. The bananas may brown slightly over time, so for best appearance and taste, enjoy the pudding within a day. When ready to serve again, stir gently and add fresh banana slices and wafers on top. Avoid freezing, as the texture may change upon thawing.
How to Serve
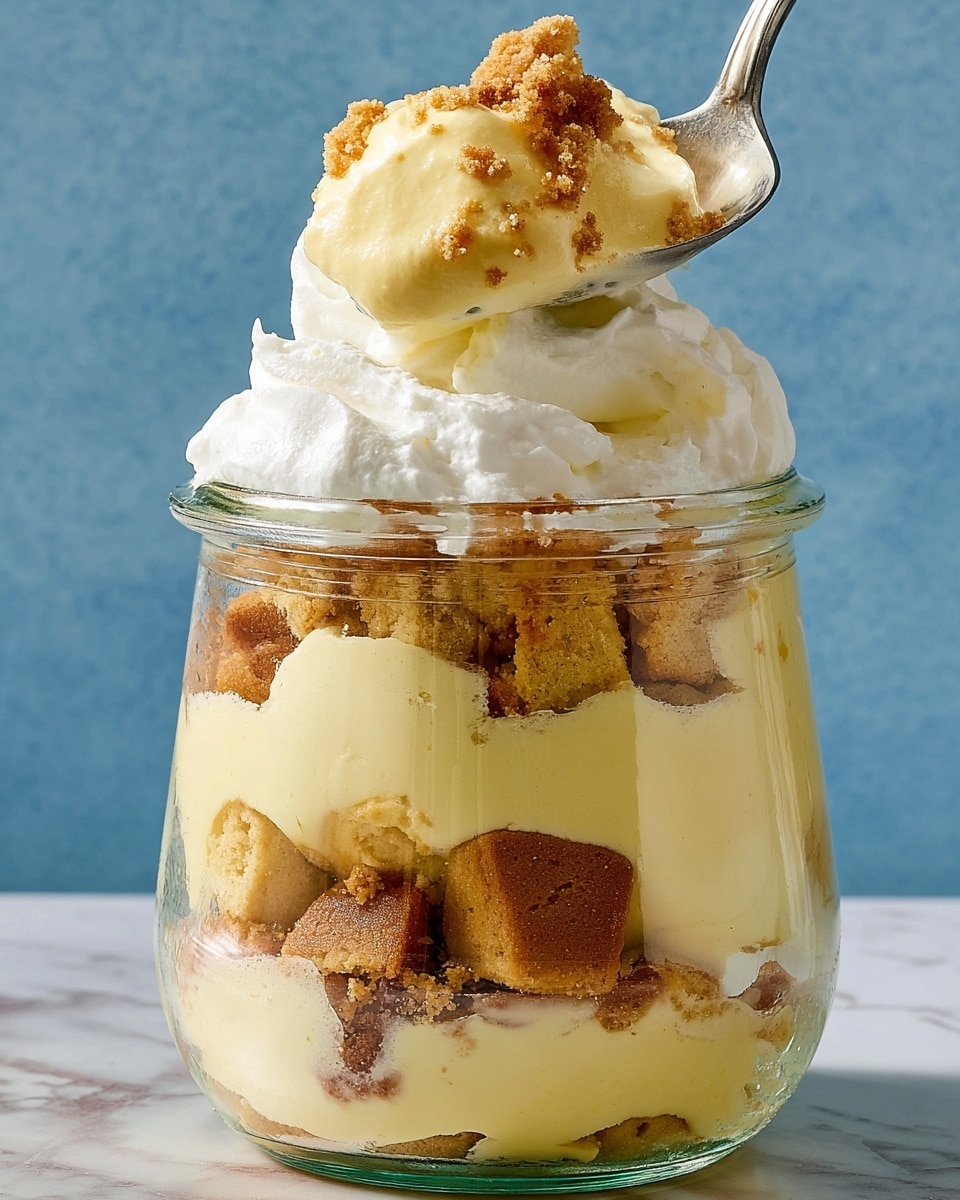
Serve this delicious recipe with your favorite sides.
FAQs
Can I use other types of protein powder?
Yes, you can use whey, plant-based, or collagen protein powders. Just be aware that different powders may slightly change the texture or flavor.
Is it okay to prepare the pudding the night before?
Absolutely. In fact, refrigerating it overnight enhances the flavors and allows the pudding to set nicely. Just add fresh toppings right before serving.
PrintHigh-Protein Banana Pudding Recipe

This High-Protein Banana Pudding is a delicious, creamy dessert that combines the richness of traditional banana pudding with a nutritious protein boost. Perfect for a healthy snack or dessert, it layers smooth vanilla protein-enriched pudding, whipped cream, fresh bananas, and crunchy Nilla Wafers for a satisfying treat.
- Prep Time: 15 minutes
- Cook Time: 0 minutes
- Total Time: 55 minutes
- Yield: 6 servings 1x
- Category: Dessert
- Method: No-Cook
- Cuisine: American
- Diet: Low Fat
Ingredients
Dry Ingredients
- 1/2 cup vanilla protein powder
- 1 (3.4-oz.) package vanilla instant pudding mix
Dairy and Dairy Alternatives
- 1 1/2 cups whole or nondairy milk, cold
- 1 1/4 cups heavy cream
- 1/3 cup high-protein vanilla yogurt (such as Siggi’s)
Fresh Produce
- 3 ripe bananas, thinly sliced
Additional Ingredients
- 27 Nilla Wafers, lightly crumbled, plus 4 whole Wafers for topping
Instructions
- Prepare Pudding Mixture: In a medium bowl, whisk together the vanilla protein powder and vanilla instant pudding mix. Slowly drizzle in the cold milk while whisking constantly to avoid lumps. Continue whisking until smooth, about 1 minute. Cover the bowl with plastic wrap and refrigerate for at least 40 minutes or up to overnight to allow the pudding to set, which will result in a slightly thinner consistency than regular pudding.
- Whip Cream and Combine with Yogurt: In a large bowl, use a handheld mixer on medium-high speed to beat the heavy cream until soft peaks form. Add the high-protein vanilla yogurt and continue beating until stiff peaks form, approximately 30 to 60 seconds. Reserve 1/2 cup of this whipped cream mixture by scooping it out and refrigerating it until needed.
- Fold Whipped Cream into Pudding: Use a rubber spatula to gently fold the remaining whipped cream mixture into the chilled pudding mixture until the blend is uniform with no streaks.
- Assemble the Pudding Layers: In small jars or serving glasses, layer 1/4 cup of the pudding mixture, followed by 4 to 5 banana slices, and about 2 crumbled Nilla Wafers. Repeat this layering one more time, finishing with a final 1/4 cup of pudding mixture on top. Repeat the process for all jars or glasses.
- Garnish and Serve: Top each pudding serving with a spoonful of the reserved whipped cream mixture, a whole Nilla Wafer, and additional banana slices for added texture and visual appeal. Serve immediately or keep refrigerated until ready to enjoy.
Notes
- Use ripe bananas for the best natural sweetness and flavor.
- For a dairy-free version, substitute whole milk with almond or oat milk and use coconut-based yogurt and cream alternatives.
- Make the pudding up to a day ahead to save time, but add the wafers just before serving to maintain their crunch.
- Adjust the quantity of protein powder to taste, keeping in mind it may affect pudding consistency.
- Gently folding the whipped cream into the pudding is key to keeping the pudding light and airy.
Keywords: high-protein banana pudding, protein dessert, healthy banana pudding, no-bake pudding, layered pudding dessert