Cheesy Hawaiian Garlic Rolls Recipe
Introduction
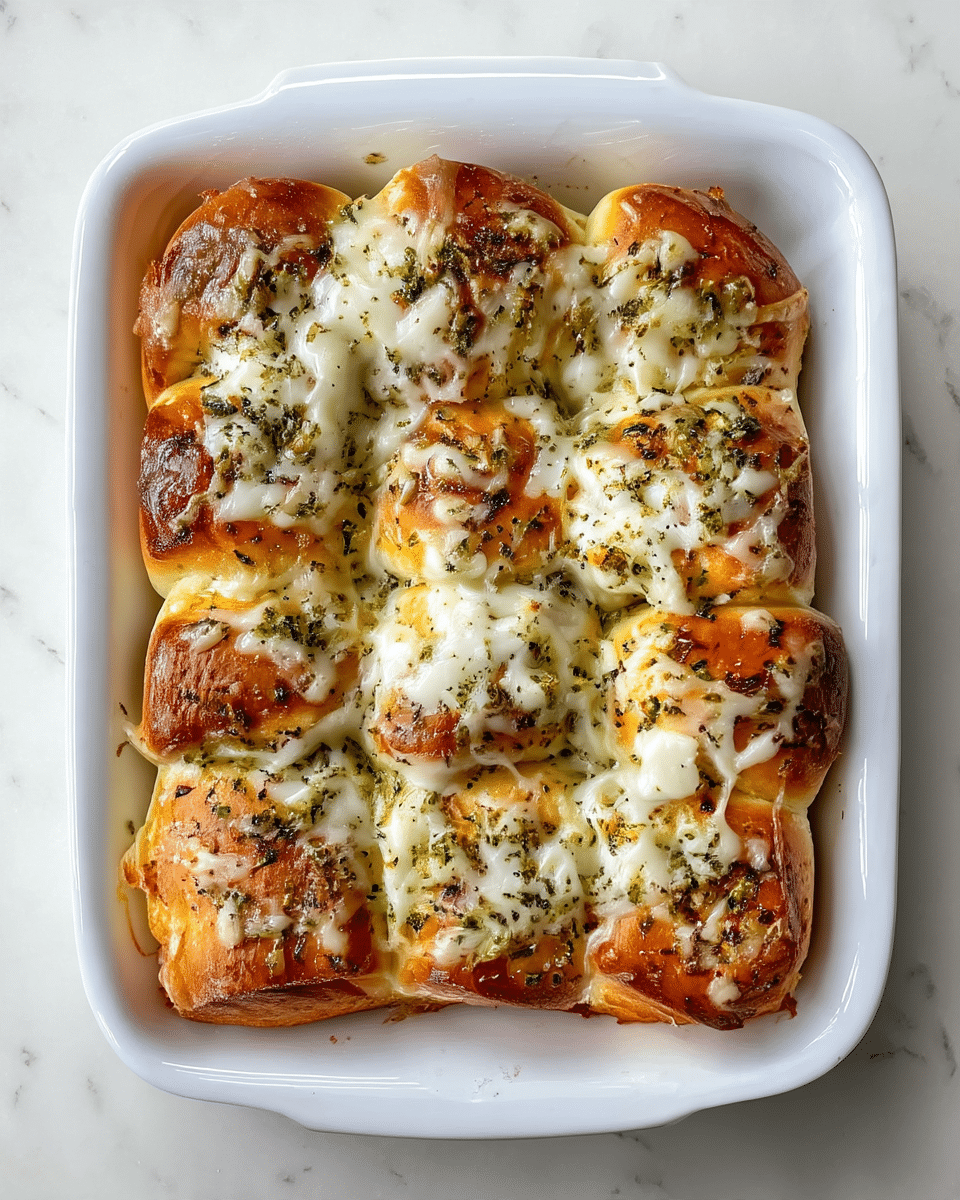
Cheesy Hawaiian Garlic Rolls are a delightful twist on the classic sweet rolls you love. Filled with gooey mozzarella and brushed with a savory garlic butter, these rolls make an irresistible snack or side dish perfect for any occasion.
Ingredients
- 1 package of King’s Hawaiian Savory Butter Rolls (12 rolls)
- 1 cup of shredded mozzarella cheese
- Mozzarella string cheese, 1 stick per two rolls
- 1 stick of butter, melted
- 1 teaspoon of minced garlic
- 1 teaspoon of dried parsley
- 3 tablespoons of shredded parmesan cheese
Instructions
- Step 1: Preheat the oven to 400°F (200°C).
- Step 2: Place the package of rolls into a greased baking dish. Carefully cut two slits into the top of each roll, making sure not to cut through the bottom.
- Step 3: Cut the mozzarella string cheese sticks into four pieces each. Insert one piece of string cheese into each slit of the rolls.
- Step 4: In a small bowl, combine the melted butter, minced garlic, dried parsley, and shredded parmesan cheese. Mix well to create the butter mixture.
- Step 5: Use a brush to coat the tops of the rolls with the garlic butter mixture. Then sprinkle the shredded mozzarella cheese evenly over the rolls.
- Step 6: Bake the rolls in the preheated oven for 10-12 minutes, or until the cheese is melted and slightly browned on top.
Tips & Variations
- For extra flavor, add a pinch of red pepper flakes to the butter mixture for a subtle kick.
- Try using provolone or Monterey Jack cheese for a different cheesy twist.
- Brush the rolls with fresh chopped herbs like basil or oregano instead of dried parsley for a fresher taste.
Storage
Store leftover rolls in an airtight container at room temperature for up to 2 days. To reheat, wrap them in foil and warm in a 350°F (175°C) oven for about 10 minutes to keep them soft and melty.
How to Serve
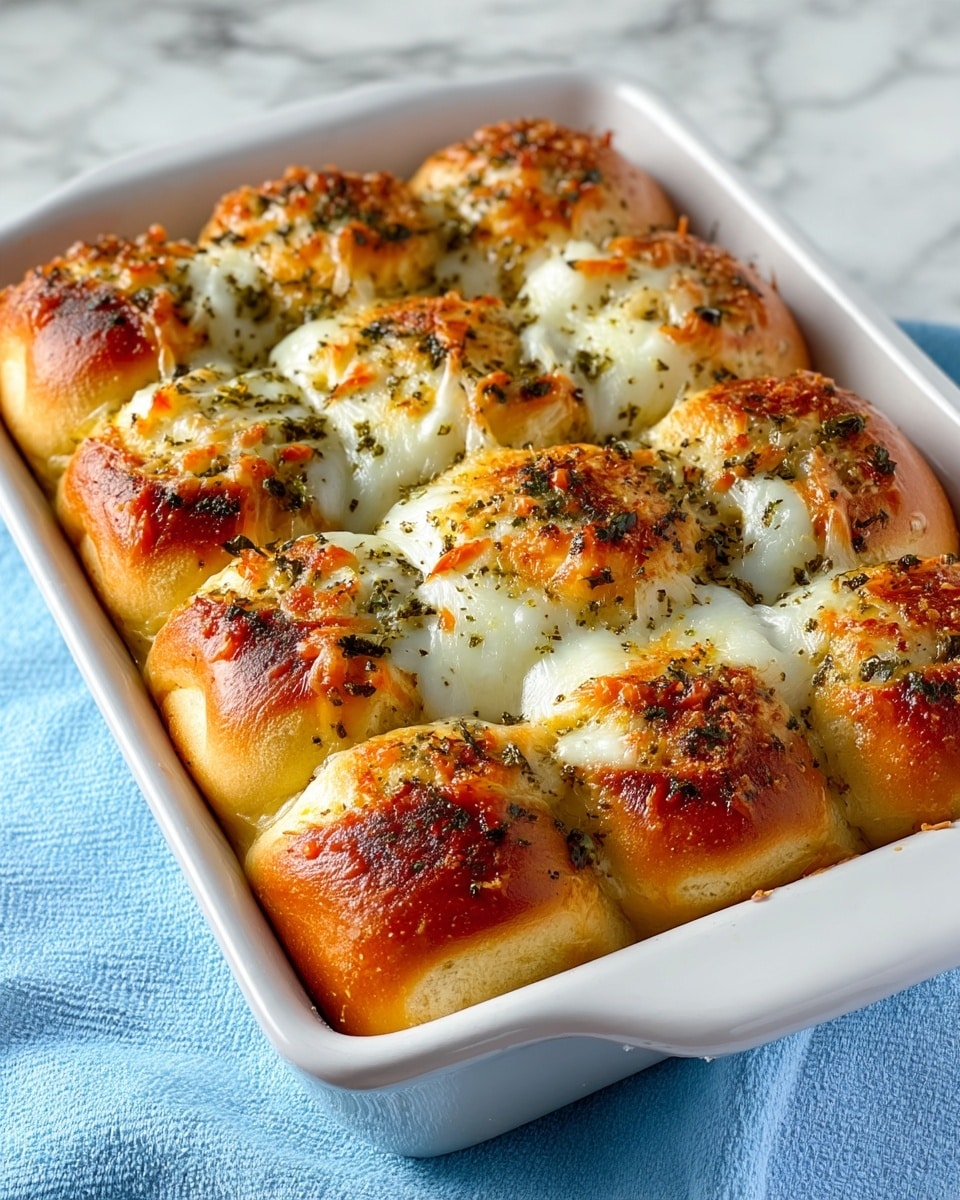
Serve this delicious recipe with your favorite sides.
FAQs
Can I use regular dinner rolls instead of King’s Hawaiian rolls?
Yes, regular soft dinner rolls will work fine, but the slightly sweet flavor of King’s Hawaiian rolls complements the garlic and cheese beautifully.
Can I prepare these ahead of time?
You can assemble the rolls and refrigerate them for a few hours before baking. Just add a few extra minutes to the baking time if baking from cold.
PrintCheesy Hawaiian Garlic Rolls Recipe
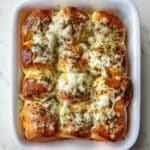
Deliciously cheesy and garlicky Hawaiian rolls baked to golden perfection, featuring melted mozzarella inside soft King’s Hawaiian Savory Butter Rolls topped with a flavorful garlic butter and parmesan cheese mixture.
- Prep Time: 10 minutes
- Cook Time: 12 minutes
- Total Time: 22 minutes
- Yield: 12 rolls 1x
- Category: Side Dish
- Method: Baking
- Cuisine: American
Ingredients
Rolls and Cheese
- 1 package of King’s Hawaiian Savory Butter Rolls (12 rolls)
- 1 cup shredded mozzarella cheese
- Mozzarella string cheese, 1 stick per two rolls (6 sticks total)
Butter Mixture
- 1 stick butter, melted (8 tablespoons)
- 1 teaspoon minced garlic
- 1 teaspoon dried parsley
- 3 tablespoons shredded parmesan cheese
Instructions
- Preheat the oven: Preheat your oven to 400°F (200°C) to ensure it’s at the perfect temperature for baking the rolls evenly and melting the cheese nicely.
- Prepare rolls: Place the entire package of King’s Hawaiian Savory Butter Rolls into a greased baking dish. Using a sharp knife, carefully cut two slits on the top of each roll without slicing through the bottom, creating pockets to insert cheese.
- Insert cheese: Cut each mozzarella string cheese stick into four pieces. Insert one piece of mozzarella string cheese into each slit on the rolls, ensuring the cheese is tucked inside to melt during baking.
- Prepare butter mixture: In a small bowl, combine the melted butter, minced garlic, dried parsley, and shredded parmesan cheese. Stir well until the ingredients are fully incorporated, creating a savory garlic butter mixture.
- Brush rolls with butter mixture: Using a pastry brush, generously coat the tops of the rolls with the garlic butter mixture. Then, sprinkle the shredded mozzarella cheese evenly over the tops of the rolls for a cheesy crust.
- Bake rolls: Place the baking dish in the preheated oven and bake for 10-12 minutes or until the cheese is fully melted and slightly browned on top, and the rolls are warm and soft inside.
Notes
- Ensure not to cut all the way through the rolls when making the slits to keep the cheese inside while baking.
- You can substitute mozzarella string cheese with any other mild string cheese if preferred.
- For added flavor, sprinkle some red pepper flakes on top before baking if you like a bit of spice.
- Serve warm for the best gooey cheese experience.
- Store leftover rolls in an airtight container and reheat in the oven before serving.
Keywords: Cheesy Hawaiian Rolls, Garlic Rolls, King’s Hawaiian Rolls, Baked Garlic Cheese Rolls, Mozzarella Bread