Buckeye Fudge Recipe
Introduction
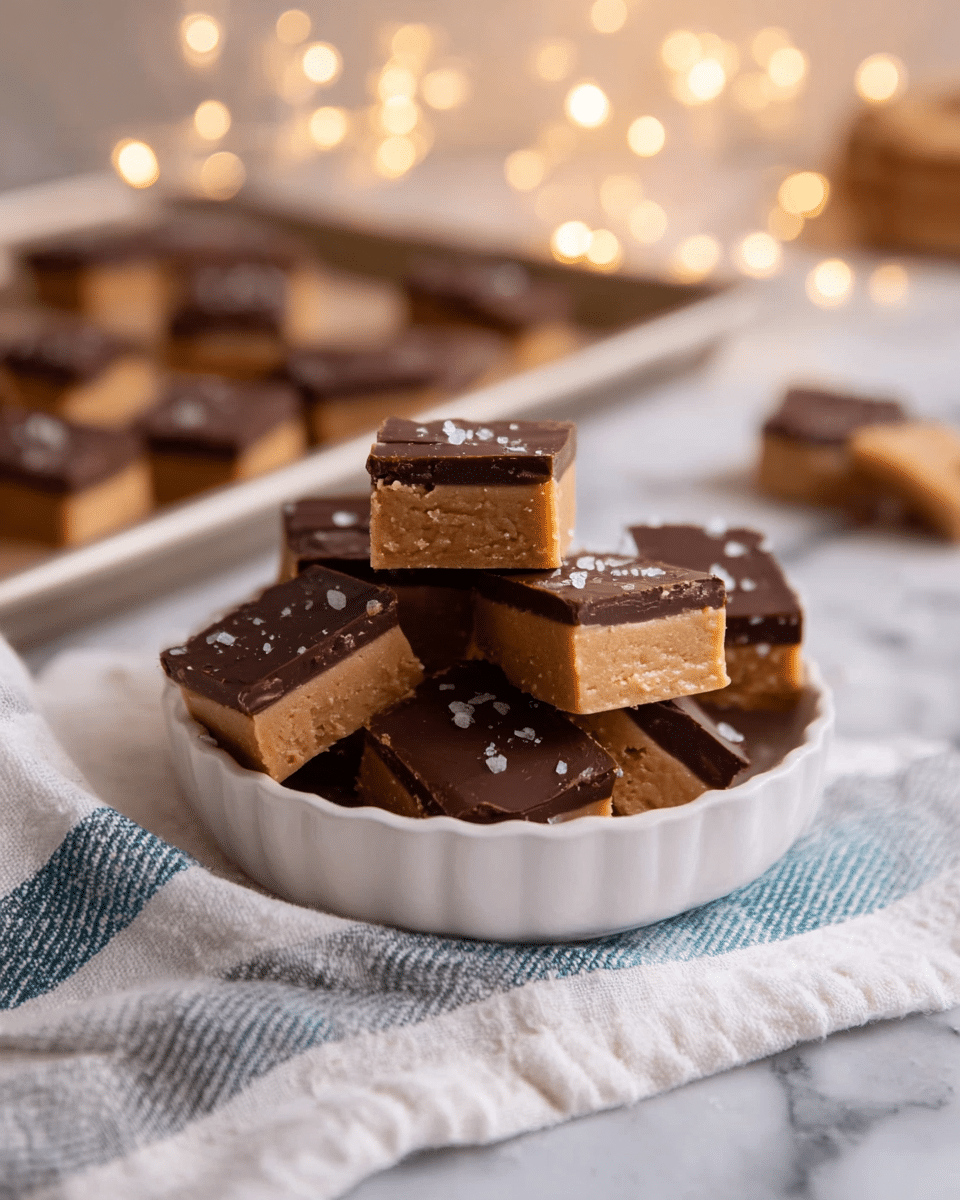
Buckeye Fudge is a rich and creamy treat combining the classic flavors of peanut butter and chocolate in a delightful layered dessert. It’s easy to make and perfect for sharing or enjoying as a special indulgence.
Ingredients
- 1 ½ cups creamy peanut butter
- ½ cup unsalted butter, melted
- 1 teaspoon vanilla extract
- ¼ teaspoon fine sea salt (for peanut butter layer)
- 3 cups powdered sugar
- 1 ½ cups semisweet chocolate chips
- ½ cup sweetened condensed milk
- 2 tablespoons unsalted butter (for chocolate layer)
- 1 pinch flaky sea salt, for topping
Instructions
- Step 1: Line an 8×8 inch baking pan with parchment paper, leaving an overhang on two sides to make lifting the fudge out easier later.
- Step 2: In a large bowl, whisk together the creamy peanut butter, melted unsalted butter, vanilla extract, and fine sea salt until smooth.
- Step 3: Add the powdered sugar to the peanut butter mixture and stir until fully combined into a thick, fudgy mixture. If it feels too thick to mix, wearing gloves and using your hand can make it easier to combine.
- Step 4: Transfer the peanut butter mixture to the prepared pan and press it evenly into the bottom using an offset spatula or the back of a measuring cup.
- Step 5: Refrigerate the peanut butter layer while you prepare the chocolate topping.
- Step 6: In a microwave-safe bowl, combine the semisweet chocolate chips, sweetened condensed milk, and butter. Microwave in 30-second intervals, stirring well between each until the mixture is smooth and glossy.
- Step 7: Pour the chocolate mixture evenly over the chilled peanut butter layer. Spread gently with an offset spatula and sprinkle flaky sea salt on top, if desired.
- Step 8: Refrigerate again until the chocolate is fully set and the fudge is firm enough to slice cleanly.
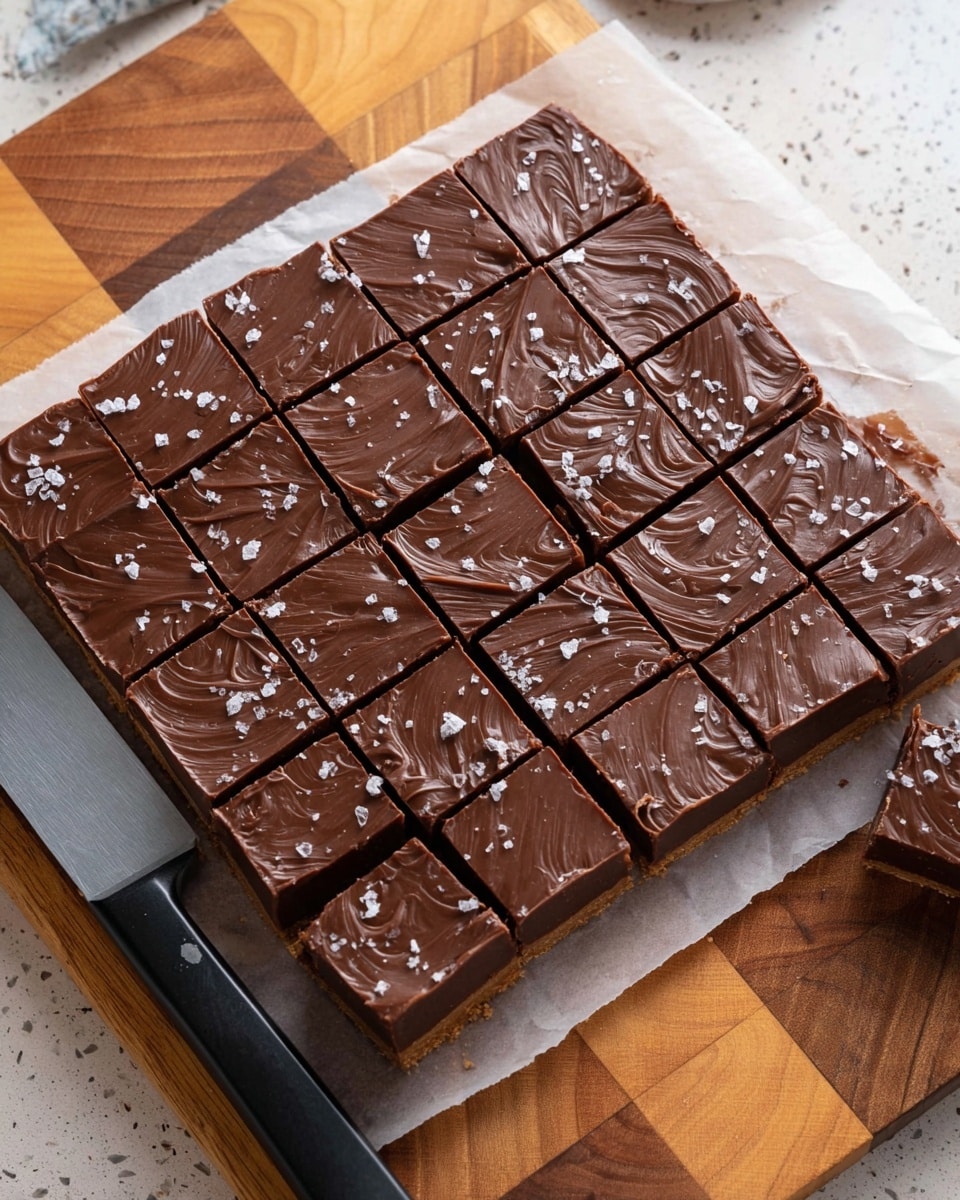
- Step 9: Use the parchment overhang to lift the fudge from the pan. Slice into 36 squares (6×6 grid) with a sharp knife, wiping the knife clean between cuts for neat pieces.
Tips & Variations
- To make cutting easier, chill the fudge for at least 2 hours before slicing.
- For a nuttier texture, sprinkle chopped roasted peanuts between layers before adding the chocolate.
- Use creamy peanut butter for the smoothest texture; natural peanut butter may result in a grainier fudge.
- Gloves can help when mixing the thick peanut butter layer to avoid sticky hands.
Storage
Store the fudge in an airtight container in the refrigerator for up to 1 week. For longer storage, freeze the fudge in a sealed container for up to 3 months. To serve, thaw in the refrigerator and slice once softened slightly. Fudge is best enjoyed chilled.
How to Serve
Serve this delicious recipe with your favorite sides.
FAQs
Can I use crunchy peanut butter instead of creamy?
Yes, you can use crunchy peanut butter if you prefer a bit of texture, but the overall consistency will be less smooth.
Is it necessary to refrigerate the fudge?
Refrigerating helps the layers set properly and makes slicing easier. It also keeps the fudge firm and fresh, especially if your kitchen is warm.
PrintBuckeye Fudge Recipe

This Buckeye Fudge recipe combines a rich, creamy peanut butter base with a smooth, glossy chocolate topping, sprinkled with flaky sea salt. Inspired by the classic Buckeye candy, this no-bake fudge is perfect for peanut butter and chocolate lovers seeking an easy, indulgent treat.
- Prep Time: 15 minutes
- Cook Time: 5 minutes
- Total Time: 3 hours 20 minutes
- Yield: 36 squares 1x
- Category: Dessert
- Method: No-Cook
- Cuisine: American
Ingredients
Peanut Butter Layer
- 1 & 1/2 cups creamy peanut butter
- 1/2 cup unsalted butter, melted
- 1 teaspoon vanilla extract
- 1/4 teaspoon fine sea salt
- 3 cups powdered sugar
Chocolate Layer
- 1 & 1/2 cups semisweet chocolate chips
- 1/2 cup sweetened condensed milk
- 2 tablespoons unsalted butter
- 1 pinch flaky sea salt for topping
Instructions
- Line the pan: Line an 8×8 inch baking pan with parchment paper, leaving overhangs on two sides to facilitate easy removal of the fudge later.
- Make the peanut butter layer: In a large bowl, whisk together creamy peanut butter, melted unsalted butter, vanilla extract, and fine sea salt until smooth. Add powdered sugar gradually, stirring to combine into a thick, fudgy mixture. If the mixture becomes too stiff to stir, use your hands to knead it thoroughly for an even consistency.
- Press into pan: Transfer the peanut butter mixture to the prepared pan. Press it down evenly using an offset spatula or the back of a measuring cup to form a uniform layer.
- Chill the base: Place the pan in the refrigerator to chill the peanut butter layer while you prepare the chocolate topping.
- Make the chocolate layer: In a microwave-safe bowl, combine semisweet chocolate chips, sweetened condensed milk, and unsalted butter. Microwave in 30-second intervals, stirring after each, until the mixture is smooth, glossy, and fully combined.
- Pour and spread: Pour the melted chocolate mixture over the chilled peanut butter layer. Spread evenly with an offset spatula. Lightly sprinkle flaky sea salt over the chocolate layer for added texture and flavor.
- Set the fudge: Return the pan to the refrigerator and chill until the chocolate topping is completely firm and the fudge is set, usually about 2-3 hours.
- Slice and serve: Use the parchment paper overhang to lift the fudge out of the pan. Place on a cutting board and slice into 36 squares in a 6×6 grid. Wipe the knife clean between cuts for neat slices.
Notes
- Use creamy peanut butter for the smoothest texture.
- For easier slicing, warm the knife slightly before cutting.
- Store the fudge in an airtight container in the refrigerator for up to two weeks.
- Allow fudge to sit at room temperature for 5-10 minutes before serving for a softer bite.
- Wear disposable gloves when handling the peanut butter layer if it becomes too thick to stir.
Keywords: Buckeye fudge, peanut butter fudge, chocolate peanut butter dessert, easy no bake fudge, homemade fudge recipe