Snickers Brownie Bites Recipe
Introduction
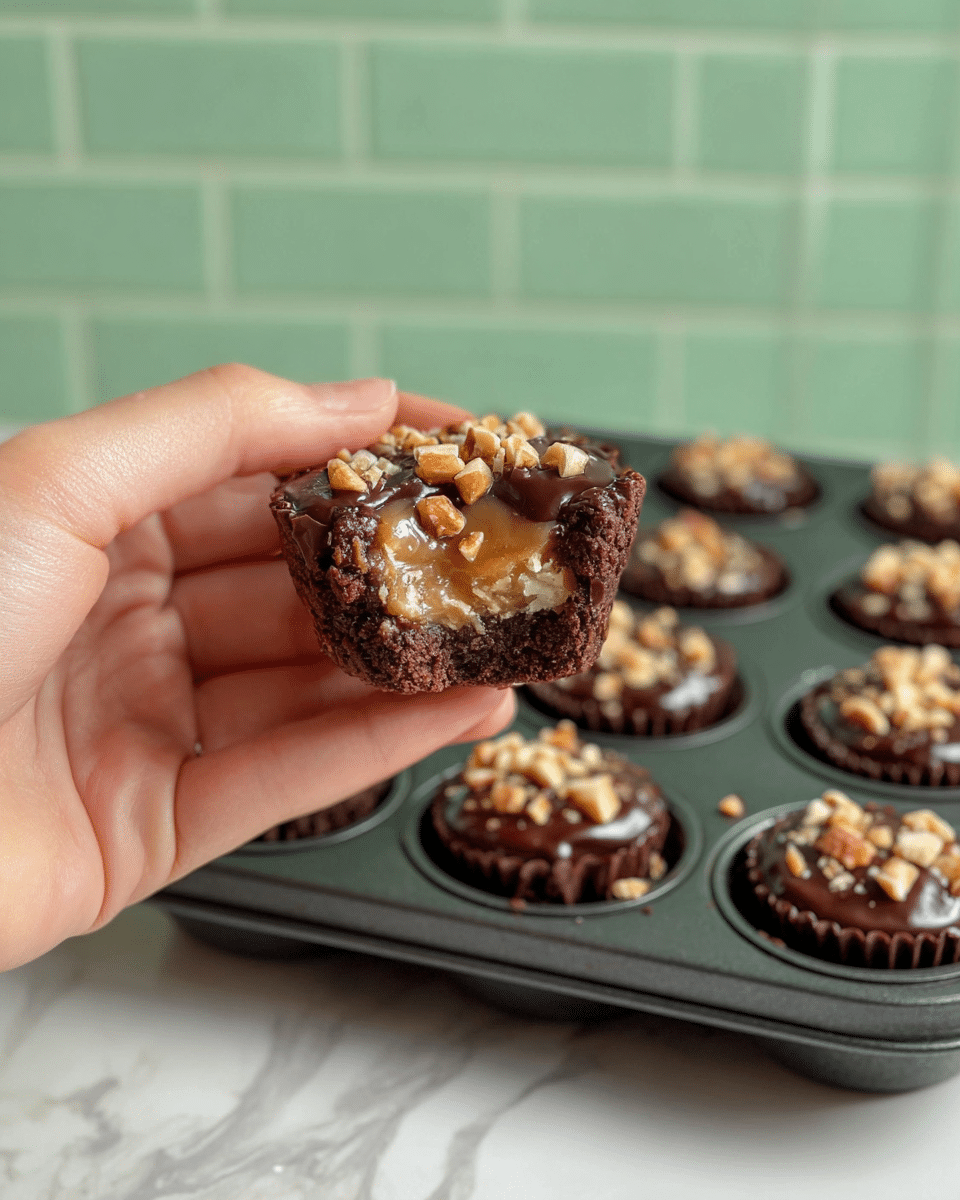
Snickers Brownie Bites are a deliciously indulgent treat that combines rich, fudgy brownies with the classic flavors of Snickers candy bars. These bite-sized desserts are perfect for parties, snack time, or any chocolate and peanut butter craving.
Ingredients
- 1 (18 oz) box brownie mix (batter prepared according to box instructions)
- 24 Snickers minis (1 (9.2 oz) bag)
- 1/2 cup semi-sweet chocolate chips
- 1/4 cup creamy peanut butter
- 1/4 cup chopped peanuts
Instructions
- Step 1: Preheat your oven to 350 degrees F and grease a 24-cup mini muffin tin with non-stick cooking spray.
- Step 2: Prepare your brownie batter following the directions on the box, then evenly divide the batter among each greased mini muffin tin cup and bake for 18-20 minutes.
- Step 3: Immediately press a Snickers mini into the center of each baked brownie bite, then set aside to cool.
- Step 4: In a microwave-safe bowl, combine semi-sweet chocolate chips with peanut butter. Microwave in 30-second intervals, stirring in between, until melted and smooth.
- Step 5: Spoon about 1 teaspoon of the melted chocolate and peanut butter mixture on top of each brownie bite, then sprinkle with chopped peanuts.
- Step 6: Let set completely before removing from the pan and enjoying!
Tips & Variations
- For extra crunch, toast the chopped peanuts lightly before sprinkling on top.
- Swap the Snickers minis for other candy bars like Milky Way or Reese’s for different flavors.
- If you prefer a deeper chocolate flavor, add a tablespoon of espresso powder to the brownie batter.
Storage
Store the brownie bites in an airtight container at room temperature for up to 3 days. For longer storage, keep them refrigerated for up to a week. Reheat briefly in the microwave to soften if desired.
How to Serve
Serve this delicious recipe with your favorite sides.
FAQs
Can I make these brownie bites gluten-free?
Yes, use a gluten-free brownie mix to make this recipe suitable for gluten-free diets.
Can I freeze Snickers Brownie Bites?
Absolutely! Freeze them in a single layer on a baking sheet, then transfer to a freezer-safe container. Thaw at room temperature before serving.
PrintSnickers Brownie Bites Recipe

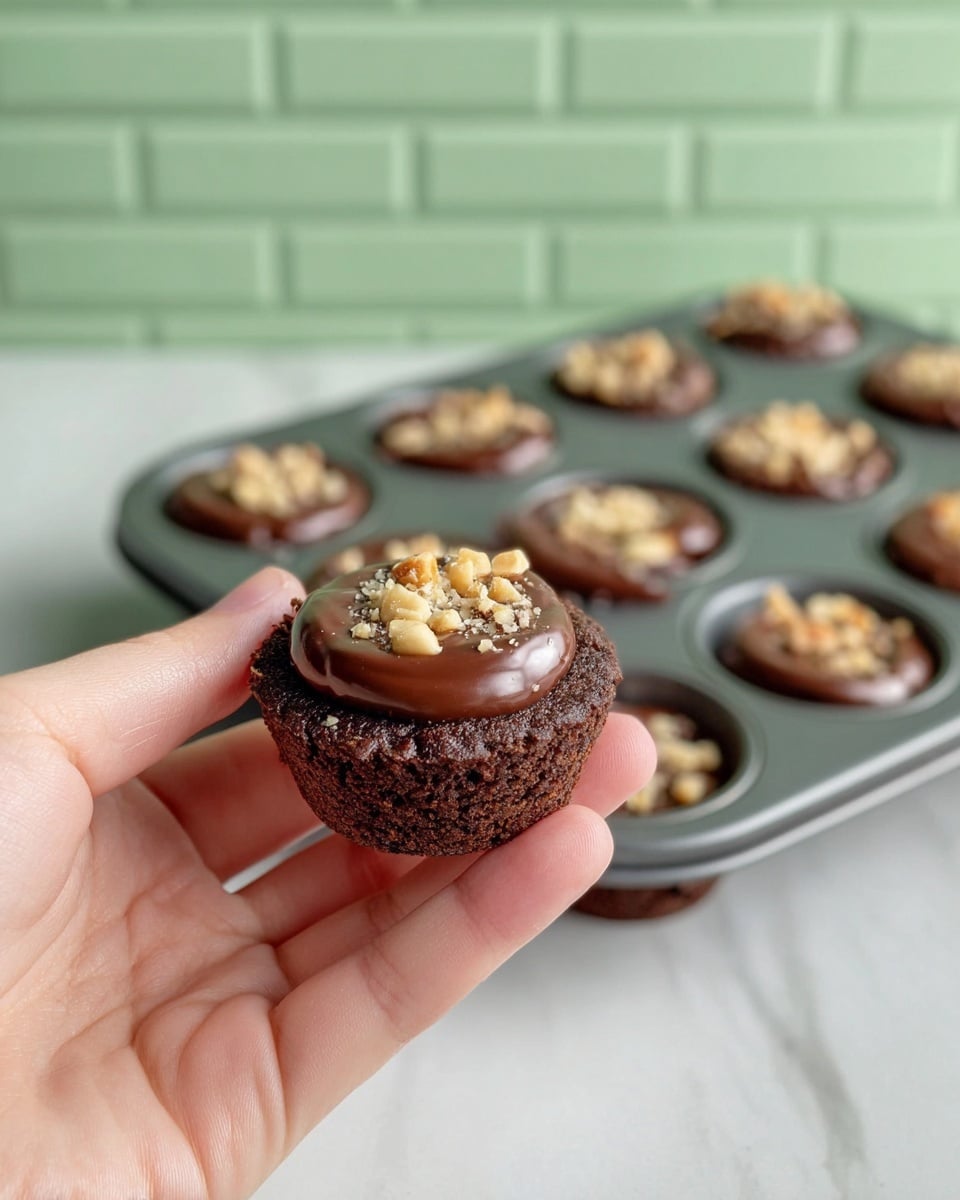
Delight in these indulgent Snickers Brownie Bites, a perfect bite-sized treat combining rich, fudgy brownie bases with creamy peanut butter, melted chocolate, and crunchy Snickers Minis. These mini morsels are easy to make, featuring a gooey Snickers center topped with a luscious chocolate-peanut butter glaze and chopped peanuts, perfect for parties or a satisfying snack.
- Prep Time: 15 minutes
- Cook Time: 20 minutes
- Total Time: 35 minutes
- Yield: 24 mini brownie bites 1x
- Category: Dessert
- Method: Baking
- Cuisine: American
Ingredients
Brownie Base
- 1 (18 oz) box brownie mix (prepared according to box instructions)
Fillings and Toppings
- 24 Snickers minis (1 (9.2 oz) bag)
- 1/2 cup semi-sweet chocolate chips
- 1/4 cup creamy peanut butter
- 1/4 cup chopped peanuts
Instructions
- Preheat and Prepare Pan: Preheat your oven to 350°F (175°C) and grease a 24-cup mini muffin tin with non-stick cooking spray to ensure easy removal of brownie bites after baking.
- Prepare Brownie Batter: Follow the directions on the brownie mix box to prepare the batter. Once ready, evenly divide the batter among each greased mini muffin tin cup, filling them appropriately.
- Bake Brownies: Bake the filled muffin tin in the preheated oven for 18-20 minutes until the brownie bites are set and a toothpick inserted near the center comes out with moist crumbs.
- Add Snickers Minis: Immediately after removing the brownies from the oven, press one Snickers mini into the center of each brownie bite, gently pushing it down without breaking the brownie.
- Make Chocolate-Peanut Butter Topping: In a microwave-safe bowl, combine the semi-sweet chocolate chips and creamy peanut butter. Microwave in 30-second intervals, stirring well between each interval, until the mixture is smooth and fully melted.
- Top Brownie Bites: Spoon about 1 teaspoon of the melted chocolate and peanut butter mixture over each brownie bite, covering the Snickers partially. Then sprinkle the tops with chopped peanuts for added texture and flavor.
- Set and Serve: Allow the brownie bites to cool completely in the pan so the topping sets firmly. Once set, carefully remove them from the tin and serve.
Notes
- You can substitute Snickers minis with other candy bars if desired.
- Ensure the peanut butter and chocolate mixture is smooth for easy spooning.
- These bites can be stored in an airtight container at room temperature for up to 3 days or refrigerated for longer freshness.
- Use a toothpick to test brownies for doneness but avoid overbaking to keep them fudgy.
- Allow toppings to fully set before handling to prevent smudging or melting.
Keywords: Snickers brownie bites, mini brownies, chocolate peanut butter dessert, easy brownie recipe, party snacks, bite-sized desserts


