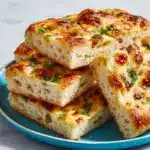
Simple Jalapeño Cheese Squares for a Spicy Treat Recipe
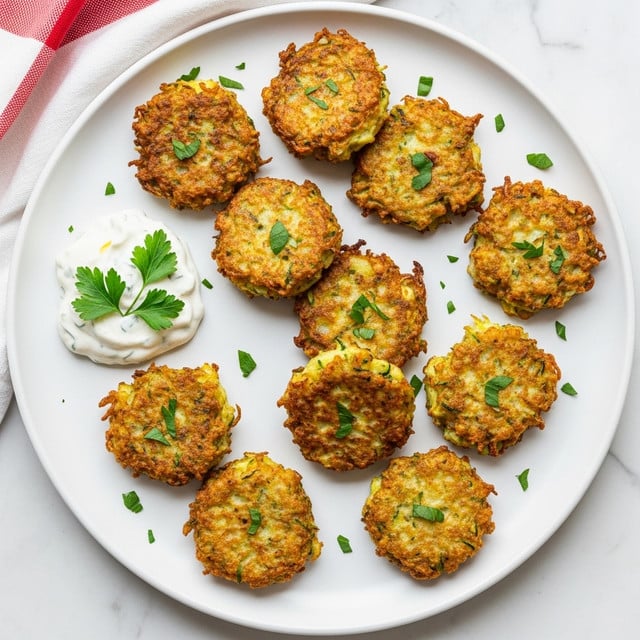
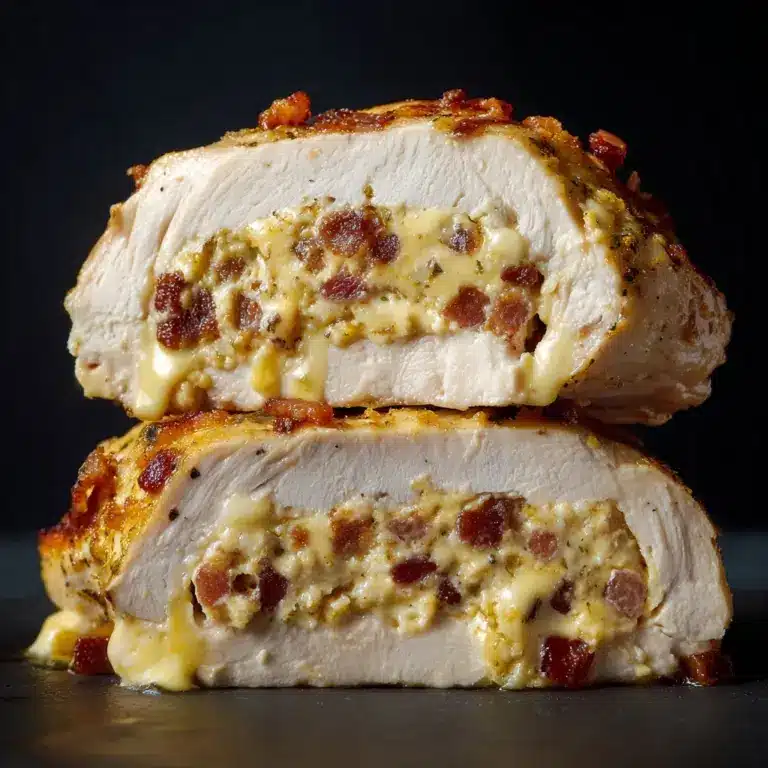
If you’re in the mood for something utterly crave-worthy, these Simple Jalapeño Cheese Squares for a Spicy Treat will sweep you off your feet! Imagine a bubbling, golden casserole loaded with oozy cheddar, creamy Monterey Jack, crisp smoky bacon, and a wickedly addictive jalapeño kick. From game nights to family gatherings, these savory bites have a way of vanishing as soon as they’re served. They’re hearty, perfectly spiced, and honestly, dangerously delicious. You’ll want to share the recipe with everyone — once you’ve made a batch (or two) for yourself!
Ingredients You’ll Need
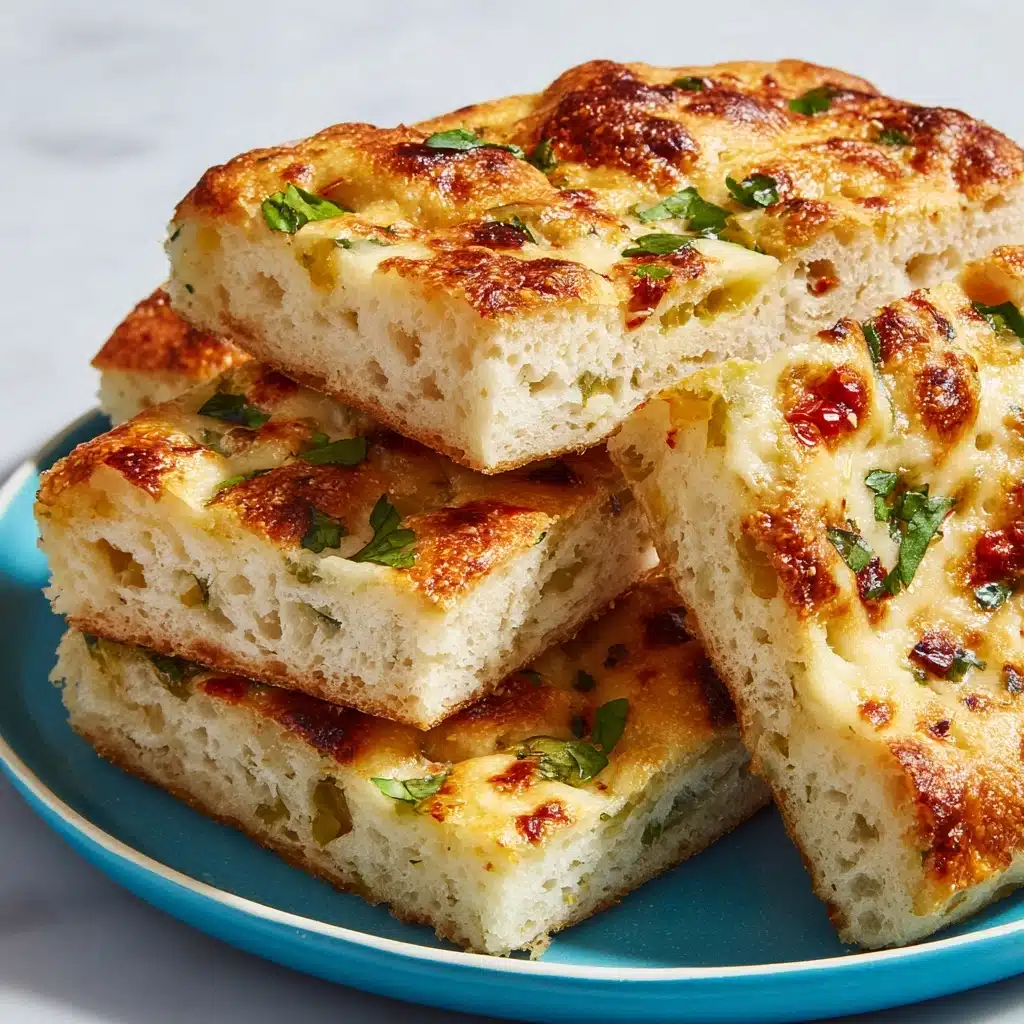
One of the best things about Simple Jalapeño Cheese Squares for a Spicy Treat is how a handful of straightforward ingredients work together to create an unforgettable flavor experience. Each ingredient comes with a special role, whether it’s adding a punch of heat, a melty texture, or a pop of color — so let’s break it all down!
- Sharp Cheddar Cheese (16 oz, shredded): The backbone of the recipe, sharp cheddar gives the squares a bold, tangy edge and irresistible color.
- Monterey Jack Cheese (16 oz, shredded): Its creamy meltability balances out the sharpness of the cheddar and ensures every bite is gooey.
- Crumpled Bacon (½ cup): Smoky, salty, and unmistakably savory, bacon brings depth and makes these squares extra special.
- Pickled Jalapeños (½ cup, diced): The star for spice and a touch of tang, these transform the dish’s flavor and wake up your taste buds.
- All-Purpose Flour (½ cup): Just enough flour binds everything together and helps create that perfect, sliceable texture.
- Evaporated Milk (15 oz): This gives creaminess without thinning the mixture, keeping the squares rich but sturdy.
- Eggs (2): Nature’s magical glue, eggs set the squares beautifully so they hold together from oven to plate.
How to Make Simple Jalapeño Cheese Squares for a Spicy Treat
Step 1: Combine the Cheeses, Bacon, and Jalapeños
In a large mixing bowl, add the shredded sharp cheddar cheese, Monterey Jack cheese, crumbled bacon, and diced pickled jalapeños. Use a sturdy spoon or your hands to toss everything together until the colorful flecks of jalapeño and bacon are mixed evenly throughout. This not only ensures every slice gets plenty of flavor, but also helps the cheeses distribute evenly for that perfect gooey bite.
Step 2: Whisk the Wet Ingredients
In a separate medium bowl, pour in the evaporated milk. Add the eggs and then whisk vigorously to blend. Gradually sprinkle in the all-purpose flour while whisking, making sure there are no lumps left behind. This step makes the batter creamy and smooth — the secret to a luxurious texture in every square!
Step 3: Mix Wet and Dry Ingredients
Pour your milky egg mixture right over the cheese, bacon, and jalapeño blend. Using a sturdy spatula, stir briskly until every shred and morsel is evenly coated. The mixture will be thick and luscious, just what you want for Simple Jalapeño Cheese Squares for a Spicy Treat that slice like a dream.
Step 4: Transfer to Baking Dish
Grab a 9×13-inch baking dish and give it a good grease (a swipe of butter or a spritz of cooking spray does the trick). Spread the mixture evenly in the dish, smoothing the top with your spatula so it bakes up uniform. Now it’s ready for the oven!
Step 5: Bake to Perfection
Pop the dish into a preheated oven at 350°F. Bake it for 35 to 40 minutes, or until the top is deeply golden and the center puffs slightly. The aroma will tell you it’s ready! To double-check, insert a toothpick into the middle — if it comes out clean, it’s time to pull it from the oven.
Step 6: Cool and Slice
Patience pays off here! Let your cheese squares cool in the dish for about 10 minutes. This helps the cheese set so you can cut neat squares that won’t fall apart. Once slightly firm, slice into squares of your preferred size and prepare yourself for cheesy bliss.
Step 7: Serve Immediately
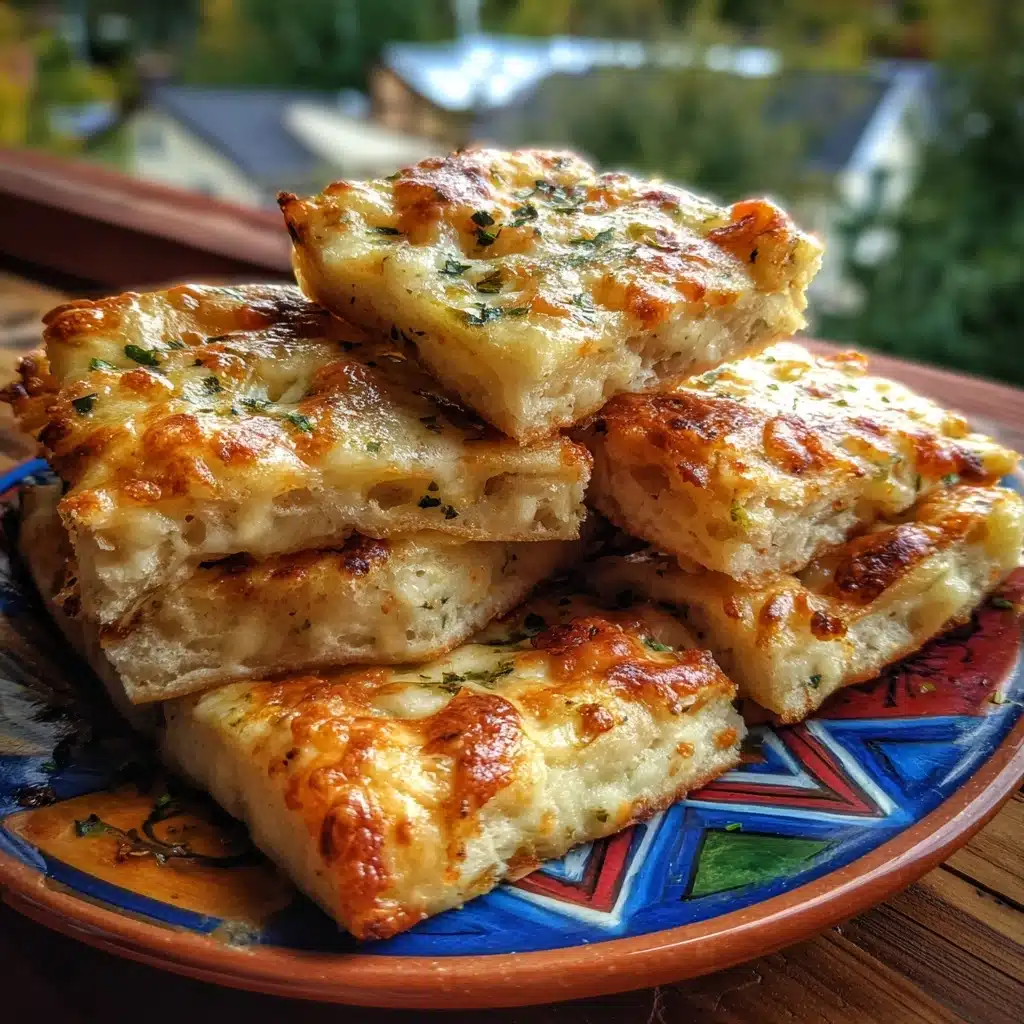
These squares are absolutely best when served warm, with all their gooey, spicy glory at center stage. Arrange on a platter and watch them disappear — they’re the quintessential appetizer, snack, or even a bold brunch side. Serve with a big smile, because Simple Jalapeño Cheese Squares for a Spicy Treat are always a crowd-pleaser!
How to Serve Simple Jalapeño Cheese Squares for a Spicy Treat
Garnishes
A sprinkle of sliced green onions over the top right before serving amps up both the color and the fresh flavor. If you like an extra kick, a few extra diced pickled jalapeños scattered across the squares look beautiful and let guests know what’s in store!
Side Dishes
Simple Jalapeño Cheese Squares for a Spicy Treat play nicely with everything from crisp salads to hearty chili. Try serving them alongside a fresh black bean salsa, a zesty coleslaw, or even just a pile of tortilla chips for a spicy snack table spread.
Creative Ways to Present
Go beyond the plate! Stack squares on a wooden board, nestle with mini corn muffins, or slide a toothpick through each square and serve as hearty finger food. They’re also a fabulous addition to brunch buffets or as a spicy twist for movie-night snacks.
Make Ahead and Storage
Storing Leftovers
If you’re lucky enough to have leftovers, simply let the squares cool to room temperature before transferring to an airtight container. They’ll keep beautifully in the refrigerator for up to three days — making them perfect for quick, spicy snacks on demand.
Freezing
To extend the magic, you can freeze cooked Simple Jalapeño Cheese Squares for a Spicy Treat. Layer the cooled squares between sheets of parchment and stash them in a freezer bag or container for up to two months. Just be sure to thaw them overnight in the fridge before reheating.
Reheating
For the best results, reheat individual squares in a preheated oven at 350°F for about 10 minutes, or until hot and bubbly. Microwaving also works well for a quick fix, though you may sacrifice a bit of that delicious crisped top.
FAQs
Can I use fresh jalapeños instead of pickled ones?
Absolutely! If you love a sharper, more peppery kick, dice some fresh jalapeños in place of pickled. Just remember, fresh peppers can be a bit spicier and may add extra moisture, so pat them dry after cutting.
Is there a way to make these cheese squares vegetarian?
Yes! Simply leave out the bacon or swap it for sautéed mushrooms or a sprinkle of smoked paprika to keep the savory backbone without the meat.
What’s the best way to shred the cheese for these squares?
Shred by hand from a block for the best melt and maximum creaminess. Pre-shredded cheeses often include anti-caking agents that can affect the melted texture.
Can I substitute another cheese for Monterey Jack?
Of course! Mozzarella or Pepper Jack would both be delicious substitutes. Pepper Jack, in particular, adds even more spicy personality if you’re in the mood for extra heat.
Are these cheese squares gluten-free?
As written, they contain all-purpose flour. Swap in a gluten-free flour blend if you need to make Simple Jalapeño Cheese Squares for a Spicy Treat gluten-free — you won’t even notice the difference in the final texture!
Final Thoughts
If you’re ready to spice up your appetizer game or just treat yourself to some sensational snacking, give Simple Jalapeño Cheese Squares for a Spicy Treat a place at your table. They’re easy to make, fun to share, and truly unforgettable with their bold, cheesy character. Grab your ingredients and enjoy every gooey, savory bite!
PrintSimple Jalapeño Cheese Squares for a Spicy Treat Recipe
Indulge in the spicy, cheesy goodness of these Simple Jalapeño Cheese Squares. Packed with sharp cheddar, Monterey Jack, bacon, and jalapeños, these squares are the perfect blend of flavors for a delightful treat.
- Prep Time: 15 minutes
- Cook Time: 35-40 minutes
- Total Time: 55 minutes
- Yield: 12 squares 1x
- Category: Appetizer
- Method: Baking
- Cuisine: American
- Diet: Vegetarian
Ingredients
Cheese & Flavor Base
- 16 oz sharp cheddar cheese, shredded
- 16 oz Monterey Jack cheese, shredded
- ½ cup crumbled bacon
- ½ cup pickled jalapeños, diced
Wet Ingredients
- ½ cup all-purpose flour
- 15 oz evaporated milk
- 2 eggs
Instructions
- Combine the Cheeses, Bacon, and Jalapeños – In a large mixing bowl, combine the shredded sharp cheddar and Monterey Jack cheeses, crumbled bacon, and diced pickled jalapeños. Stir everything together until the ingredients are evenly distributed.
- Whisk the Wet Ingredients – In a separate bowl, whisk together the evaporated milk, flour, and eggs until smooth and free of lumps. This will form a creamy base for your cheesy squares.
- Mix Wet and Dry Ingredients – Pour the wet ingredients over the cheese mixture. Stir well to combine, making sure everything is incorporated into a thick but spreadable mixture.
- Transfer to Baking Dish – Grease a 9×13-inch baking dish, then pour the cheesy mixture into the dish, spreading it evenly.
- Bake to Perfection – Place the baking dish in a preheated oven at 350°F and bake for 35-40 minutes. The top should turn golden brown, and the center should bubble up. You’ll know it’s done when a toothpick inserted into the center comes out clean.
- Cool and Slice – Let the dish cool for about 10 minutes to firm up. Once cooled, slice it into squares, and get ready for the cheesy goodness!
- Serve Immediately – Serve these warm, cheesy squares right away. They’re perfect as an appetizer, a side dish, or even a savory snack to share. Watch them disappear in no time!
Nutrition
- Serving Size: 1 square
- Calories: 280
- Sugar: 2g
- Sodium: 520mg
- Fat: 20g
- Saturated Fat: 12g
- Unsaturated Fat: 6g
- Trans Fat: 0g
- Carbohydrates: 9g
- Fiber: 0.5g
- Protein: 16g
- Cholesterol: 85mg
Keywords: Jalapeño Cheese Squares, cheesy appetizer, spicy snack, cheddar and Monterey Jack cheese recipe

