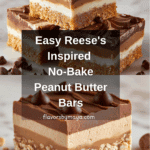
Reese’s Peanut Butter No-Bake Bars Recipe
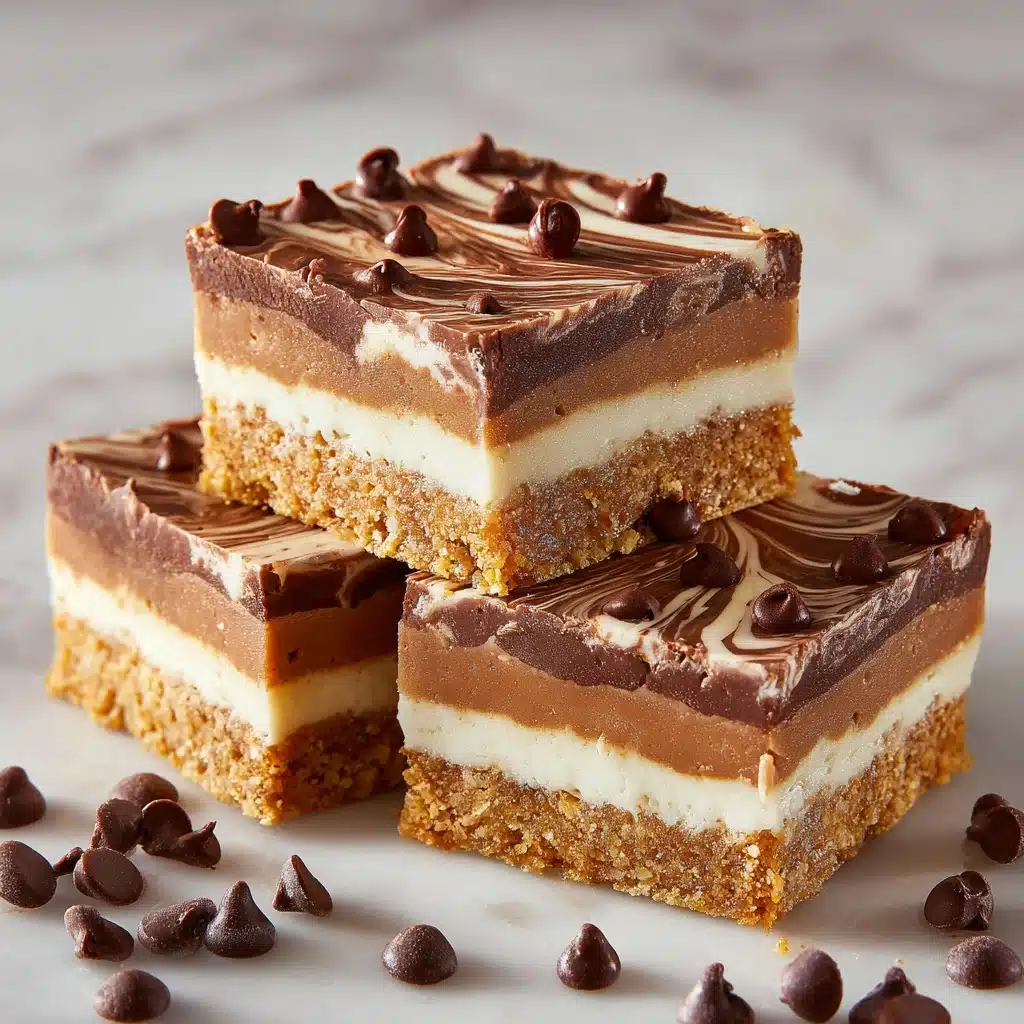
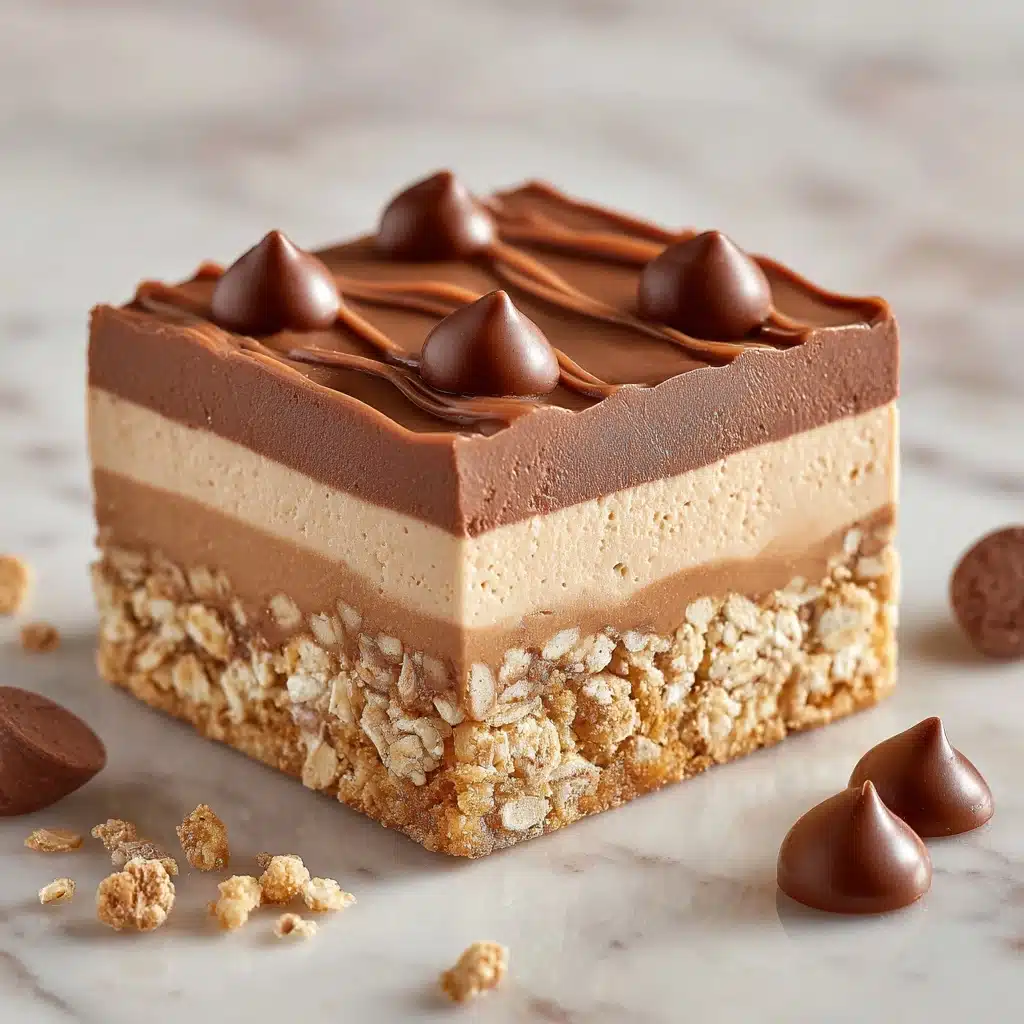
If you’re looking for a show-stopping, crowd-pleasing treat that requires absolutely zero oven time, Reese’s Peanut Butter No-Bake Bars are about to become your new obsession. These rich, layered bars deliver all the classic flavors of the beloved candy in an ultra-easy homemade form: the base is lush and peanut buttery, with a gentle crunch from graham crackers, and the slick chocolate-peanut butter topping has just the right fudge-like snap. They’re as perfect for potlucks and parties as they are for late-night sweet tooth cravings—get ready to add this dreamy recipe to your permanent sweets rotation!
Ingredients You’ll Need
These bars keep it classic and easy, with just a handful of pantry staples. Each ingredient plays its part, packing the bars with signature flavor and texture, so don’t skip or skimp—here’s why every element matters.
- Creamy peanut butter: This is the star of the show, bringing rich flavor and silky texture to both bar and topping layers.
- Unsalted butter (melted): Helps bind the base and adds a buttery depth that takes the bars over the top.
- Powdered sugar: Offers just the right sweetness and a melt-in-your-mouth, tender bite.
- Crushed graham crackers: Adds a gentle crunch and a hint of honeyed, toasty flavor to balance the creamy peanut butter.
- Semi-sweet or milk chocolate chips: Melted into the topping, they provide a decadent chocolate finish—go semi-sweet for classic flavor, or milk chocolate for extra indulgence.
- Creamy peanut butter (for topping): Blends with the chocolate for a super-smooth layer and cranks up that irresistible peanut butter magic.
How to Make Reese’s Peanut Butter No-Bake Bars
Step 1: Prepare the Peanut Butter Layer
Start by grabbing a medium mixing bowl and add the creamy peanut butter, your melted unsalted butter, powdered sugar, and those deliciously crumbly crushed graham crackers. This is where the magic of Reese’s Peanut Butter No-Bake Bars begins—stir everything together until the mixture transforms into a thick, unified dough. It should look smooth and feel just slightly sticky, making it perfect for pressing into your pan layer.
Step 2: Mix it Up Until Smooth
Once all those base ingredients are gathered, give them a thorough stir. The goal? Achieve perfect homogeneity—so dig in with a sturdy spoon and stir until you don’t see any streaks of peanut butter or dry bits of graham cracker. The result should be smooth but with a subtle grit from the graham, promising that perfect bar bite later on.
Step 3: Press into the Pan
Line your 8×8-inch baking pan with parchment paper, leaving some hanging over the sides for easier lifting later. Scoop the peanut butter mixture into the pan and press it down evenly, getting into every corner. You want an even, compact layer—so use the back of a spoon or your fingertips to smooth it out. This becomes your irresistible peanut butter foundation!
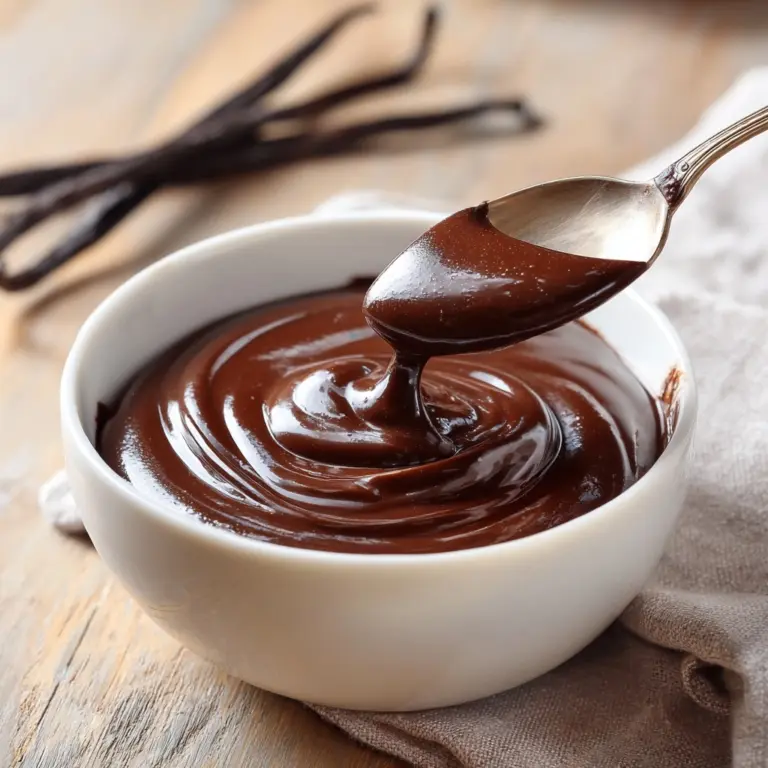
Step 4: Make the Chocolate Topping
Now it’s time for the glossy, fudgy layer that crowns all great Reese’s Peanut Butter No-Bake Bars. In a microwave-safe bowl, combine the chocolate chips and the reserved 2 tablespoons of creamy peanut butter. Microwave in 20-second bursts, stirring after each session, just until both are melted and you’ve got a silky, pourable chocolate-peanut butter mixture.
Step 5: Assemble the Bars
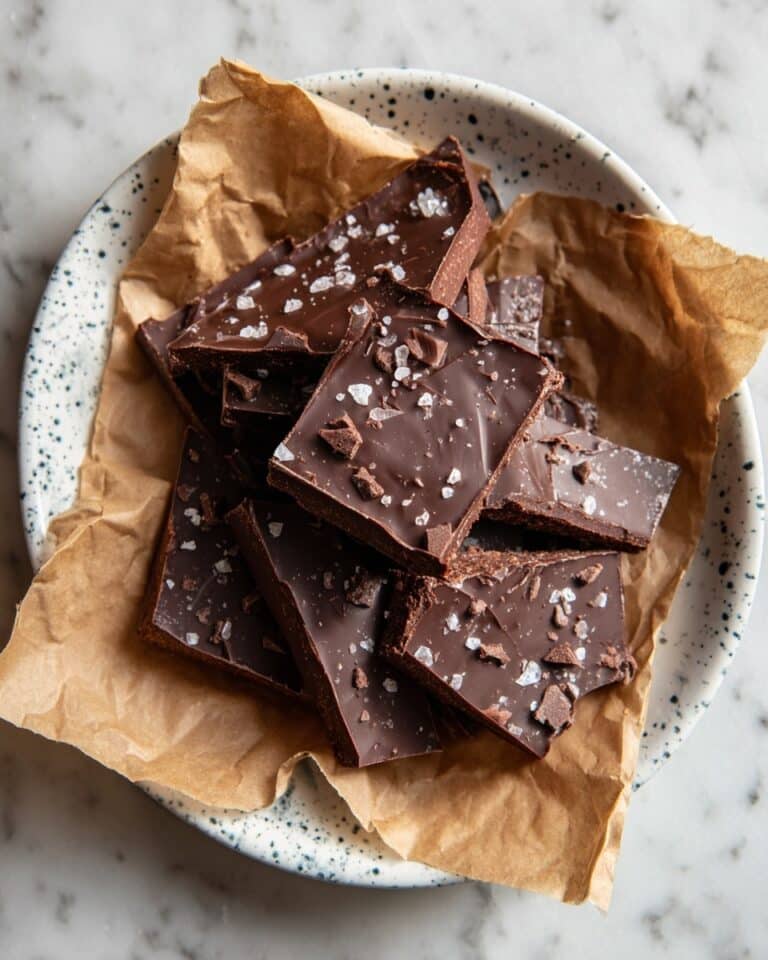
Pour the chocolate topping directly over the peanut butter base in your pan. Use a spatula to coax it gently into an even, luscious blanket of chocolate. Swirl it to every edge and smooth the surface—these bars are as pretty as they are irresistible!
Step 6: Chill and Set
Patience is tough here, but it’s totally worth it! Slide the pan into the refrigerator and let the bars chill for at least 1 hour, or until that gorgeous chocolate layer is completely set and the bars hold their shape for slicing. This step ensures you’ll get neat, satisfying squares.
Step 7: Cut and Serve
Once fully set, lift the bars out by the parchment paper. Grab a sharp knife and slice into squares—cleaning the blade between cuts works wonders for neat lines. Arrange on a platter, admire your handiwork, and watch them disappear in record time!
How to Serve Reese’s Peanut Butter No-Bake Bars
Garnishes
While these bars are showstoppers on their own, a little extra flourish never hurts! Sprinkle a few crushed graham crackers or chopped roasted peanuts over the top after adding the chocolate for bonus crunch. You could even drizzle extra melted peanut butter or chocolate in zig-zags to dress them up for a special occasion.
Side Dishes
If you’d like to turn your Reese’s Peanut Butter No-Bake Bars into a dreamy dessert plate, pair them with fresh berries, a scoop of vanilla ice cream, or even a dollop of lightly sweetened whipped cream. The cool, fruity, or creamy sides beautifully balance the bars’ rich peanut butter and chocolate layers.
Creative Ways to Present
Try stacking the bars on a tiered dessert stand for parties, using mini cupcake liners to give each piece its own wrapper, or even cutting them into smaller, bite-sized cubes for a festive treat platter. If you’re feeling whimsical, use a heart or star-shaped cookie cutter to impress at themed gatherings or school events!
Make Ahead and Storage
Storing Leftovers
These bars hold up wonderfully in the fridge, making them perfect for make-ahead treats. Place them in an airtight container with layers separated by parchment paper to prevent sticking, and they’ll stay fresh and delicious for five to seven days—if they last that long without being devoured!
Freezing
To save these bars for a rainy day (or just hide them for yourself), freeze them in a single layer on a baking sheet, then transfer to a freezer-safe bag or container. They keep beautifully for up to three months. When you’re ready for a sweet fix, thaw in the fridge or at room temperature and enjoy that just-made taste.
Reheating
While these are designed to be served cold or at room temperature, if you want a gooier texture, a quick 5-10 seconds in the microwave will just soften the chocolate without fully melting it. Be careful not to overdo it—these bars are best when the layers stay intact!
FAQs
Can I use crunchy peanut butter instead of creamy?
Absolutely! Crunchy peanut butter adds extra texture and a fun nutty bite to the base. Just be aware the finished bars will have a slightly rougher, crunchier texture throughout—perfect for peanut lovers who like a little extra surprise.
What’s the best way to crush graham crackers?
The simplest method is to pop them in a zip-top bag and use a rolling pin to crush them to fine crumbs. If you’re in a hurry (or making a big batch), a food processor works like a dream. Just make sure you don’t leave big chunks for the smoothest base.
Can Reese’s Peanut Butter No-Bake Bars be made vegan or gluten-free?
Yes! Swap in a plant-based butter and dairy-free chocolate chips for a vegan version, and use gluten-free graham crackers to accommodate gluten sensitivities. The recipe is quite flexible and totally delicious with these substitutions.
Do I have to chill the bars for a full hour?
For the best, firmest results, an hour of chilling is recommended. If you’re pressed for time, you can speed up the process in the freezer—just keep an eye on them so the chocolate doesn’t crack. Letting them set ensures neat slicing and perfect layers.
How do I prevent the chocolate layer from cracking when cutting?
The secret is to let the bars sit at room temperature for 5-10 minutes after coming out of the fridge. This gives the chocolate time to soften ever-so-slightly, so you get clean, beautiful cuts instead of shattered topping.
Final Thoughts
I can’t recommend these Reese’s Peanut Butter No-Bake Bars highly enough—they’re a true instant classic, guaranteed to steal the show at any gathering (or your own kitchen). Give them a try and watch everyone swoon over those perfect peanut butter and chocolate layers. Happy no-baking!
PrintReese’s Peanut Butter No-Bake Bars Recipe

Indulge in the creamy, chocolaty goodness of these irresistible Reese’s Peanut Butter No-Bake Bars. With layers of smooth peanut butter and rich chocolate, these bars are a quick and easy treat for any occasion.
- Prep Time: 15 minutes
- Cook Time: 0 minutes
- Total Time: 1 hour 15 minutes
- Yield: 16 bars 1x
- Category: Dessert
- Method: No-Bake
- Cuisine: American
- Diet: Vegetarian
Ingredients
Peanut Butter Layer:
- 1 cup (240g) creamy peanut butter
- 1/2 cup (115g) unsalted butter, melted
- 1 1/4 cups (150g) powdered sugar
- 1 1/2 cups (180g) crushed graham crackers
Chocolate Topping:
- 1 1/2 cups (270g) semi-sweet or milk chocolate chips
- 2 tbsp creamy peanut butter (for topping)
Instructions
- Prepare the Peanut Butter Layer: In a medium mixing bowl, combine 1 cup of peanut butter, melted butter, powdered sugar, and crushed graham crackers.
- Stir until well combined and smooth.
- Press the mixture evenly into the bottom of an 8×8-inch baking pan lined with parchment paper.
- Make the Chocolate Topping: In a microwave-safe bowl, combine the chocolate chips and 2 tablespoons of peanut butter.
- Microwave in 20-second increments, stirring between each, until melted and smooth.
- Assemble the Bars: Pour the melted chocolate mixture over the peanut butter layer in the pan, spreading it evenly with a spatula.
- Chill and Set: Refrigerate for at least 1 hour, or until the bars are firm and set.
- Cut and Serve: Once set, lift the bars out of the pan using the parchment paper and cut into squares.
- Serve and enjoy!
Nutrition
- Serving Size: 1 bar
- Calories: 280
- Sugar: 18g
- Sodium: 180mg
- Fat: 18g
- Saturated Fat: 8g
- Unsaturated Fat: 8g
- Trans Fat: 0g
- Carbohydrates: 27g
- Fiber: 2g
- Protein: 5g
- Cholesterol: 15mg
Keywords: Reese’s, Peanut Butter, No-Bake, Bars, Dessert, Chocolate

