Red Velvet Brownies Recipe
Introduction
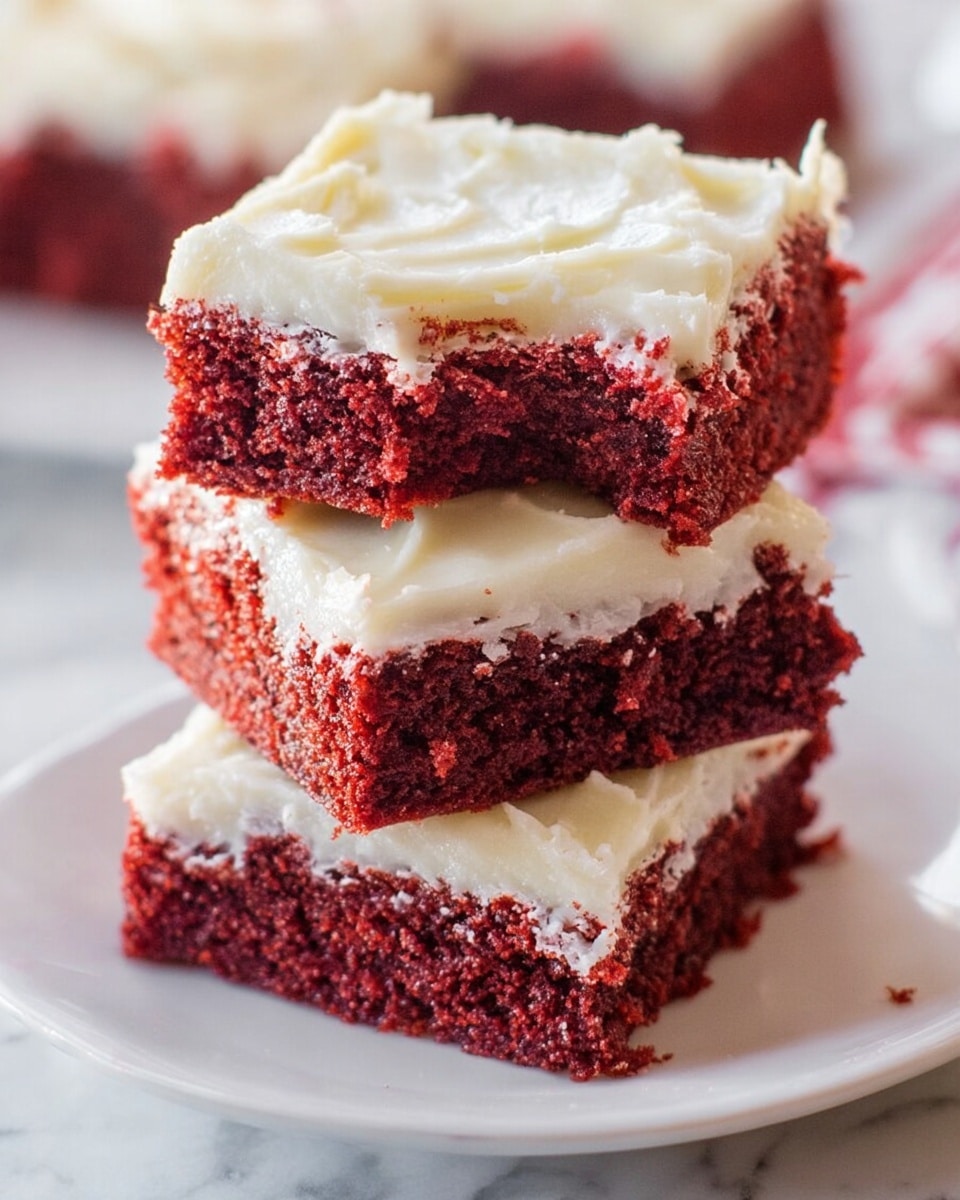
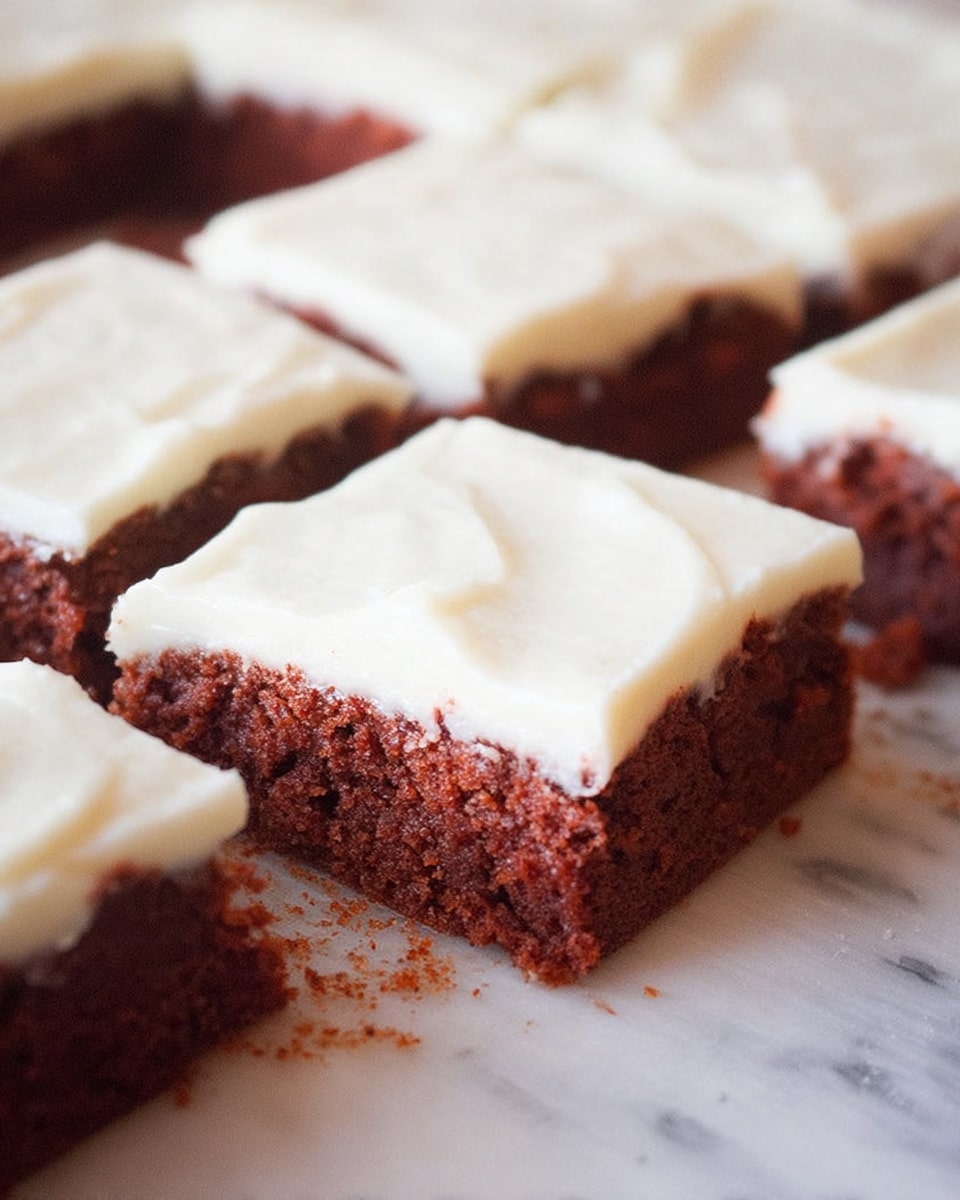
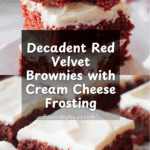
These Red Velvet Brownies offer a luscious twist on a classic treat, combining rich chocolate with the vibrant color and subtle tang of red velvet. Topped with a creamy, smooth cream cheese frosting, they are perfect for any occasion or just a delightful afternoon indulgence.
Ingredients
- 1/2 cup unsalted butter
- 1/3 cup semi-sweet chocolate chips
- 1 cup granulated sugar
- 2 large eggs
- 1 teaspoon vanilla extract
- 2 tablespoons buttermilk
- 1 teaspoon red food coloring (approximately)
- 1 cup all-purpose flour
- 1/2 teaspoon baking powder
- 4 oz cream cheese (room temperature)
- 2 tablespoons softened butter
- 1/2 teaspoon vanilla extract
- 1 1/2 cups powdered sugar
- 3 tablespoons skim milk
Instructions
- Step 1: Preheat your oven to 350º F. Grease an 8-inch baking pan or line it with parchment paper and set aside.
- Step 2: In a microwave-safe bowl, combine the butter (cut into pieces) and chocolate chips. Microwave for 1 minute, then stir until fully melted and smooth. Let it cool for 3 to 4 minutes.
- Step 3: In a separate bowl, beat together the sugar, eggs, vanilla extract, and buttermilk until the mixture is smooth and well combined.
- Step 4: Add the melted chocolate mixture to the sugar and egg mixture. Stir until fully incorporated.
- Step 5: Mix in the red food coloring to reach your desired brightness; about 1 teaspoon is typical, but feel free to adjust.
- Step 6: Gently fold in the flour and baking powder until no white streaks remain, being careful not to overmix.
- Step 7: Pour the batter into your prepared pan and bake for about 25 minutes, or until a toothpick inserted in the center comes out clean. Allow the brownies to cool completely.
- Step 8: To prepare the frosting, beat the room temperature cream cheese and softened butter together until smooth.
- Step 9: Add vanilla extract, powdered sugar, and skim milk. Beat until the mixture is smooth and spreadable, adjusting sugar or milk to reach your preferred consistency.
- Step 10: Once the brownies are cool, spread the cream cheese frosting evenly on top. Cut into squares and serve.
Tips & Variations
- For an extra moist texture, you can substitute buttermilk with plain yogurt or sour cream.
- Try adding a handful of chopped walnuts or pecans to the batter for a crunchy surprise.
- If you prefer a more pronounced chocolate flavor, increase the semi-sweet chocolate chips by a few tablespoons.
- Use gel food coloring for a more vibrant color without thinning the batter.
Storage
Store the brownies in an airtight container in the refrigerator for up to 4 days. Let them come to room temperature before serving, or warm briefly in the microwave for a softer texture. They can also be frozen for up to 2 months; thaw overnight in the refrigerator before enjoying.
How to Serve
Serve this delicious recipe with your favorite sides.
FAQs
Can I make these brownies without cream cheese frosting?
Yes, the brownies are delicious on their own and can be dusted with powdered sugar or served with a scoop of vanilla ice cream for a simpler option.
What can I use instead of buttermilk?
If you don’t have buttermilk, mix 2 tablespoons of lemon juice or white vinegar with enough milk to equal 1 cup. Let it sit for 5 minutes before using as a substitute.
PrintRed Velvet Brownies Recipe

These Red Velvet Brownies combine the rich, fudgy texture of classic brownies with the vibrant color and subtle flavor of red velvet. Topped with a smooth, creamy cream cheese frosting, this dessert is perfect for any occasion where you want to impress with a visually stunning and delicious treat.
- Prep Time: 15 minutes
- Cook Time: 25 minutes
- Total Time: 40 minutes
- Yield: 9 servings 1x
- Category: Dessert
- Method: Baking
- Cuisine: American
- Diet: Vegetarian
Ingredients
Brownies
- 1/2 cup unsalted butter
- 1/3 cup semi-sweet chocolate chips
- 1 cup granulated sugar
- 2 whole large eggs
- 1 teaspoon vanilla extract
- 2 Tablespoons buttermilk
- 1 teaspoon red food coloring (approximately)
- 1 cup all-purpose flour
- 1/2 teaspoon baking powder
Cream Cheese Frosting
- 4 oz cream cheese (room temperature)
- 2 Tablespoons softened butter
- 1/2 teaspoon vanilla extract
- 1 1/2 cup powdered sugar
- 3 Tablespoons skim milk
Instructions
- Preheat and Prepare Pan: Preheat the oven to 350º F. Grease or line an 8-inch baking pan with parchment paper and set it aside.
- Melt Butter and Chocolate: Cut the butter into pieces in a microwave-safe bowl, add chocolate chips, and microwave for 1 minute. Stir until fully melted and let cool for 3-4 minutes.
- Mix Wet Ingredients: In a separate bowl, beat together sugar, eggs, vanilla extract, and buttermilk until smooth and combined.
- Combine Chocolate Mixture: Add the cooled melted chocolate mixture to the sugar and egg mixture and mix until well combined.
- Add Food Coloring: Stir in red food coloring (about 1 teaspoon) until you achieve the desired brightness.
- Incorporate Dry Ingredients: Add the flour and baking powder to the mixture and stir just until no white streaks remain, being careful not to overmix.
- Bake the Brownies: Pour the batter into the prepared baking dish and bake for approximately 25 minutes, or until a toothpick inserted comes out clean. Remove from oven and allow to cool completely.
- Make the Frosting – Cream Cheese and Butter: Beat the cream cheese and softened butter together until smooth and creamy.
- Add Vanilla and Sugar: Add vanilla extract, powdered sugar, and skim milk to the cream cheese mixture and continue beating until the frosting reaches a smooth, spreadable consistency. Adjust powdered sugar or milk as needed for thickness.
- Frost the Brownies: Once the brownies have cooled completely, evenly spread the cream cheese frosting on top before slicing and serving.
Notes
- Ensure the brownies are completely cooled before frosting to prevent melting the frosting.
- You can adjust the red food coloring amount depending on your preferred color intensity.
- Use room temperature cream cheese and softened butter to get a smooth, lump-free frosting.
- For a dairy-free version, substitute butter and cream cheese with plant-based alternatives.
- Store brownies in an airtight container in the refrigerator to keep the frosting fresh for up to 4 days.
Keywords: Red Velvet Brownies, Cream Cheese Frosting, Chocolate Brownies, Red Velvet Dessert, Fudgy Brownies

