No-Bake Biscoff Cheesecake Cups Recipe
Introduction
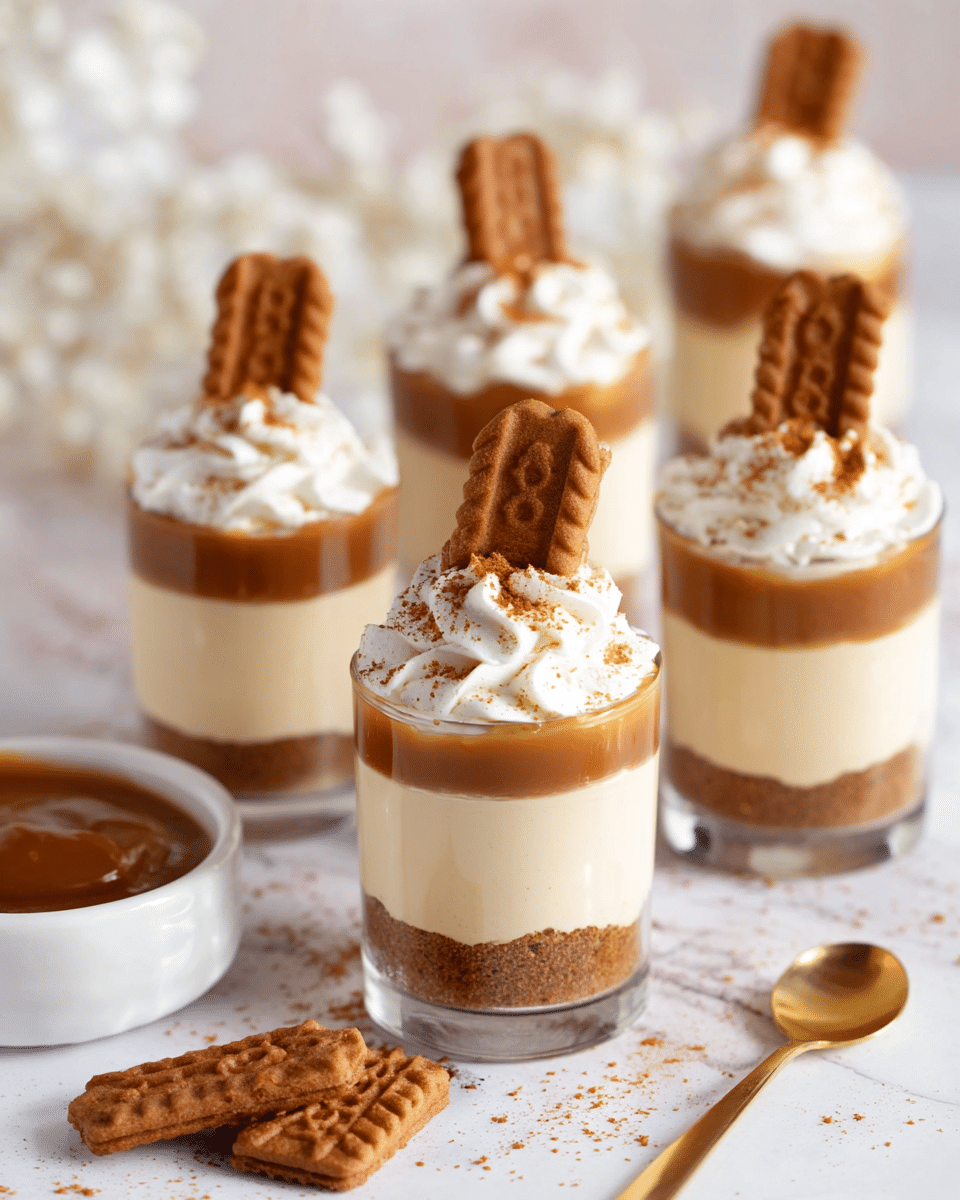
No-bake Biscoff cheesecake cups are a luscious and easy-to-make dessert perfect for any occasion. Combining the rich flavor of Biscoff cookies and creamy cheesecake, these individual cups are sure to impress without turning on the oven.
Ingredients
- 15 Lotus Biscoff cookies (105 grams)
- 3 tablespoons melted unsalted butter (42 grams)
- 1 cup cream cheese (225 grams)
- 1/4 cup icing sugar (30 grams)
- 1/3 cup smooth Biscoff cookie spread (100 grams)
- 1 teaspoon vanilla extract
- 1/2 cup whipping cream/heavy cream/double cream (125 ml)
- 6 tablespoons Biscoff cookie spread (for drizzling)
- 4 Lotus Biscoff cookies (1 crushed coarsely, 3 broken in half for garnish)
- Whipped cream (as required)
Instructions
- Step 1: Prepare the crust by pulsing Biscoff cookies in a food processor until fine crumbs form. Alternatively, crush cookies in a ziplock bag with a rolling pin.
- Step 2: Transfer crumbs to a bowl, add melted butter, and mix until the mixture resembles wet sand.
- Step 3: Divide the cookie crumbs evenly among 6 serving glasses (about 2.5 tablespoons per glass). Press lightly to form the crust layer and refrigerate while preparing the filling.
- Step 4: Beat the cold whipping cream in a chilled bowl on high speed until stiff peaks form. Set aside and keep chilled.
- Step 5: In another bowl, beat cream cheese and icing sugar on medium speed until smooth and creamy, scraping down the sides as needed.
- Step 6: Beat in the Biscoff cookie spread and vanilla extract until well combined.
- Step 7: Gently fold the whipped cream into the cream cheese mixture in two parts until fully incorporated.
- Step 8: Transfer the cheesecake filling to a piping bag or ziplock bag and snip off the tip.
- Step 9: Pipe the filling over each cookie crust and level with the back of a spoon.
- Step 10: Warm 6 tablespoons of Biscoff spread in the microwave for 10-15 seconds until drizzle consistency. Drizzle over the cheesecake layer.
- Step 11: Cover and chill the cups for 4 to 6 hours, or preferably overnight.
- Step 12: Before serving, garnish each cup with whipped cream, half a Biscoff cookie, and a sprinkle of crushed cookie crumbs.
- Step 13: Serve chilled and enjoy your delicious no-bake Biscoff cheesecake cups!
Tips & Variations
- Use chilled bowls and beaters for whipping cream to achieve better volume and texture.
- If you prefer a less sweet dessert, adjust the amount of icing sugar to your taste.
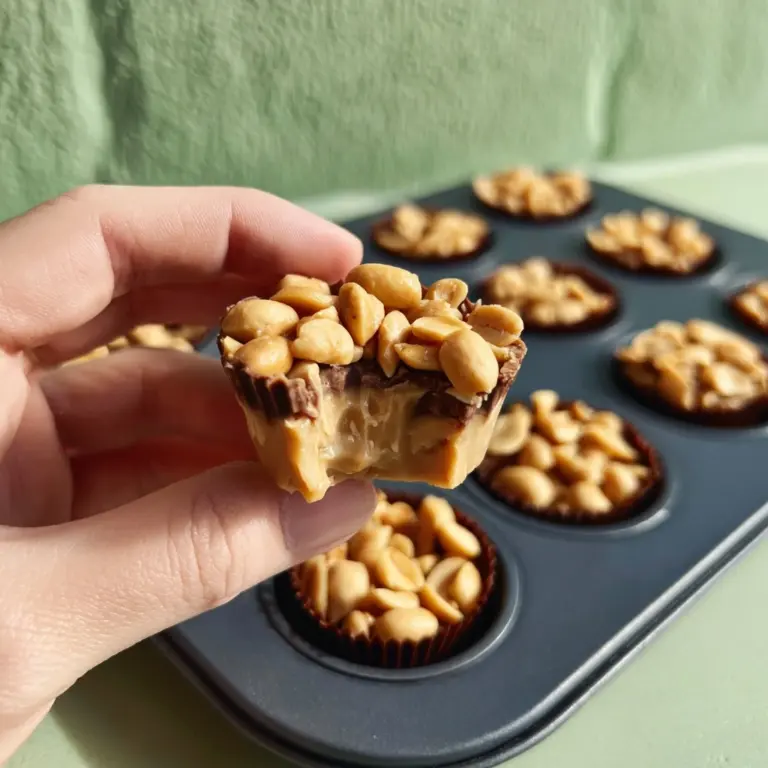
- Swap Biscoff cookie spread with peanut butter or Nutella for a different twist.
- Make mini versions using small glasses for bite-sized treats perfect for parties.
Storage
Store the cheesecake cups covered in the refrigerator for up to 3 days. For best texture and flavor, consume within this timeframe. No need to reheat; serve chilled directly from the fridge.
How to Serve
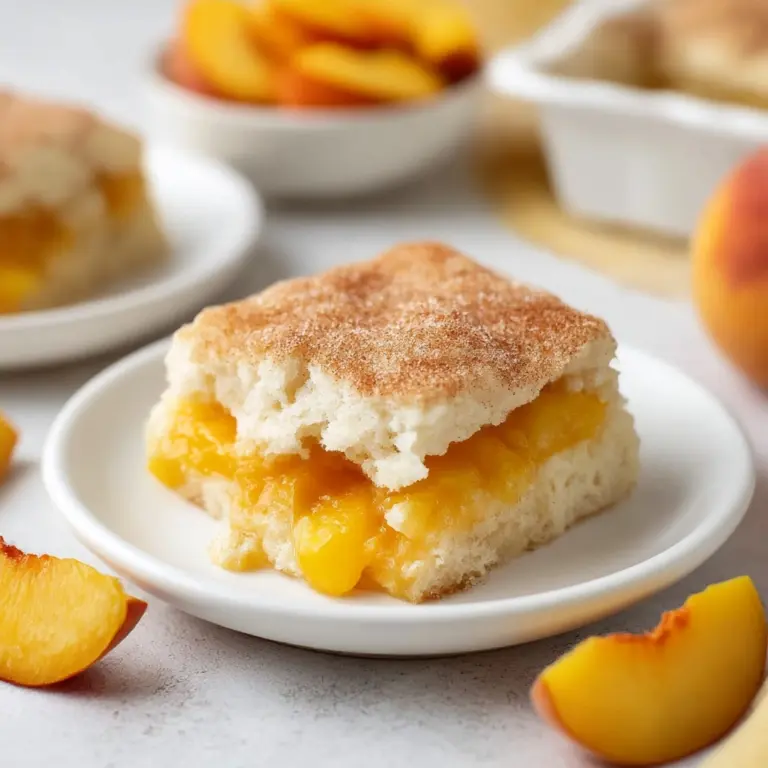
Serve this delicious recipe with your favorite sides.
FAQs
Can I make these cheesecake cups ahead of time?
Yes, they are perfect for making a day ahead. Just keep them refrigerated and garnish just before serving for the freshest look.
What can I use instead of Biscoff cookie spread?
You can substitute with peanut butter, Nutella, or any smooth cookie butter of your choice to create a different flavor profile.
PrintNo-Bake Biscoff Cheesecake Cups Recipe

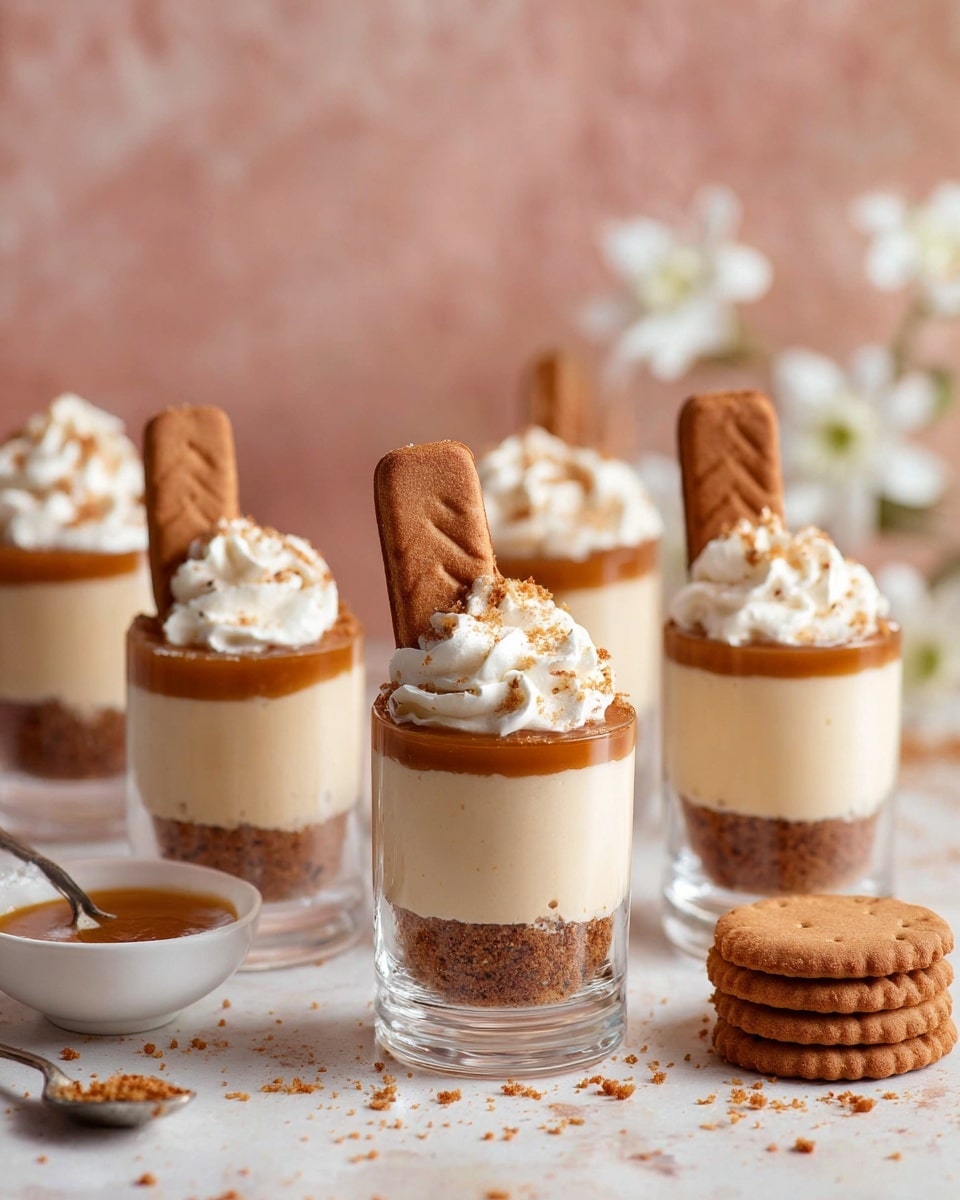
Delight in these no-bake Biscoff Cheesecake Cups featuring a crunchy Biscoff cookie crust topped with a creamy, luscious Biscoff and cream cheese filling. Perfectly chilled and garnished with whipped cream and cookie pieces, these individual servings offer an easy yet indulgent dessert that’s quick to prepare and irresistibly delicious.
- Prep Time: 20 minutes
- Cook Time: 0 minutes
- Total Time: 4 hours 20 minutes (including chilling time)
- Yield: 6 servings 1x
- Category: Dessert
- Method: No-Cook
- Cuisine: European
Ingredients
Crust
- 15 Lotus Biscoff cookies (105 grams)
- 3 tablespoons melted unsalted butter (42 grams)
Cheesecake Filling
- 1 cup cream cheese (225 grams)
- 1/4 cup icing sugar (30 grams)
- 1/3 cup smooth Biscoff cookie spread (100 grams)
- 1 teaspoon vanilla extract
- 1/2 cup whipping cream / heavy cream / double cream (125 ml)
Assembly & Garnish
- 6 tablespoons Biscoff cookie spread (melted for drizzling; adjust quantity as desired)
- 4 Lotus Biscoff cookies (1 crushed coarsely for garnish and remaining 3 broken in half to garnish)
- Whipped cream (as required for garnish)
Instructions
- Make the cheesecake crust: Pulse 15 Lotus Biscoff cookies in a food processor until fine crumbs form, or place them in a ziplock bag and crush with a rolling pin. Transfer the crumbs to a bowl, add 3 tablespoons melted unsalted butter, and mix until the texture resembles wet sand.
- Form the crust in serving glasses: Divide the cookie crumb mixture evenly between 6 serving glasses, approximately 2.5 tablespoons per glass. Lightly press the crumbs down to create a firm base. Refrigerate these while preparing the cheesecake filling.
- Whip the cream: Pour 1/2 cup cold whipping cream into a chilled bowl and beat on high speed until stiff peaks form. Be careful not to overbeat, especially if using dairy heavy cream, to avoid turning it into butter. Set aside and keep chilled.
- Prepare cream cheese mixture: In another large bowl, combine 1 cup cream cheese and 1/4 cup icing sugar. Beat on medium speed with a hand or stand mixer fitted with a paddle attachment until smooth and creamy, scraping down the sides as needed.
- Add flavorings: Stir in 1/3 cup Biscoff cookie spread and 1 teaspoon vanilla extract, mixing on medium speed until fully combined.
- Incorporate whipped cream: Carefully fold the whipped cream into the cream cheese mixture in two additions using a spatula, maintaining a light, airy texture.
- Prepare for assembly: Transfer the cheesecake filling into a piping bag or a ziplock bag with the tip cut off for easy dispensing.
- Assemble the cheesecake cups: Pipe the cheesecake filling over the pressed cookie crust in each glass, leveling gently with the back of a spoon.
- Drizzle Biscoff spread: Melt 6 tablespoons of Biscoff cookie spread in a microwave-safe bowl in the microwave on low for 10-15 seconds until just warm and drizzle it evenly over the cheesecake layer.
- Chill: Cover the desserts and refrigerate for 4 to 6 hours or overnight to set fully.
- Garnish and serve: Before serving, top each cheesecake cup with a dollop of whipped cream, half a Biscoff cookie, and sprinkle with some crushed cookie crumbs if desired. Serve chilled for best taste and texture.
Notes
- Use icing sugar instead of powdered sugar containing cornstarch for a silky smooth texture.
- To avoid overbeating the cream, stop whipping as soon as stiff peaks hold their shape but the cream is still smooth.
- Adjust the amount of Biscoff drizzle according to your preference for sweetness and richness.
- If you don’t have a piping bag, a ziplock bag with a small corner cut off works well for assembly.
- These cheesecake cups can be stored covered in the fridge for up to 2 days for optimal freshness.
Keywords: no-bake cheesecake, Biscoff cheesecake cups, Lotus Biscoff dessert, easy no-bake dessert, individual cheesecake servings

