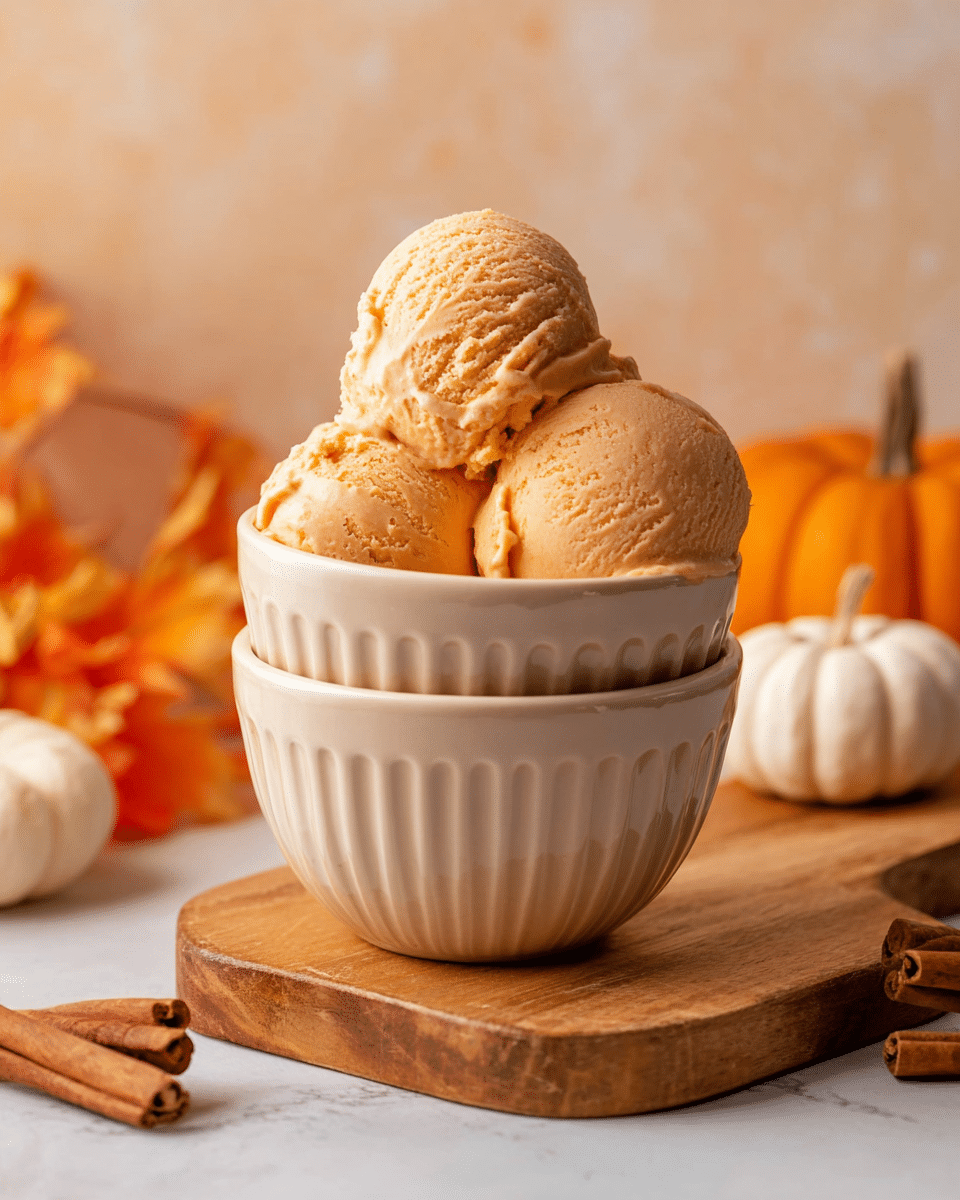
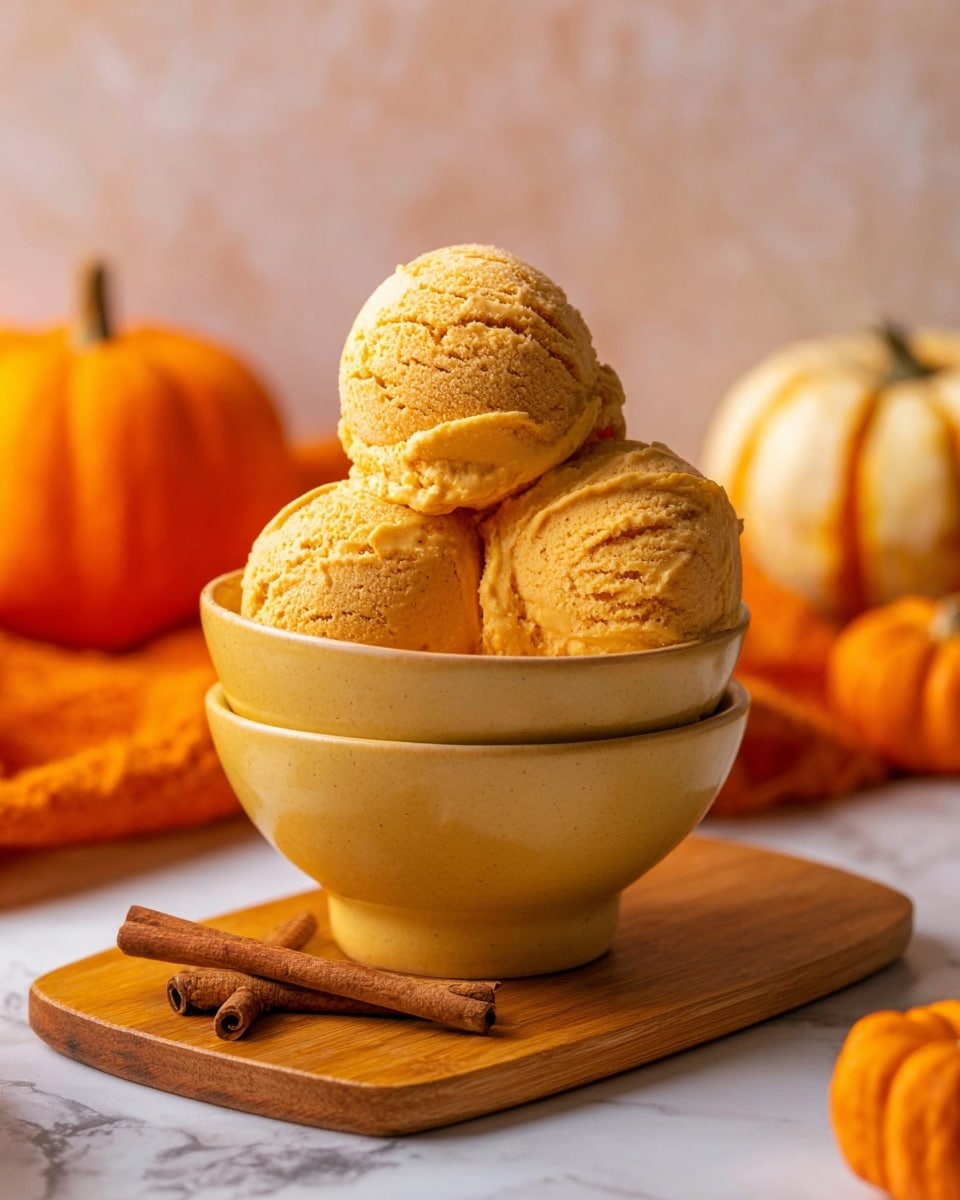
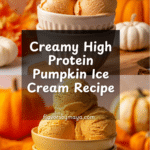
High Protein Pumpkin Ice Cream (Ninja Creami Option) Recipe
Introduction
This High Protein Pumpkin Ice Cream is a creamy, nutritious treat perfect for enjoying the flavors of fall any time of year. Using a Ninja Creami or food processor, you can whip up this dairy-free, low-sugar dessert at home with ease.
Ingredients
- 12-14 oz unsweetened almond milk (or any other dairy-free milk)
- 1-2 tbsp Greek yogurt (optional, but makes it creamier)
- 1/2 cup canned pumpkin puree (not pumpkin pie filling)
- 1 scoop vanilla protein powder (about 3 tbsp)
- 2-3 tbsp powdered monk fruit sweetener for low sugar and low carb (OR honey/maple syrup)
- 1 teaspoon vanilla extract
- 1 teaspoon pumpkin pie spice
- 1/4 teaspoon cinnamon
- Pinch of salt
Instructions
- Step 1: Combine all ingredients in a blender and blend until smooth.
- Step 2: For Ninja Creami method, pour the mixture into a Ninja Creami pint container without exceeding the MAX FILL line. Seal and freeze for at least 24 hours.
- Step 3: Remove the frozen container and process in the Ninja Creami on the “light ice cream” setting.
- Step 4: If desired, create a small hole down the center with a knife, add 1-2 tbsp coconut milk, and re-spin to achieve a creamier texture. Skip re-spin if already smooth.
- Step 5: Alternatively, pour the blended mix into ice cube trays and freeze for 24 hours for the food processor method.
- Step 6: Transfer frozen cubes to a food processor, add 1/4 to 1/3 cup coconut or almond milk, and blend until smooth and creamy, scraping down the sides as needed.
- Step 7: Adjust the consistency by adding more milk if necessary and blend again until desired texture is reached.
Tips & Variations
- Use Greek yogurt for extra creaminess, or omit for a lighter dairy-free option.
- Swap monk fruit sweetener for honey or maple syrup for a natural sweetness and a touch of added flavor.
- Add a handful of chopped nuts or dark chocolate chips after processing for extra texture.
- Experiment with spice levels by adding more cinnamon or a pinch of nutmeg.
Storage
Store leftover ice cream in an airtight container in the freezer for up to one week. To soften, let it sit at room temperature for a few minutes before scooping. Re-blending with a splash of milk can help restore creaminess if it becomes too firm.
How to Serve
Serve this delicious recipe with your favorite sides.
FAQs
Can I use regular dairy milk instead of almond milk?
Yes, you can substitute any milk you prefer. Dairy milk will make the ice cream creamier, while plant-based milks keep it dairy-free.
What if I don’t have a Ninja Creami or food processor?
Without these machines, you can still freeze the mixture in a shallow container and stir every 30 minutes until it reaches a creamy consistency, though the texture may be less smooth.
PrintHigh Protein Pumpkin Ice Cream (Ninja Creami Option) Recipe

This High Protein Pumpkin Ice Cream is a creamy, low-sugar treat made with pumpkin puree, vanilla protein powder, and warming spices. Perfect for a healthy dessert or snack, it can be made easily using the Ninja Creami or a food processor, resulting in a smooth and delicious fall-inspired frozen dessert.
- Prep Time: 10 minutes
- Cook Time: N/A
- Total Time: 24 hours 10 minutes (including freezing)
- Yield: 4 servings 1x
- Category: Dessert
- Method: Blending
- Cuisine: American
- Diet: Low Carb
Ingredients
Main Ingredients
- 12–14 oz unsweetened almond milk (or any other dairy-free milk)
- 1–2 tbsp Greek yogurt (optional, for creaminess)
- 1/2 cup canned pumpkin puree (not pumpkin pie filling)
- 1 scoop vanilla protein powder (about 3 tbsp)
- 2–3 tbsp powdered monk fruit sweetener (or honey/maple syrup for natural sweetness)
- 1 teaspoon vanilla extract
- 1 teaspoon pumpkin pie spice
- 1/4 teaspoon cinnamon
- Pinch of salt
Instructions
- Prepare the mixture: Combine all ingredients—almond milk, Greek yogurt, pumpkin puree, protein powder, sweetener, vanilla extract, pumpkin pie spice, cinnamon, and salt—in a blender. Blend until completely smooth and well incorporated.
- Freeze in Ninja Creami pint: Pour the blended mixture into the Ninja Creami pint container, ensuring the liquid does not exceed the MAX FILL line. Seal the container with its lid and place it in the freezer. Freeze for at least 24 hours to ensure proper consistency.
- Process in Ninja Creami: After freezing, remove the pint from the freezer and install it into the Ninja Creami machine. Select the “light ice cream” setting to process the mixture into ice cream.
- Optional re-spin for creaminess: If desired, create a small hole in the ice cream using a knife. Add 1-2 tablespoons of coconut milk through the hole and re-spin the ice cream in the Ninja Creami to enhance creaminess. If the texture is already smooth, this step can be skipped.
- Alternative food processor method – freeze in trays: Pour the blended mixture into ice cube trays and freeze for 24 hours until completely frozen.
- Blend frozen cubes: Transfer the frozen ice cubes to a food processor. Add 1/4 to 1/3 cup of coconut or almond milk and blend until smooth and creamy. Pause occasionally to scrape down the sides to ensure even blending.
- Adjust consistency: If the mixture is too thick, gradually add more coconut or almond milk to reach the desired creamy texture. Serve immediately after blending.
Notes
- Use unsweetened dairy-free milk to keep it low in sugar and carbs.
- Greek yogurt is optional but adds extra creaminess and protein.
- Powdered monk fruit sweetener keeps this recipe low sugar, but honey or maple syrup can be used as natural alternatives.
- For best texture using the Ninja Creami, freeze for a full 24 hours before processing.
- You can adjust sweetness and spices to taste depending on preference.
- This ice cream is best consumed within a few days of making for optimal freshness.
Keywords: pumpkin ice cream, high protein, low sugar dessert, Ninja Creami recipe, healthy pumpkin dessert, dairy-free ice cream, low carb ice cream

