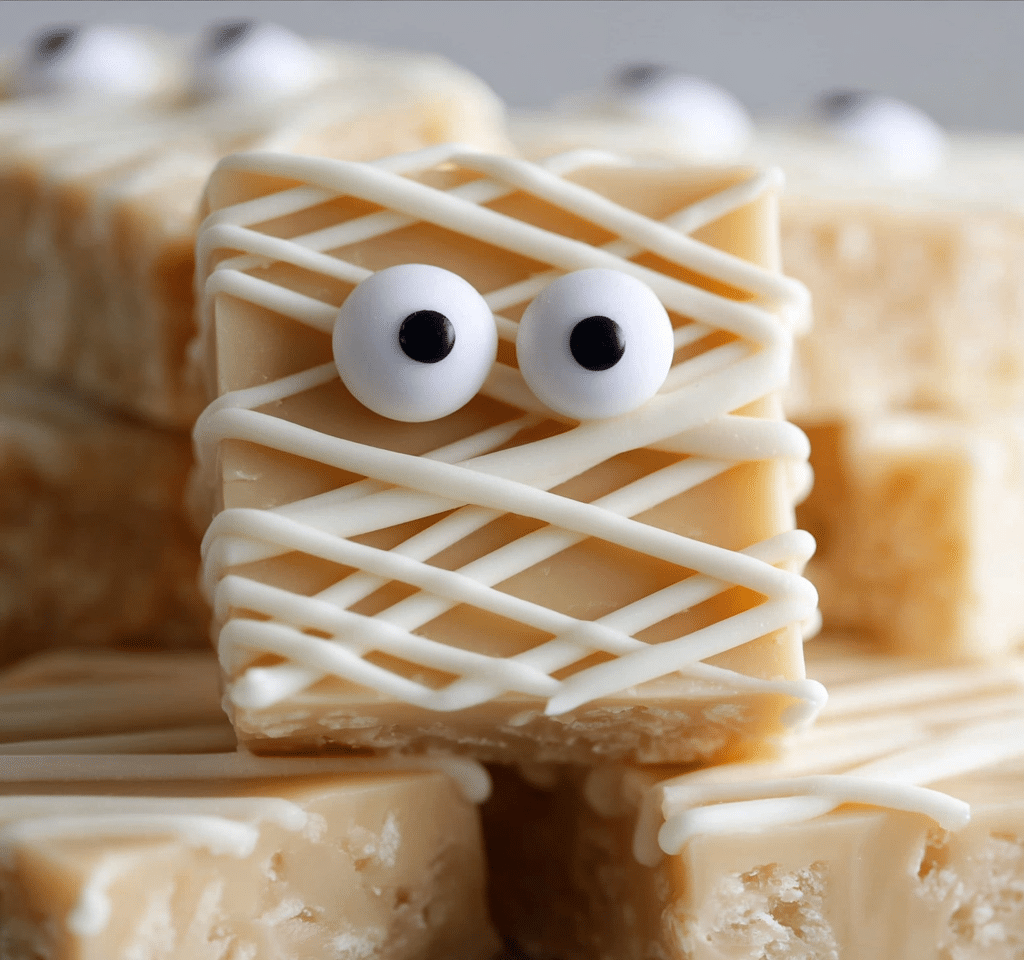
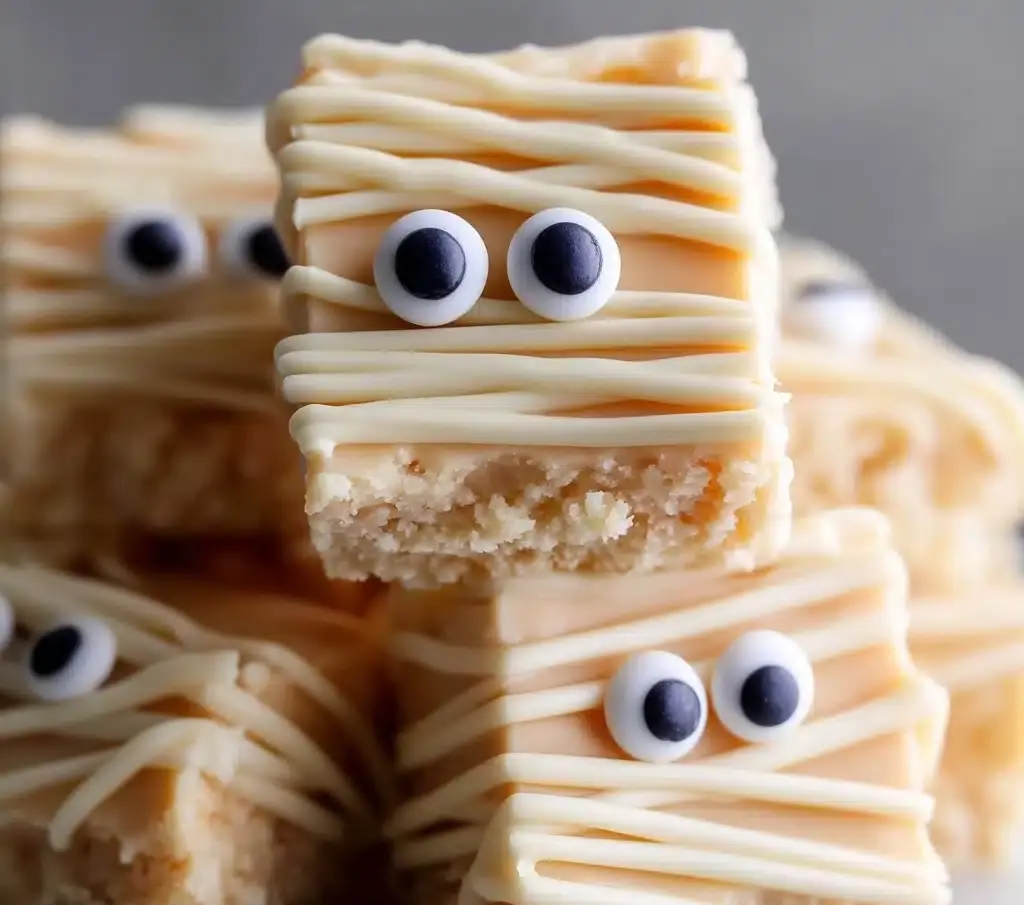
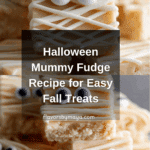
Halloween Mummy Fudge Recipe
If you’re on the lookout for a ridiculously fun and utterly delicious treat this spooky season, you have to try this Halloween Mummy Fudge. It’s a creamy, melt-in-your-mouth white chocolate fudge that’s transformed into charming little mummies with candy eyes and swooping white chocolate “bandages.” The perfect balance of sweet and festive, this Halloween Mummy Fudge is sure to be the star of any party or cozy night in, bringing both smiles and scrumptious bites to your celebration.
Ingredients You’ll Need
This recipe relies on a handful of simple yet carefully chosen ingredients that each play a vital role. From the smooth richness of white chocolate chips to the velvety sweetness of condensed milk, each element comes together to create that perfect fudge texture and flavor you’ll love. And the decorations? They turn that delicious fudge into an adorable Halloween masterpiece.
- White chocolate chips: The base for your fudge, offering creamy sweetness and smooth texture that melts effortlessly.
- Sweetened condensed milk: Adds richness and keeps the fudge incredibly moist while providing just the right amount of sweetness.
- Vanilla extract: Heightens the flavor with a warm, comforting aroma that complements the white chocolate perfectly.
- Pinch of salt: Balances the sweetness and brings out the full flavor of the fudge.
- White candy melts: Used for creating the iconic mummy bandages—smooth and firm once set.
- Candy eyes: The simplest yet most delightful touch that instantly gives your fudge mummies personality and charm.
How to Make Halloween Mummy Fudge
Step 1: Prepare Your Pan
Start by lining an 8×8-inch baking dish with parchment paper. This ensures your fudge will come out effortlessly once set and keeps everything tidy, giving you perfect edges every time.
Step 2: Melt the Fudge Base
In a saucepan over low heat, gently combine white chocolate chips, sweetened condensed milk, and a pinch of salt. Stir constantly as the mixture melts to a silky-smooth consistency. Keep an eye on it to prevent scorching—slow and steady wins this race!
Step 3: Add Vanilla and Chill
Once smooth and melted, remove the pan from heat, then stir in the vanilla extract. Pour the fudge mixture into your prepared dish, smoothing out the surface. Pop it into the fridge for 2 to 3 hours until it’s completely firm and ready to be transformed.
Step 4: Cut and Decorate
After chilling, cut the fudge into squares or rectangles—you’ll want just the right size to show off those adorable mummy details. Melt your white candy melts (or extra white chocolate) and transfer to a piping bag. Pipe zigzag patterns over each fudge square to mimic mummy bandages. While the frosting is still soft, press two candy eyes onto each piece to bring your mummies to life.
Step 5: Set and Serve
Allow your decorated Halloween Mummy Fudge to set completely so the “bandages” harden and the eyes stay put. After that, they’re ready to delight your guests or satisfy your own sweet tooth with a seasonal treat made with love.
How to Serve Halloween Mummy Fudge
Garnishes
Feel free to sprinkle a tiny pinch of edible glitter or orange sanding sugar around your fudge plate for a little extra Halloween flair. A few additional candy eyes scattered nearby can add whimsical touches that encourage smiles and conversation.
Side Dishes
Pair your Halloween Mummy Fudge with a cozy cup of spiced apple cider or a warm mug of pumpkin spice latte to complement the sweet creamy flavors with autumnal warmth. A handful of roasted nuts or dried cranberries on the side can add some satisfying texture and balance to the dessert experience.
Creative Ways to Present
Why not place each mummy fudge piece in mini cupcake liners decorated in Halloween colors? Or arrange them on a spooky-themed platter with faux cobwebs and mini pumpkins for a festive vibe. These little touches turn this already fun fudge into a showstopper on your dessert table!
Make Ahead and Storage
Storing Leftovers
Keep your Halloween Mummy Fudge in an airtight container at room temperature or in the fridge if your home is warm. It will stay fresh and chewy for up to a week, making it the ideal make-ahead snack for the entire spooky season.
Freezing
If you want to make a big batch in advance, Halloween Mummy Fudge freezes beautifully! Wrap individual pieces in parchment or plastic wrap and place them in a freezer-safe container. They’ll keep nicely for up to 2 months—perfect for pulling out when the mood strikes.
Reheating
When ready to enjoy frozen fudge, simply thaw at room temperature for a few hours. No need to microwave; the fudge retains its creamy texture best when gently brought back to life without heat.
FAQs
Can I make Halloween Mummy Fudge dairy-free?
Absolutely! Just swap white chocolate chips with a dairy-free alternative and use coconut condensed milk instead of the regular kind. This keeps it creamy and suitable for those avoiding dairy without sacrificing flavor or texture.
What if I don’t have candy melts for the bandages?
No worries! You can simply melt more white chocolate chips to pipe the bandages. It might not set quite as quickly as candy melts, but it will taste just as incredible and look just as festive.
How do I get the fudge to set firm?
Chilling is key! Make sure the fudge cools in the fridge for at least 2 to 3 hours before cutting and decorating. This helps it hold its shape and ensures those delicious creamy bites instead of gooey messes.
Can I use dark or milk chocolate instead of white?
You could, but the mummy effect relies on the bright white color. If you want to try a different base chocolate, you might need to adjust your decorations to make sure those spooky mummies stand out.
Is it okay to leave out the candy eyes?
Of course! While the candy eyes really bring the Halloween Mummy Fudge to life, you can skip them or substitute with small edible beads, chocolate chips, or even draw eyes with melted chocolate for a creative twist.
Final Thoughts
This Halloween Mummy Fudge is hands down one of the most charming and scrumptiously simple treats you can whip up for the season. With just a few humble ingredients and a little decorating fun, you get a dessert that’s not only mouthwateringly good but guaranteed to bring that festive spirit to your table. Go ahead, make some—your Halloween celebrations will thank you!
PrintHalloween Mummy Fudge Recipe
This Halloween Mummy Fudge is a festive and fun treat perfect for celebrating the spooky season. Creamy white chocolate fudge is decorated with zigzagged white candy melts to resemble mummy bandages, complete with cute candy eyes to bring the treat to life. Easy to prepare and visually impressive, it’s ideal for Halloween parties or a seasonal sweet snack.
- Prep Time: 15 minutes
- Cook Time: 10 minutes
- Total Time: 3 hours 25 minutes
- Yield: 16 fudge squares 1x
- Category: Dessert
- Method: No-bake, refrigeration
- Cuisine: American
- Diet: Vegetarian
Ingredients
For the fudge:
- 3 cups white chocolate chips (use dairy-free if needed)
- 1 (14 oz) can sweetened condensed milk (or coconut condensed milk for vegan)
- 1 teaspoon vanilla extract
- Pinch of salt
For the mummy decoration:
- 1 cup white candy melts (or more white chocolate, melted)
- Candy eyes (gluten-free/vegan-friendly)
Instructions
- Prepare the pan: Line an 8×8-inch baking dish with parchment paper to prevent sticking and ease removal of the fudge once set.
- Melt the fudge base: In a saucepan, combine the white chocolate chips, condensed milk, and a pinch of salt. Heat over low heat, stirring constantly to ensure the mixture melts evenly and becomes smooth without burning.
- Add flavor: Remove the saucepan from heat and stir in the vanilla extract to add depth and sweetness to the fudge.
- Set the fudge: Pour the smooth fudge mixture into the prepared baking dish and smooth the top with a spatula. Refrigerate for 2–3 hours or until the fudge is firm to the touch.
- Cut into pieces: Once firm, remove the fudge from the pan using the parchment paper edges and cut it into squares or rectangles of your desired size.
- Prepare decorations: Melt the white candy melts or additional white chocolate as an alternative. Transfer the melted candy into a piping bag or a zip-top bag with a small corner cut to create a piping tip.
- Decorate as mummies: Pipe zigzag patterns across each fudge square to mimic mummy bandages. While the candy is still soft, place two candy eyes on each piece.
- Set the decorations: Allow the decorated fudge to sit at room temperature or in the fridge until the bandages and eyes are firm and set before serving.
Notes
- For a vegan version, use dairy-free white chocolate chips and coconut condensed milk.
- You can substitute candy eyes with small chocolate chips or edible sugar pearls if desired.
- Ensure the fudge base is not overheated to prevent burning or grainy texture.
- Store fudge in an airtight container in the refrigerator for up to 1 week.
- For easier piping, allow candy melts to cool slightly before piping to avoid too-thin decoration lines.
Nutrition
- Serving Size: 1 piece (approximately 1/16th of recipe)
- Calories: 180 kcal
- Sugar: 24 g
- Sodium: 30 mg
- Fat: 9 g
- Saturated Fat: 6 g
- Unsaturated Fat: 3 g
- Trans Fat: 0 g
- Carbohydrates: 25 g
- Fiber: 0.5 g
- Protein: 2 g
- Cholesterol: 10 mg
Keywords: Halloween fudge, mummy fudge, white chocolate fudge, Halloween treats, no-bake fudge, spooky desserts