Chocolate Mint Cheesecake Recipe
Introduction
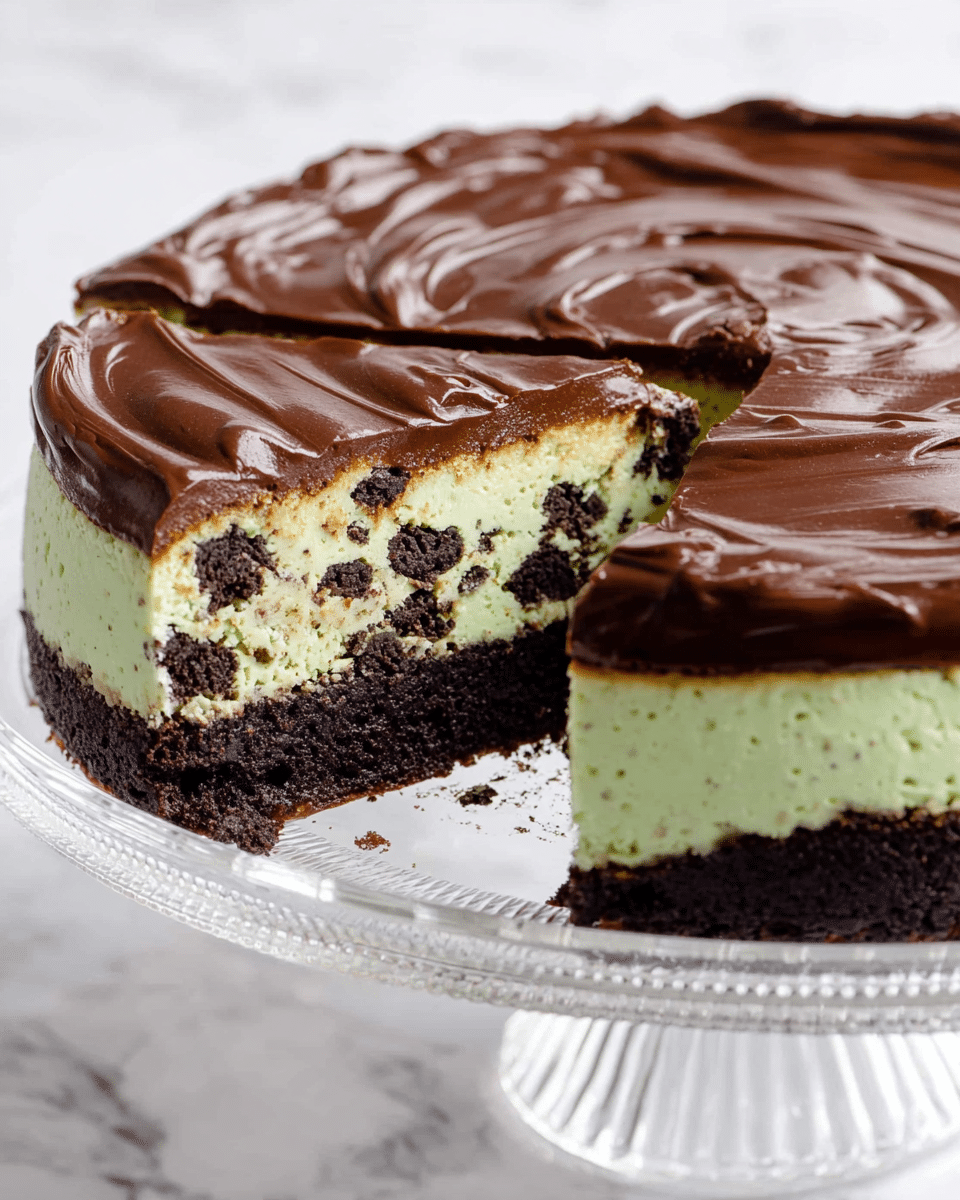
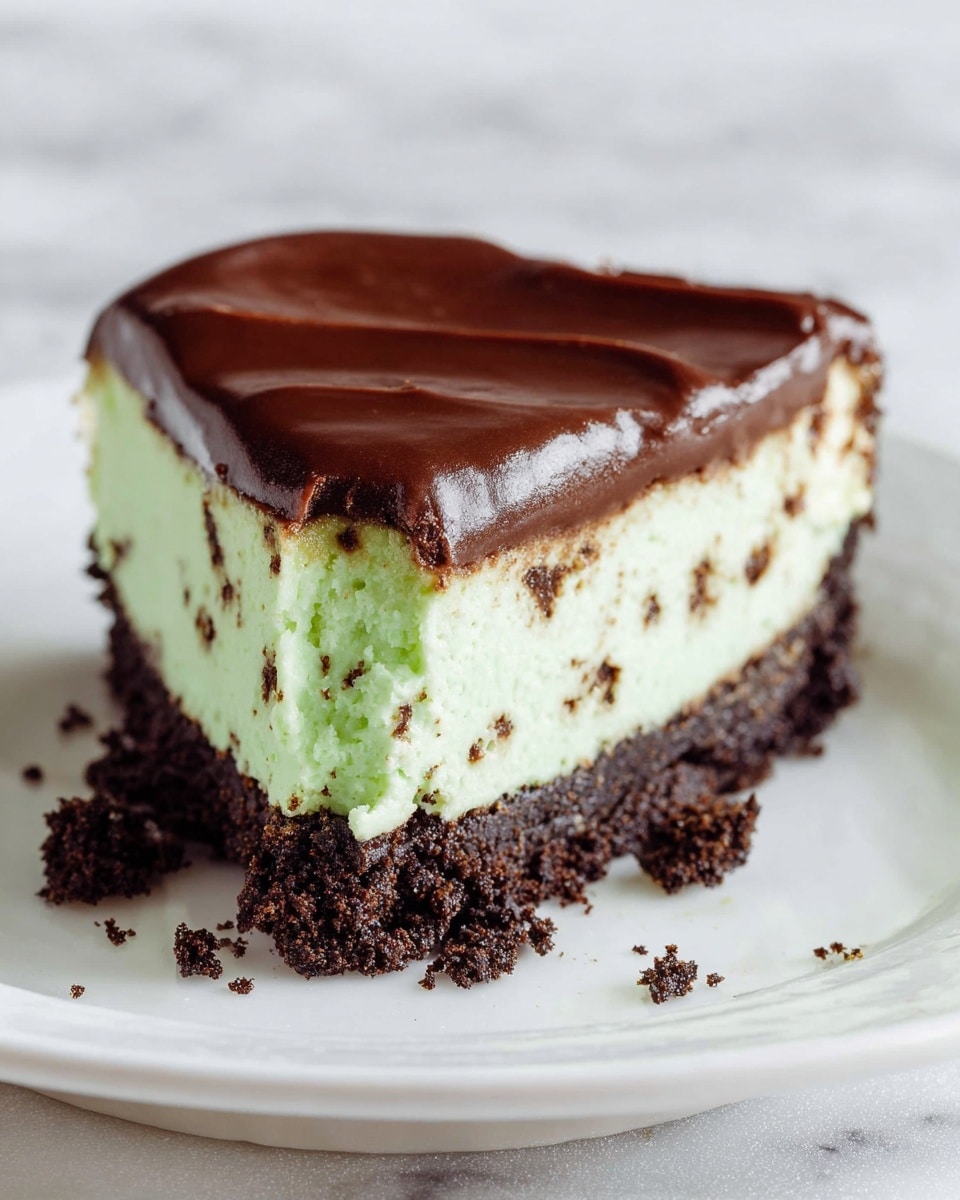
This Chocolate Mint Cheesecake combines a rich, creamy filling with a crunchy Oreo crust and a luscious mint-chocolate ganache topping. Perfect for celebrations or a special treat, it balances sweet and refreshing flavors in every bite.
Ingredients
- 2 cups classic Oreo cookie crumbs (about 22 cookies from a standard 20 ounce package)
- ¼ cup granulated sugar
- 2 tablespoons salted butter (melted)
- 1 cup white chocolate chips (melted and cooled)
- 24 ounces cream cheese (softened)
- 1 cup granulated sugar
- 3 tablespoons all-purpose flour
- 2 teaspoons peppermint extract
- 4 eggs
- 1 cup sour cream
- ¼ teaspoon gel-based green food coloring (or to preference)
- 1 cup semi-sweet chocolate chips
- 5 ounces Andes mints (removed from wrapper and broken into pieces)
- 1 cup heavy whipping cream
Instructions
- Preheat and prepare pan: Preheat the oven to 325°F. Line the bottom of a 9-inch round springform pan with parchment paper and spray with non-stick cooking spray.
- Melt white chocolate: In a large mixing bowl, melt white chocolate chips by microwaving in 30 second increments, stirring between each until smooth. Set aside to cool.
- Make crust: Pulverize Oreo cookies in a food processor until fine crumbs form. Add ¼ cup sugar and melted butter, pulsing until fully combined. Set aside 1 cup of the crumb mixture.
- Form crust: Press the remaining crumbs into the prepared pan, coming halfway up the sides. Set aside.
- Prepare filling: To the cooled white chocolate (liquid but not warm), beat in sugar, cream cheese, and flour with a hand mixer until smooth.
- Add flavor and eggs: Mix in peppermint extract, tasting to adjust flavor. Add eggs one at a time, stirring gently by hand until fully incorporated.
- Finish filling: Stir in sour cream and then add food coloring until desired green shade is reached.
- Assemble cheesecake: Pour half the filling into the crust. Sprinkle reserved cookie crumbs evenly over the filling. Top with remaining filling and smooth the surface.
- Prepare water bath and bake: Wrap the springform pan in foil and place it inside a larger pan. Add 1 inch of water to create a water bath. Bake for 60 to 70 minutes until the top is dull and slightly jiggly.
- Cool cheesecake gradually: Turn off the oven and leave the door closed for 20 to 30 minutes. Crack the door open and leave the cheesecake inside for an additional hour.
- Chill: Remove the cheesecake and chill in the refrigerator for 2 to 3 hours before adding ganache.
- Make ganache: Combine semi-sweet chocolate chips and chopped Andes mints in a bowl. Heat heavy cream until steaming, pour over chocolate, and cover. Let sit 5 minutes, then whisk until smooth and glossy.
- Cool ganache: Whisk occasionally while allowing ganache to thicken for about 15 minutes.
- Top cheesecake: Pour ganache over the chilled cheesecake. Use an offset spatula to spread it evenly to the edges, allowing some to drip down the sides. Create swirls for decoration if desired.
- Serve or chill: Serve immediately or refrigerate for 2 hours up to overnight before serving for best texture.
Tips & Variations
- Use a water bath to prevent cracking and help the cheesecake bake evenly.
- Add more peppermint extract gradually to suit your taste; it’s easier to add than to correct if too strong.
- For a gluten-free option, substitute Oreo cookies with gluten-free chocolate sandwich cookies.
- Allow ganache to cool and thicken to avoid melting the cheesecake surface when poured on.
Storage
Store leftover cheesecake in an airtight container or tightly covered in the refrigerator for up to 4 days. To preserve texture and flavor, avoid freezing if possible. When ready to serve, bring to room temperature for about 20 minutes or enjoy chilled. If chilled ganache hardens too much, let it soften slightly at room temperature before slicing.
How to Serve
Serve this delicious recipe with your favorite sides.
FAQs
Can I make this cheesecake ahead of time?
Yes, this cheesecake can be made a day or two in advance. Just keep it well covered in the refrigerator and add the ganache topping the day you plan to serve for the freshest taste.
What if I don’t have Andes mints?
If you can’t find Andes mints, substitute with any mint chocolate candy or chopped peppermint bark to maintain the minty chocolate flavor in the ganache.
PrintChocolate Mint Cheesecake Recipe
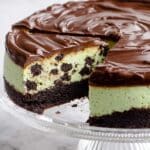
This decadent Chocolate Mint Cheesecake features a rich Oreo crust layered with creamy peppermint-infused cheesecake filling, topped with a luscious white chocolate and Andes mint ganache. Baked in a water bath for a smooth, silky texture, this dessert perfectly balances cool mint and indulgent chocolate, making it an irresistible treat for special occasions or holiday celebrations.
- Prep Time: 30 minutes
- Cook Time: 1 hour 15 minutes
- Total Time: 4 hours 45 minutes
- Yield: 12 servings 1x
- Category: Dessert
- Method: Baking
- Cuisine: American
Ingredients
Crust
- 2 cups classic Oreo cookie crumbs (about 22 cookies from a standard 20 ounce package)
- ¼ cup granulated sugar
- 2 tablespoons salted butter, melted
Filling
- 1 cup white chocolate chips, melted and cooled
- 24 ounces cream cheese, softened
- 1 cup granulated sugar
- 3 tablespoons all-purpose flour
- 2 teaspoons peppermint extract
- 4 eggs
- 1 cup sour cream
- ¼ teaspoon gel-based green food coloring (or to preference)
- 1 cup semi-sweet chocolate chips
- 5 ounces Andes mints, removed from wrapper and broken into pieces
Ganache
- 1 cup heavy whipping cream
Instructions
- Prepare Crust: Preheat your oven to 325°F. Line the bottom of a 9-inch round springform pan with parchment paper and spray with non-stick cooking spray. Pulverize the Oreo cookies in a food processor until fine crumbs form. Add sugar and melted butter to the crumbs and pulse until fully combined. Reserve 1 cup of this crumb mixture for topping.
- Form Crust: Press the remaining crumb mixture evenly into the bottom and about halfway up the sides of the prepared springform pan. Set aside.
- Melt White Chocolate: Microwave the white chocolate chips in 30-second increments, stirring well between each, until completely melted and smooth. Let it cool until it is still liquid but no longer warm to the touch.
- Make Cheesecake Filling: Using a hand mixer, beat sugar, softened cream cheese, and flour into the cooled white chocolate until smooth. Mix in peppermint extract, tasting to adjust mint flavor as desired.
- Add Eggs: Incorporate the eggs one at a time, stirring gently by hand after each addition until fully combined.
- Mix Remaining Filling Ingredients: Gently fold in sour cream and then add the gel-based green food coloring, adjusting to reach your preferred color.
- Assemble Cheesecake Layers: Pour half of the cheesecake filling into the crust. Evenly sprinkle the reserved 1 cup of Oreo crumbs over the filling, then top with the remaining cheesecake filling, smoothing the surface.
- Prepare Water Bath and Bake: Wrap the springform pan with foil and place it in a larger pan. Add a 1-inch deep layer of water into the larger pan to create a water bath. Bake for 60 to 70 minutes until the cheesecake looks dull, is no longer shiny on top, and is still slightly jiggly.
- Cool in Oven: Turn off the oven and keep the door closed for 20 to 30 minutes. Then crack the oven door open and leave the cheesecake inside for an additional hour.
- Chill Cheesecake: Remove from oven and refrigerate for 2 to 3 hours to set before adding the ganache.
- Prepare Ganache: Combine semi-sweet chocolate chips and broken Andes mints in a heatproof bowl. Heat heavy cream until steaming and pour over the chocolate and mints. Cover and let sit for 5 minutes to melt.
- Whisk Ganache: Remove the cover and whisk the mixture until smooth and glossy. Continue whisking occasionally as it cools and thickens for about 15 minutes.
- Top Cheesecake: Pour the thickened ganache over the chilled cheesecake. Use an offset spatula to spread it to the edges, allowing some ganache to drip over the sides if desired. Create swirls in the ganache using the spatula.
- Serve or Chill: Serve immediately or refrigerate for 2 hours up to overnight for a firmer ganache and enhanced flavors before serving.
Notes
- Ensure white chocolate is cooled before mixing with cream cheese to prevent curdling.
- Using a water bath helps prevent cracks and creates a creamy texture in the cheesecake.
- Adjust peppermint extract according to your taste preference for stronger or milder mint flavor.
- Wrap the springform pan well with foil to prevent water from leaking into the cheesecake during baking.
- Allow the ganache sufficient time to thicken so it spreads smoothly and holds texture.
- For best results, chill cheesecake overnight after adding ganache to let flavors fully meld.
Keywords: Chocolate Mint Cheesecake, Oreo Crust, Peppermint Dessert, White Chocolate Cheesecake, Andes Mint Ganache, Holiday Cheesecake