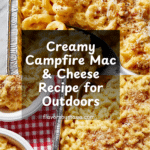
Campfire Mac & Cheese Recipe
Introduction
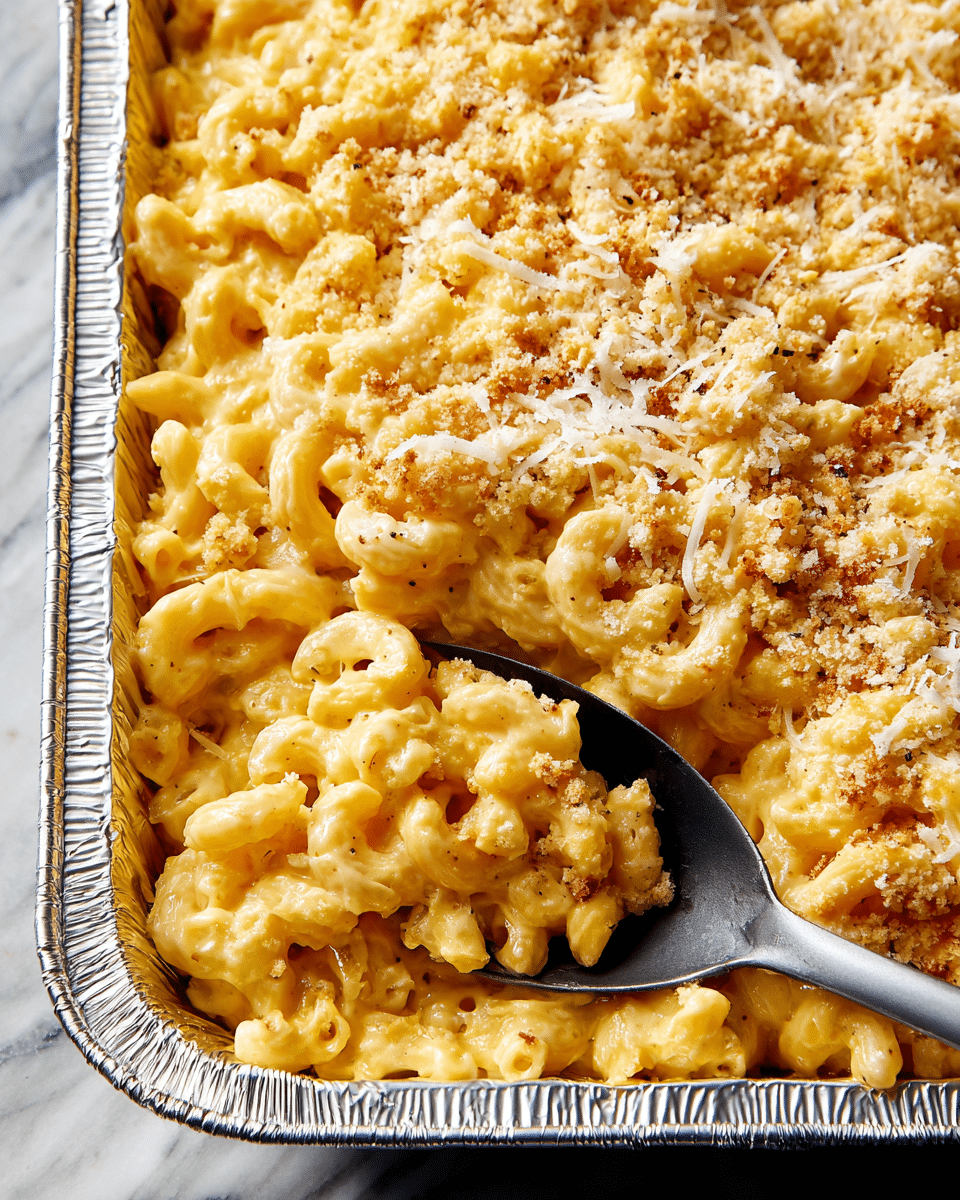
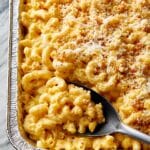
Campfire Mac & Cheese is a comforting and easy-to-make dish perfect for outdoor gatherings. Creamy, cheesy, and topped with a crispy cracker crust, it’s a crowd-pleaser around the campfire.
Ingredients
- 1 (16-oz.) box elbow pasta
- Kosher salt
- 1 (12-oz.) can evaporated milk
- 1/2 cup (1 stick) melted butter
- 1 tsp. ground mustard
- 1/4 tsp. cayenne pepper
- Freshly ground black pepper
- 2 cups shredded yellow cheddar
- 2 cups shredded white cheddar
- 1/2 cup crushed Ritz crackers
- 1/2 cup freshly grated Parmesan
Instructions
- Step 1: In a large pot of boiling salted water, cook the elbow pasta according to the package directions. Drain well.
- Step 2: In a large aluminum pan, combine the cooked pasta, evaporated milk, melted butter, ground mustard, cayenne pepper, and freshly ground black pepper. Add both the yellow and white shredded cheddar cheeses and stir until evenly mixed.
- Step 3: Cover the pan with foil and place it over a campfire. Cook until the cheese is fully melted and creamy, about 15 minutes.
- Step 4: Remove the foil, stir the mac and cheese gently, then sprinkle the crushed Ritz crackers and freshly grated Parmesan on top before serving.
Tips & Variations
- For extra smoky flavor, try adding a pinch of smoked paprika or cooking over hardwood coals instead of direct fire.
- You can substitute crushed potato chips or breadcrumbs for the cracker topping if you prefer a different crunch.
- Adding cooked and crumbled bacon or diced jalapeños can add a tasty twist to the classic mac and cheese.
Storage
Store leftovers in an airtight container in the refrigerator for up to 3 days. Reheat gently in a covered pan over low heat or in the microwave, adding a splash of milk if the mac and cheese feels dry.
How to Serve
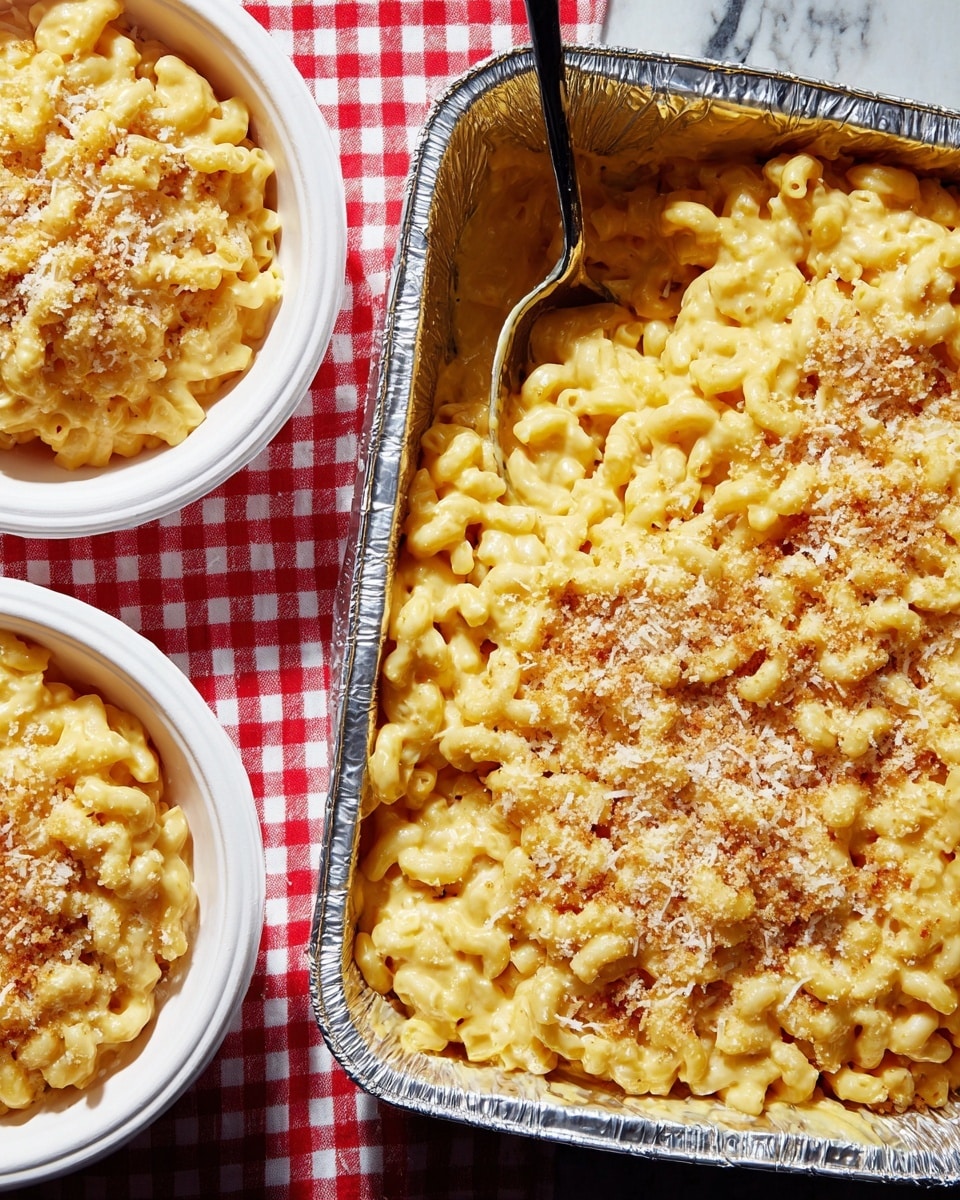
Serve this delicious recipe with your favorite sides.
FAQs
Can I make this recipe without a campfire?
Yes, you can prepare this mac and cheese in the oven by baking it at 350°F (175°C) covered with foil for about 15-20 minutes until the cheese melts.
What can I use if I don’t have evaporated milk?
You can substitute regular milk or half-and-half, though evaporated milk gives a richer, creamier texture to the dish.
PrintCampfire Mac & Cheese Recipe
This Campfire Mac & Cheese recipe delivers creamy, cheesy comfort food that’s perfect for cooking outdoors. Featuring a blend of yellow and white cheddar cheeses, evaporated milk, and a touch of cayenne for a subtle kick, this dish is cooked over a campfire for an authentic rustic flavor. Topped with a crispy Ritz cracker and Parmesan crust, it’s an easy-to-make, crowd-pleasing meal to enjoy while camping or at any outdoor gathering.
- Prep Time: 10 minutes
- Cook Time: 15 minutes
- Total Time: 25 minutes
- Yield: 8 servings 1x
- Category: Main Course
- Method: Roasting
- Cuisine: American
Ingredients
Pasta
- 1 (16-oz.) box elbow pasta
- Kosher salt, for boiling water
Cheese Sauce
- 1 (12-oz.) can evaporated milk
- 1/2 cup (1 stick) melted butter
- 1 tsp. ground mustard
- 1/4 tsp. cayenne pepper
- Freshly ground black pepper, to taste
- 2 cups shredded yellow cheddar cheese
- 2 cups shredded white cheddar cheese
Topping
- 1/2 cup crushed Ritz crackers
- 1/2 cup freshly grated Parmesan cheese
Instructions
- Cook Pasta: In a large pot of boiling salted water, cook the elbow pasta according to the package instructions until al dente. Drain well and set aside.
- Prepare Cheese Mixture: In a large aluminum pan suitable for campfire cooking, combine the drained pasta with evaporated milk, melted butter, ground mustard, cayenne pepper, and freshly ground black pepper. Add the shredded yellow and white cheddar cheeses and stir thoroughly to combine all ingredients evenly.
- Cook Over Campfire: Cover the pan tightly with aluminum foil. Place it over the campfire coals or on a grill rack and cook for about 15 minutes, or until the cheese has melted completely and the sauce is creamy and bubbly. Remove from heat carefully.
- Add Toppings and Serve: Stir the cheesy pasta gently to incorporate any melted cheese. Then, evenly sprinkle the crushed Ritz crackers and freshly grated Parmesan on top to create a crispy, flavorful crust. Serve warm directly from the pan.
Notes
- Use a sturdy aluminum pan that can withstand direct heat from the campfire.
- Adjust the cayenne pepper amount to your preferred spice level.
- For a smokier flavor, cook the pan on hot embers rather than open flames.
- If cooking indoors, you can replicate the recipe by baking the assembled mac and cheese in a preheated oven at 350°F for about 15 minutes.
- Ensure pasta is not overcooked initially, as it will continue to soften slightly during campfire cooking.
Keywords: campfire mac and cheese, outdoor cooking, cheesy pasta, campfire recipe, cheddar mac and cheese, camping food


