Strawberry Daifuku Recipe
Introduction
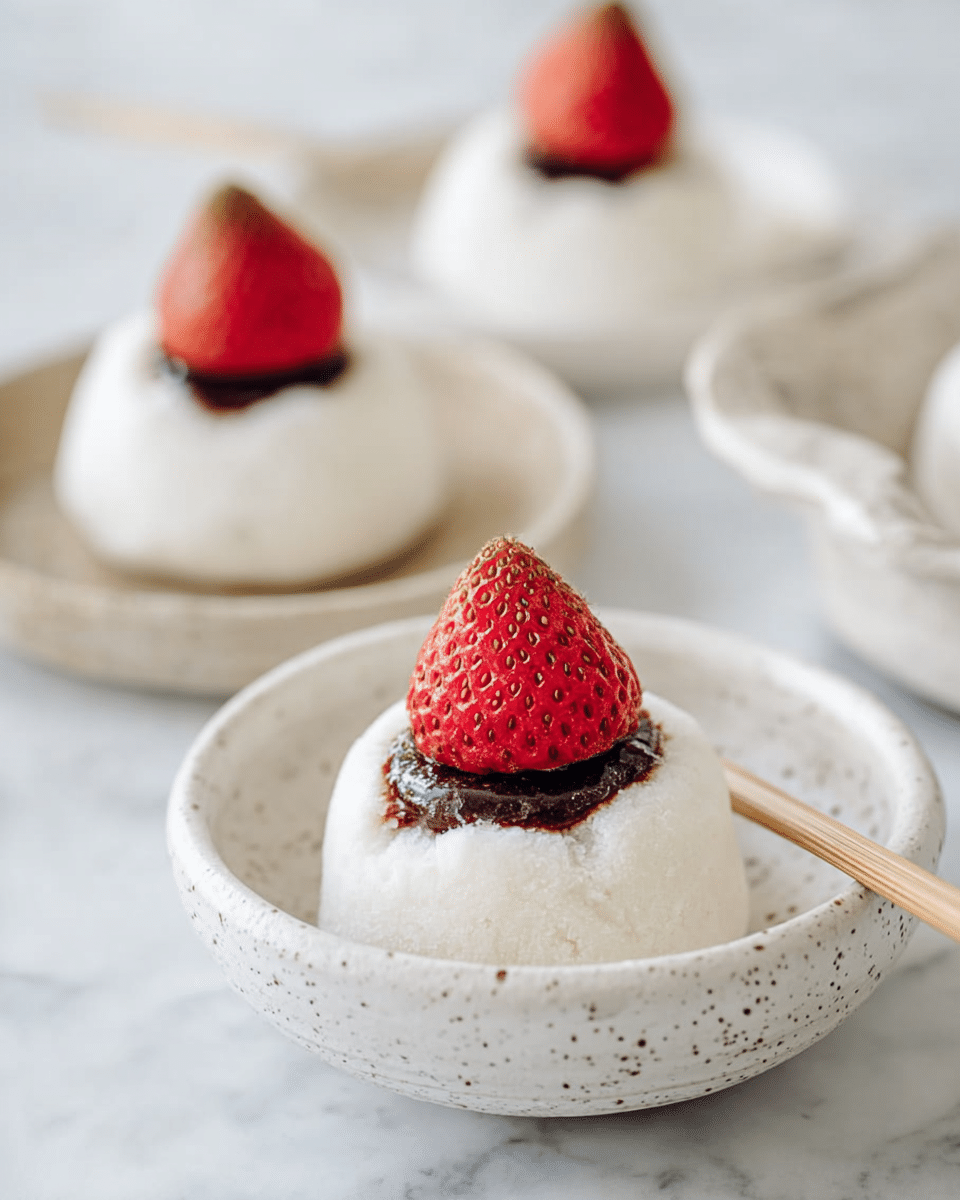
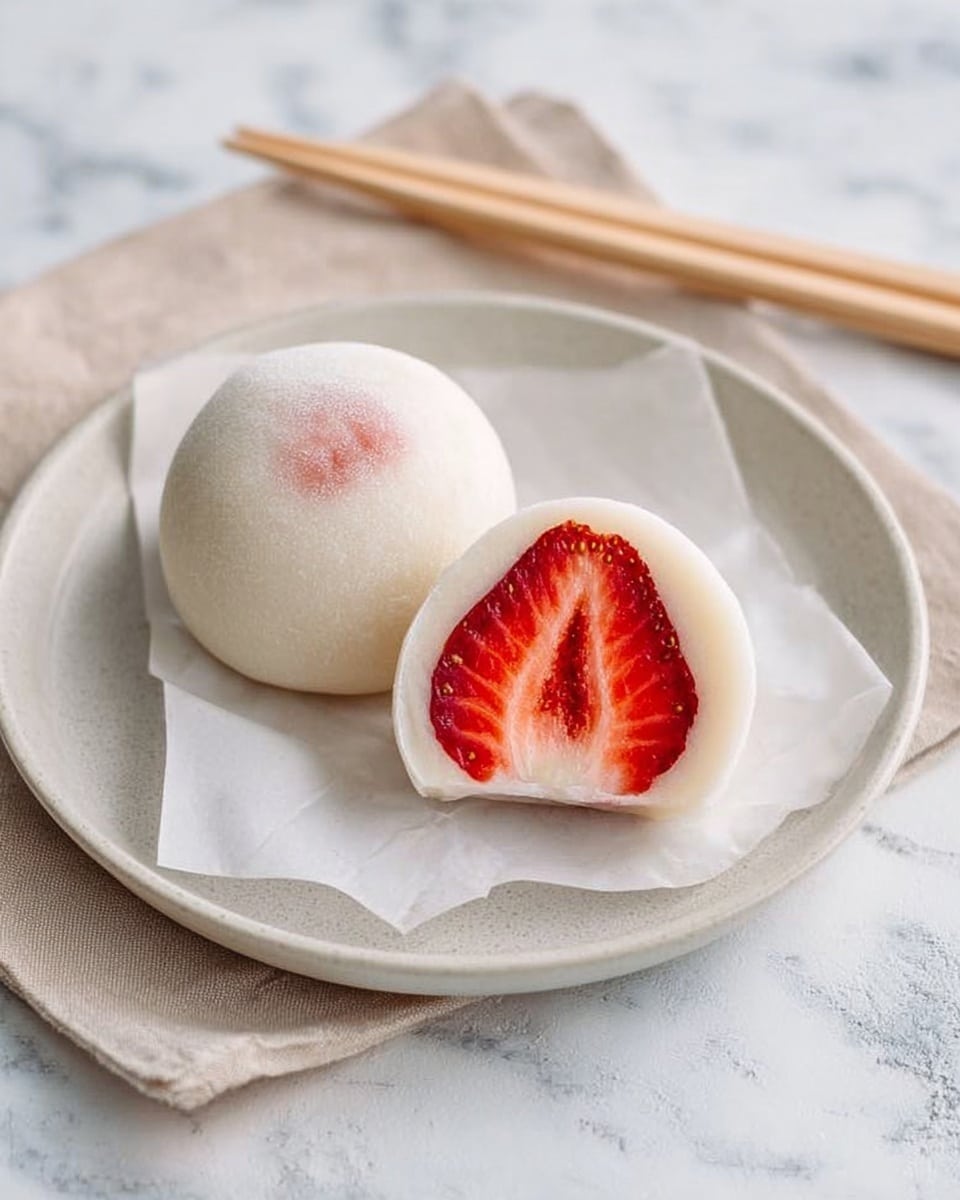
Strawberry Daifuku is a delightful Japanese treat combining sweet mochi with juicy strawberries wrapped in smooth white bean paste. This chewy and fruity dessert is perfect for impressing guests or enjoying a special homemade snack.
Ingredients
- 180 g Shiratamako (glutinous rice flour)
- 30 g sugar
- 200 ml water
- Katakuriko (potato starch)
- 180 g sweet white bean paste
- 6 medium sized strawberries
Instructions
- Step 1: Wash the strawberries and cut off the stems.
- Step 2: Divide the white bean paste into 30 g balls.
- Step 3: Flatten each white bean paste ball and place a strawberry with the pointy end facing down in the center.
- Step 4: Wrap the strawberry with the white bean paste and shape it back into a round ball. Set aside.
- Step 5: In a large heatproof bowl, combine Shiratamako, sugar, and water. Stir well to mix.
- Step 6: Cover the bowl with cling wrap and microwave for 1 minute 30 seconds to 2 minutes, until the mixture looks partly floury and starts to resemble a mochi texture.
- Step 7: Remove the bowl, stir the mixture with a wooden spatula, then microwave for another 1 minute until the mochi becomes translucent.
- Step 8: Sprinkle katakuriko (potato starch) on a rolling mat, then transfer the mochi from the bowl onto the starch.
- Step 9: Divide the mochi into 6 pieces and roll each piece out into a flat circle about 10 cm in diameter.
- Step 10: Place the white bean paste-wrapped strawberry (tip facing down) in the center of each mochi circle.
- Step 11: Gather the edges of the mochi around the strawberry, wrapping it carefully with hands dusted with katakuriko.
- Step 12: Pinch the mochi ends together at the top using your dusted fingers, shaping it into a smooth, round daifuku.
- Step 13: Repeat the wrapping process for each strawberry and mochi piece until all are complete.
Tips & Variations
- Use fresh, ripe strawberries for the best flavor and juiciness in each bite.
- Substitute sweet red bean paste for white bean paste for a traditional flavor.
- Lightly dust your hands with katakuriko to prevent the sticky mochi from adhering while shaping.
- Chill the finished daifuku in the refrigerator for 30 minutes before serving for a firmer texture.
Storage
Store daifuku in an airtight container in the refrigerator for up to 2 days. Because mochi hardens when chilled, allow it to sit at room temperature for 15–30 minutes before eating. Avoid freezing, as this may affect the texture.
How to Serve
Serve this delicious recipe with your favorite sides.
FAQs
Can I use frozen strawberries?
Fresh strawberries are best because frozen ones release extra moisture that can make the mochi soggy. If using frozen, thaw and pat dry thoroughly before wrapping.
What can I use as an alternative to katakuriko?
Potato starch is traditional for dusting mochi, but cornstarch can also be used in a pinch. Just make sure to dust lightly to prevent stickiness.
PrintStrawberry Daifuku Recipe

Strawberry Daifuku is a delightful Japanese confection featuring sweet, juicy strawberries wrapped in smooth white bean paste and tender mochi dough. This recipe guides you through making the soft and chewy mochi using shiratamako flour, then enveloping perfectly prepared strawberries, resulting in a soft, sweet treat that balances fruity freshness with traditional flavors.
- Prep Time: 20 minutes
- Cook Time: 5 minutes
- Total Time: 25 minutes
- Yield: 6 pieces 1x
- Category: Dessert
- Method: Microwaving
- Cuisine: Japanese
- Diet: Vegetarian
Ingredients
Mochi Dough
- 180 g Shiratamako (glutinous rice flour)
- 30 g sugar
- 200 ml water
- Katakuriko (potato starch) for dusting
Filling
- 180 g sweet white bean paste (shiro-an)
- 6 medium-sized strawberries
Instructions
- Prepare the Strawberries: Wash the strawberries thoroughly and remove their stems. Ensure they are dry before proceeding to the next step.
- Divide the White Bean Paste: Portion the sweet white bean paste into six equal balls of approximately 30 g each.
- Wrap Strawberries with Bean Paste: Flatten each ball of white bean paste and place a strawberry with the pointed end facing down in the center. Carefully wrap the paste around the strawberry and reshape it into a smooth, round ball. Set these aside.
- Mix Mochi Ingredients: In a large heatproof bowl, combine the shiratamako flour and sugar. Gradually add water and stir well until the mixture is smooth and no lumps remain.
- Microwave the Mochi: Cover the bowl with cling wrap and microwave on high for 1 minute and 30 seconds to 2 minutes, depending on your microwave wattage. The mixture should appear partially floury and begin to take on a mochi-like texture.
- Stir and Continue Cooking: Remove the bowl and stir the mixture thoroughly with a wooden spatula. Microwave again for 1 minute until the mochi turns translucent and sticky.
- Prepare Working Surface: Sprinkle a clean rolling mat generously with katakuriko (potato starch) to prevent sticking. Transfer the mochi dough onto the starch-coated surface.
- Divide and Flatten the Mochi: Cut the mochi into six equal pieces. Roll each piece into a flat circle approximately 10 cm in diameter, dusting your hands with katakuriko to prevent sticking.
- Assemble Daifuku: Place a strawberry-wrapped bean paste ball onto the center of each mochi circle with the strawberry tip facing down.
- Wrap Mochi Around Filling: Pull the edges of the mochi circle up and around the strawberry, using dusted hands to prevent sticking, and seal the mochi at the top by pinching it closed gently but firmly.
- Shape the Daifuku: Using your fingers, shape the wrapped mochi into a smooth, round ball, ensuring the ends are sealed and the surface is even.
- Repeat and Serve: Repeat the wrapping process with the remaining mochi pieces and strawberries. Serve the strawberry daifuku fresh at room temperature for the best texture and flavor.
Notes
- Katakuriko (potato starch) is essential for dusting to prevent the sticky mochi from adhering to surfaces or hands.
- Make sure to use fresh, ripe strawberries for optimal sweetness and texture.
- The microwave cooking times may vary depending on your appliance, so adjust accordingly to achieve translucent mochi.
- Handling the mochi while warm is easier; however, if it cools too much, it may become stiff and harder to stretch.
- Store any leftover daifuku in an airtight container at room temperature and consume within a day for the best quality.
Keywords: Strawberry Daifuku, Mochi, Japanese Dessert, Sweet Rice Cake, White Bean Paste, Strawberry Mochi, Traditional Japanese Sweets


