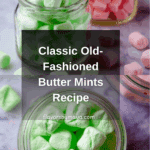
Old-Fashioned Butter Mints Recipe
Introduction
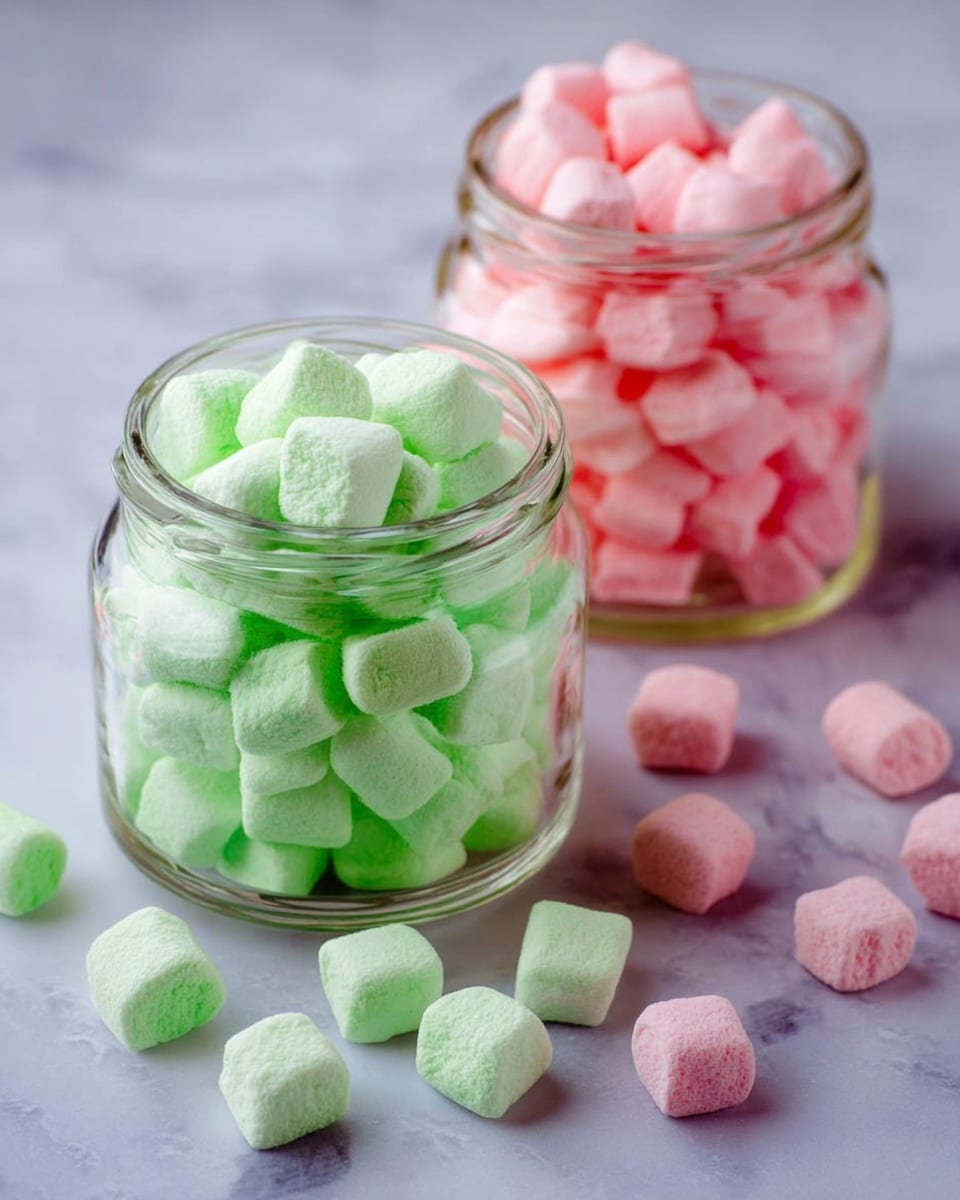
Old-Fashioned Butter Mints are a sweet, melt-in-your-mouth treat with a refreshing peppermint flavor. These delicate candies are easy to make at home and perfect for gifting or enjoying as a nostalgic snack.
Ingredients
- 1/4 cup butter (softened; unsalted recommended, salted may be substituted based on preference)
- 1/4 teaspoon salt (omit if using salted butter)
- 3 1/4 cups confectioners’ sugar plus extra if needed
- 1/3 cup sweetened condensed milk
- 1/2 teaspoon peppermint extract
- Food coloring (optional)
Instructions
- Step 1: In a stand mixer fitted with the paddle attachment, combine the butter and salt. Beat on medium-high speed for 1 minute until creamy.
- Step 2: Add 3 1/4 cups of confectioners’ sugar, sweetened condensed milk, and peppermint extract. Beat on medium-low speed until the mixture forms a dough. If the dough is too wet, gradually add more confectioners’ sugar until it holds together when pinched, about 3 1/2 cups total.
- Step 3: Taste the dough and add more peppermint extract if a stronger mint flavor is desired.
- Step 4: Divide the dough into 1 to 4 smaller portions. Return one portion to the mixer, add a few drops of food coloring, and mix on low speed until the color is evenly distributed. Repeat washing the bowl and paddle between colors.
- Step 5: Wrap the colored dough in plastic wrap and refrigerate in an airtight container if not rolling immediately.
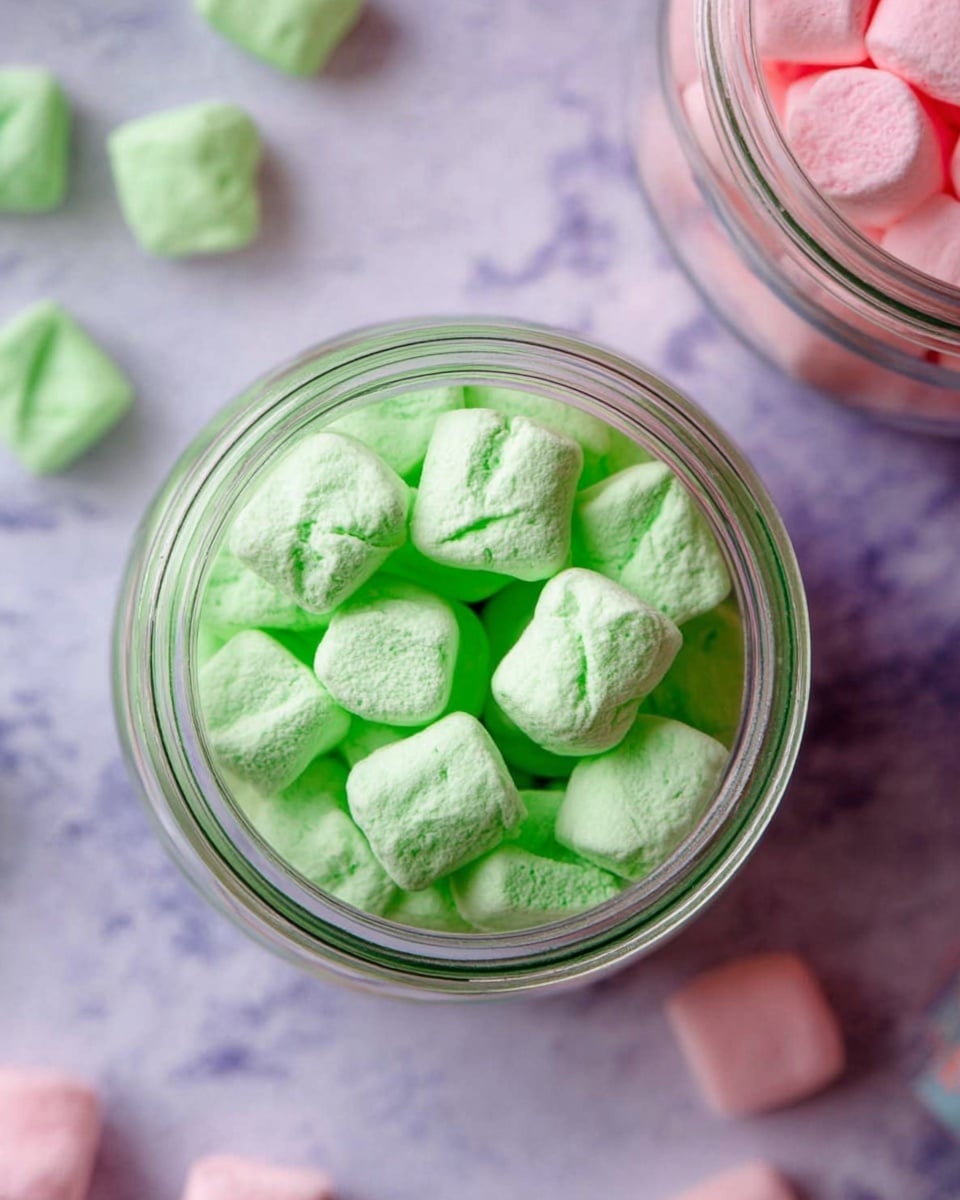
- Step 6: To shape, roll a golf-ball sized piece of dough into a long, thin cylinder about 1 centimeter wide. Using a pizza cutter or knife, slice into 1 centimeter long pieces.
- Step 7: Store the butter mints in an airtight container in the refrigerator.
Tips & Variations
- For deeper color, add food coloring gradually until you reach the desired shade.
- If you prefer a stronger peppermint flavor, increase the extract little by little and taste as you go.
- Use salted butter and omit the added salt for a subtle difference in taste.
- Try shaping the mints with small candy molds for different designs.
Storage
Store butter mints in an airtight container in the refrigerator. They keep well for several weeks. When ready to serve, let them sit at room temperature for a few minutes to soften slightly. No reheating is necessary.
How to Serve
Serve this delicious recipe with your favorite sides.
FAQs
Can I make these mints without a stand mixer?
Yes, you can use a hand mixer or mix by hand using a sturdy spoon. It may take more effort to achieve a smooth dough, but it is possible.
Can I use different flavors instead of peppermint?
Absolutely! You can substitute peppermint extract with other flavors such as vanilla, almond, or lemon to create different variations of these butter mints.
PrintOld-Fashioned Butter Mints Recipe

These Old-Fashioned Butter Mints are creamy, sweet, and wonderfully minty confections that melt in your mouth. Made with simple ingredients like butter, confectioners’ sugar, sweetened condensed milk, and peppermint extract, these classic homemade mints are easy to make and perfect for holidays, parties, or anytime you crave a refreshing minty treat.
- Prep Time: 15 minutes
- Cook Time: 0 minutes
- Total Time: 15 minutes
- Yield: Approximately 60 butter mints 1x
- Category: Candy
- Method: No-Cook
- Cuisine: American
Ingredients
Base Ingredients
- 1/4 cup butter, softened (unsalted preferred, salted may be substituted)
- 1/4 teaspoon salt (omit if using salted butter)
- 3 1/4 cups confectioners’ sugar, plus 1/4 cup extra if needed
- 1/3 cup sweetened condensed milk
- 1/2 teaspoon peppermint extract
Optional
- Food coloring (green, red, or colors of choice)
Instructions
- Prepare Butter Mixture: In the bowl of a stand mixer fitted with the paddle attachment, combine the softened butter and salt. Beat on medium-high speed for 1 minute to cream them together until smooth and fluffy.
- Add Remaining Ingredients: Add 3 1/4 cups of confectioners’ sugar, sweetened condensed milk, and peppermint extract to the butter mixture. Beat on medium-low speed until a dough starts to form. If the dough feels too wet or crumbly, gradually add up to 1/4 cup more confectioners’ sugar until the dough holds together when pinched.
- Adjust Mint Flavor: Taste the dough. If you prefer a stronger mint flavor, add more peppermint extract gradually to suit your taste, mixing lightly to incorporate.
- Divide and Color Dough: Remove the dough from the mixer and divide it into 1 to 4 smaller balls, depending on how many colors you want. Return one ball at a time to the mixer and add food coloring drops carefully on top. Mix on low speed until the dough is evenly colored. Repeat for each ball with a clean paddle and bowl each time to avoid color mixing.
- Chill Dough or Roll Immediately: After coloring all dough portions, either wrap each portion tightly with plastic wrap and refrigerate in an airtight container to firm up or proceed directly to shaping.
- Shape the Mints: Take a golf-ball sized piece of dough and roll it in your hands into a thin cylinder approximately 1 centimeter in diameter. Lay the cylinder on a flat surface and slice it with a pizza cutter or knife into bite-sized pieces about 1 centimeter long.
- Store the Mints: Place the cut mints in an airtight container and store them in the refrigerator. They will keep their freshness, texture, and flavor for several weeks.
Notes
- Using salted butter? Skip the added salt to avoid oversalting.
- Adjust the amount of peppermint extract to achieve your preferred mint intensity.
- Food coloring is optional but adds a festive touch; use gel or liquid food coloring carefully to avoid making the dough too wet.
- For best texture, store mints in the refrigerator to keep them firm and fresh.
- If the dough feels too sticky to roll, chill it for 15-20 minutes before shaping.
Keywords: Butter mints, old-fashioned mints, peppermint candy, homemade mints, no-cook candy
