Minnie Mouse Witch Shakes Recipe
Introduction
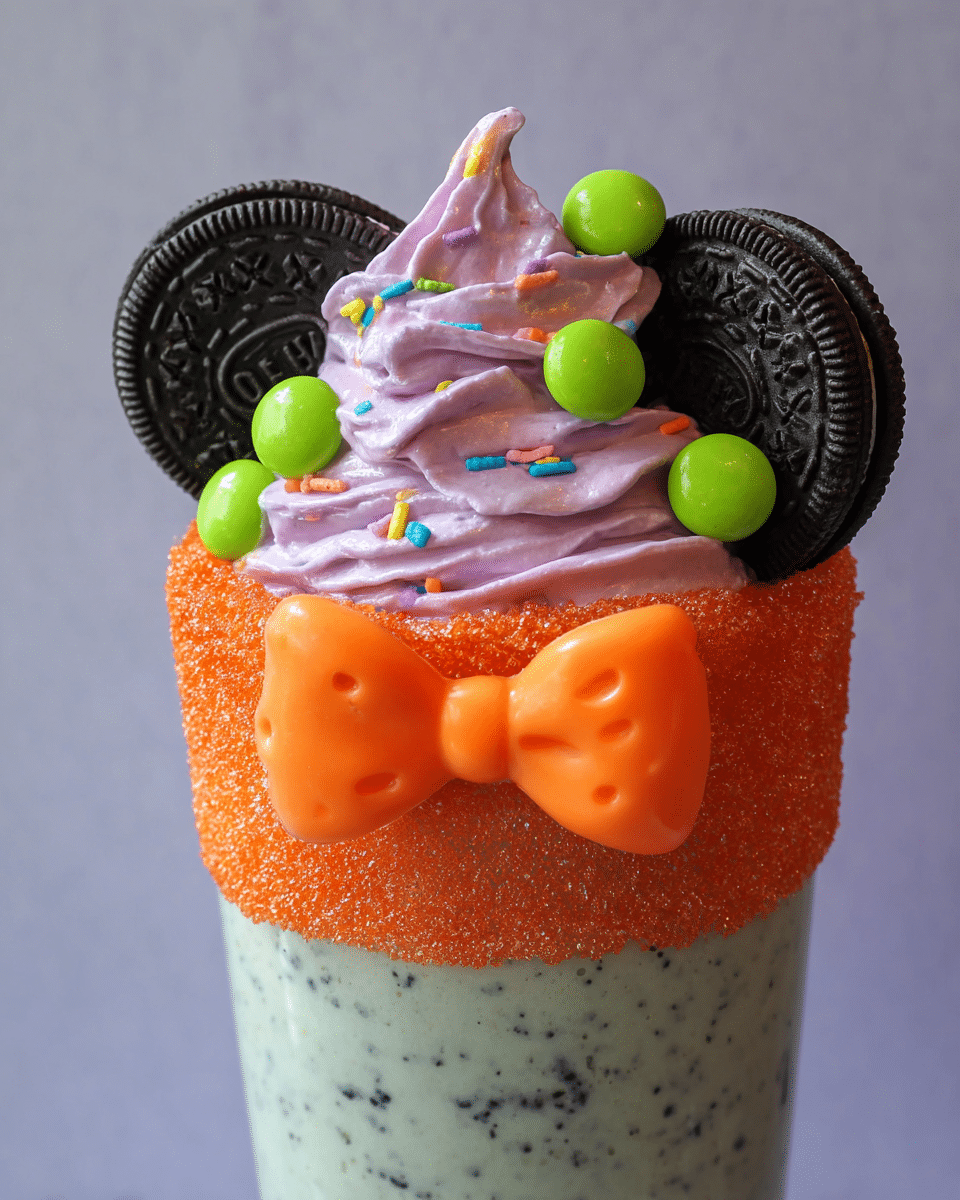
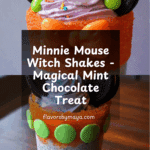
Celebrate the spooky season with these delightful Minnie Mouse Witch Shakes! Creamy mint chocolate chip milkshakes get a festive makeover with colorful whipped cream, candy bows, and fun Halloween-themed decorations. They’re perfect for parties or a magical treat at home.
Ingredients
- 6 cups mint chocolate chip ice cream
- 1 cup milk
- 1 cup heavy cream
- Purple gel food coloring
- Orange candy melts
- Orange sanding sugar
- Green sanding sugar
- Purple sanding sugar
- Oreo cookies
- Can of vanilla frosting
- Piping bag
- Large star tip
- Offset spatula
Instructions
- Step 1: Combine the mint chocolate chip ice cream and milk in a blender. Blend until smooth and fully combined.
- Step 2: Pour the milkshake mixture into prepared glasses and set aside.
- Step 3: Chill your mixing bowl and beaters in the freezer for 5 minutes. Then pour the heavy cream into the bowl and beat on high speed until soft peaks form.
- Step 4: Add a few drops of purple gel food coloring to the cream. Continue beating until stiff peaks form and the color is evenly incorporated.
- Step 5: Transfer the purple whipped cream to a piping bag fitted with a large star tip and set aside.
- Step 6: Melt a small amount of orange candy melts in a disposable piping bag or microwave-safe bowl. Heat in 30-second intervals, stirring between each until fully melted.
- Step 7: Pipe or spoon the melted candy melts into a silicone bow mold, tapping the mold gently on the counter to remove air bubbles. Refrigerate for 5-10 minutes until set, then gently pop the candy bows out and set aside.
- Step 8: Use an offset spatula to spread a thin layer of vanilla frosting around the outside of each glass.
- Step 9: Sprinkle orange sanding sugar over the frosting, shaking off any excess. Repeat until the frosting is fully covered.
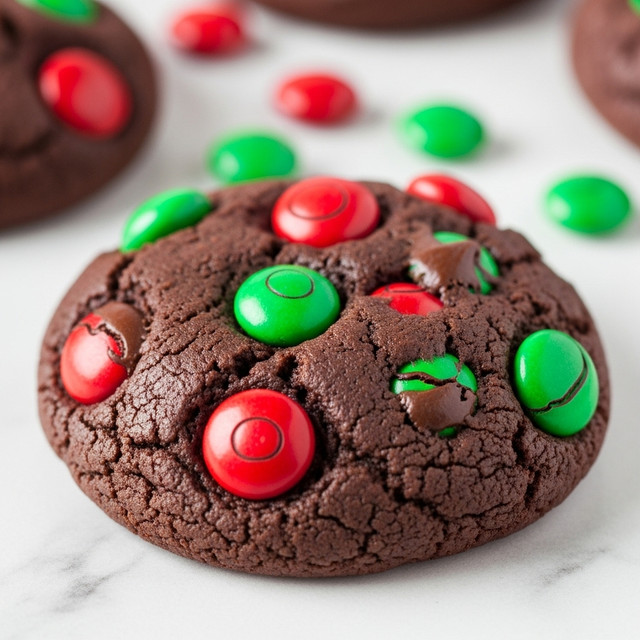
- Step 10: Dab green M&Ms into the frosting and arrange five on each glass in a zig-zag pattern.
- Step 11: Add a large swirl of the purple whipped cream on top of each milkshake.
- Step 12: Sprinkle a mix of green, orange, and purple sanding sugars over the whipped cream. Place an orange candy bow in the center front of the whipped cream, with two Oreo cookies positioned on either side.
Tips & Variations
- For a non-dairy version, substitute coconut milk ice cream and oat milk, and use coconut cream for whipping.
- Try using different candy melt colors or sanding sugars to match other holiday themes.
- If you don’t have a bow mold, pipe candy melts onto parchment paper in a bow shape and let set.
- Add crushed Oreo cookies into the milkshake for extra texture.
Storage
These shakes are best enjoyed immediately to maintain their texture and decoration. If needed, store any leftover whipped cream covered in the refrigerator for up to 24 hours. Milkshakes can be covered and refrigerated briefly but may lose some of their frothy texture upon reheating or standing.
How to Serve

Serve this delicious recipe with your favorite sides.
FAQs
Can I prepare the candy bows ahead of time?
Yes, the candy bows can be made a day in advance and stored in an airtight container at room temperature until you’re ready to decorate the shakes.
What if I don’t have purple gel food coloring?
You can substitute liquid or powder purple food coloring, but gel food coloring is preferred for its concentrated color without thinning the whipped cream.
PrintMinnie Mouse Witch Shakes Recipe

Celebrate the spooky season with these festive Minnie Mouse Witch Shakes, featuring mint chocolate chip milkshakes topped with vibrant purple whipped cream, colorful sanding sugars, and charming orange candy bows for a magical Halloween treat perfect for kids and adults alike.
- Prep Time: 15 minutes
- Cook Time: 10 minutes
- Total Time: 25 minutes
- Yield: 4 servings 1x
- Category: Dessert
- Method: Blending
- Cuisine: American
Ingredients
Milkshake
- 6 cups mint chocolate chip ice cream
- 1 cup milk
Whipped Cream
- 1 cup heavy cream
- purple gel food coloring, a few drops
Decorations
- orange candy melts
- orange sanding sugar
- green sanding sugar
- purple sanding sugar
- oreo cookies
- can of vanilla frosting
- green M&Ms
Equipment
- piping bag
- large star tip
- offset spatula
- silicone bow mold
Instructions
- Prepare the Milkshake: Combine the mint chocolate chip ice cream and milk in a blender. Blend until the mixture is smooth and well combined. Pour the milkshake into prepared glasses.
- Make the Whipped Cream: Chill the mixing bowl and beaters in the freezer for 5 minutes to ensure maximum whipping volume. Pour the heavy cream into the chilled bowl. Beat on high speed until the cream reaches soft peaks. Add a few drops of purple gel food coloring and continue beating until stiff peaks form and the color is fully incorporated. Transfer the purple whipped cream to a piping bag fitted with a large star tip and set aside.
- Create the Orange Candy Bow: Place a small amount of orange candy melts into a disposable piping bag or microwave-safe bowl. Melt the candy melts in the microwave, stirring every 30 seconds until smooth. Pipe or spoon the melted candy into a silicone bow mold. Tap the mold gently on the counter to release air bubbles. Refrigerate the mold for 5-10 minutes until the candy sets. Carefully pop the candy bows out and set aside for decorating.
- Decorate the Glasses: Using an offset spatula, spread a thin, even layer of vanilla frosting around the outside of each glass. Immediately sprinkle orange sanding sugar over the frosting, shaking off any excess. Repeat until the frosting is fully covered in the sanding sugar. Press green M&Ms into the frosting in a zig-zag pattern, placing five M&Ms on each glass.
- Assemble the Milkshake Presentation: Pour the milkshakes into the decorated glasses. Top each with a generous swirl of the purple whipped cream from the piping bag. Sprinkle a mix of green, orange, and purple sanding sugars over the whipped cream. Finish by placing one orange candy bow at the front center of the whipped cream and two Oreo cookies positioned on the sides for a festive Minnie Mouse witch look.
Notes
- Chilling the bowl and beaters before whipping the cream helps achieve stiff peaks faster and with better volume.
- If you don’t have a silicone bow mold, pipe bows onto parchment paper and refrigerate to set.
- Use gel food coloring for a more vibrant color without thinning your whipped cream.
- Adjust the amount of milk in the milkshake to reach your preferred consistency.
- For a dairy-free alternative, use vegan ice cream and coconut-based whipped cream.
Keywords: Mint Chocolate Chip Milkshake, Halloween Dessert, Minnie Mouse Shake, Witch Theme Shake, Festive Milkshake, Halloween Treat, Candy Bow Decoration
