How to Make Delicious Homemade Apple Filling Recipe
Introduction
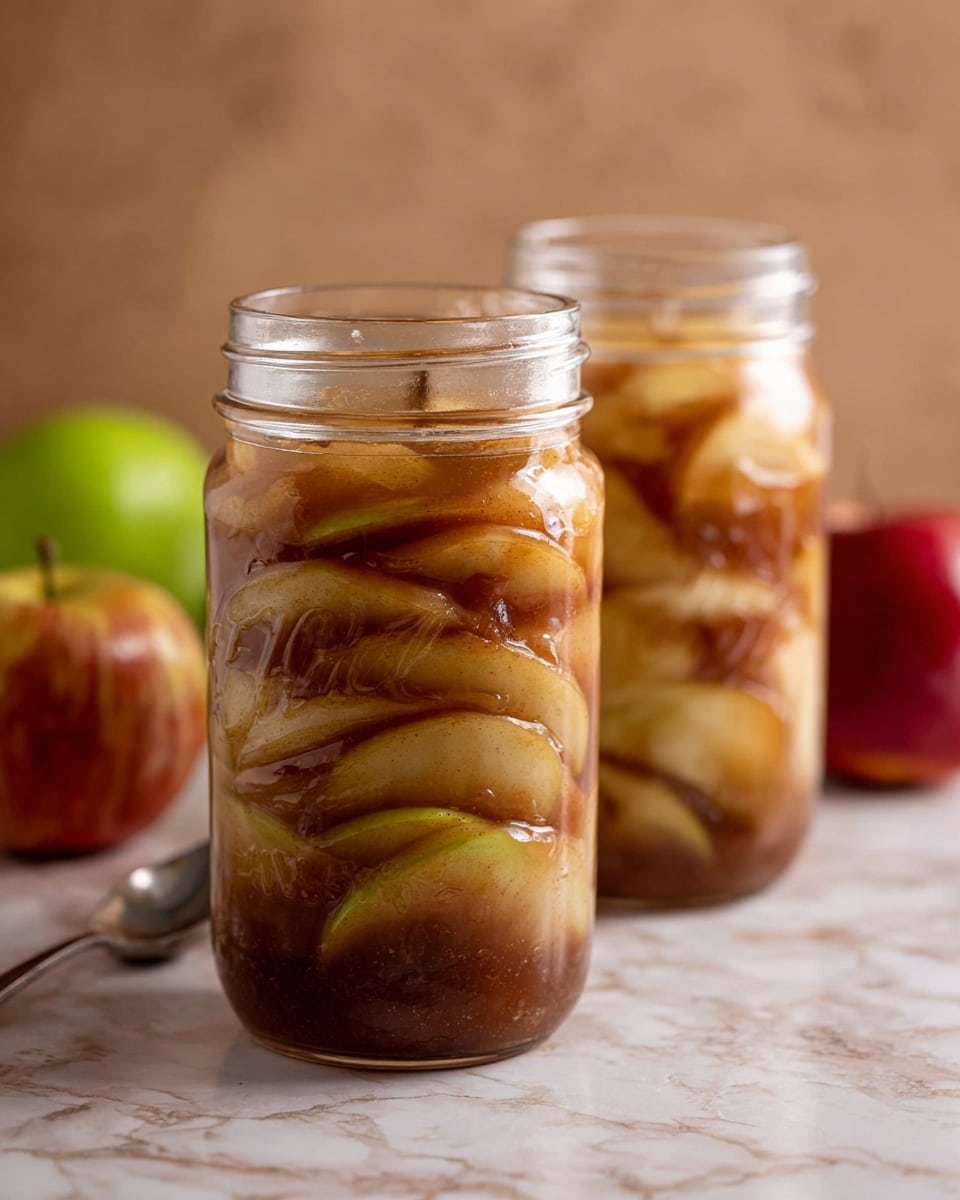
This homemade apple filling is a simple and delicious way to add a warm, fruity touch to your desserts. Perfect for pies, tarts, or turnovers, it combines tender apples with a blend of spices and a hint of vanilla for rich flavor.
Ingredients
- 4 medium apples (peeled, cored, and diced – Granny Smith works well)
- 1/4 cup brown sugar
- 1/4 cup granulated sugar
- 1 tsp ground cinnamon
- 1/8 tsp ground nutmeg (optional)
- 3 tbsp butter
- 1/4 cup water (could use apple cider for a stronger apple flavor, divided)
- 2 tsp vanilla extract
- 1 tbsp cornstarch
Instructions
- Step 1: Peel, core, and dice the apples into small cubes.
- Step 2: In a medium saucepan, melt the butter over medium heat. Add the diced apples, brown sugar, granulated sugar, cinnamon, and nutmeg. Stir to combine.
- Step 3: Add 2 tablespoons of water and cook for 8-10 minutes, stirring occasionally, until the apples are soft but not mushy.
- Step 4: If you prefer a thicker filling, mix 1 tablespoon of cornstarch with 2 tablespoons of water to make a slurry. Stir it into the apple mixture and cook for another 2-3 minutes until the filling thickens.
- Step 5: Remove from heat and stir in the vanilla extract. Let the filling cool slightly before using in your recipe.
Tips & Variations
- Use apple cider instead of water for a more intense apple flavor.
- Experiment with different apple varieties like Honeycrisp or Fuji to adjust sweetness and texture.
- Add a pinch of ground cloves or allspice for a deeper spice profile.
- For a chunkier texture, reduce cooking time slightly so the apples stay firmer.
Storage
Store the apple filling in an airtight container in the refrigerator for up to 4 days. To reheat, warm gently on the stovetop or in the microwave until heated through. You can also freeze the filling for up to 3 months; thaw overnight in the refrigerator before use.
How to Serve
Serve this delicious recipe with your favorite sides.
FAQs
Can I use frozen apples for this filling?
Yes, frozen apples can be used, but they may release extra moisture, so you might need to cook the filling a bit longer to reduce the liquid.
Is it possible to make this filling vegan?
Absolutely. Substitute the butter with a plant-based margarine or coconut oil to keep it vegan-friendly.
PrintHow to Make Delicious Homemade Apple Filling Recipe
This classic apple filling recipe is perfect for pies, tarts, or any dessert needing a flavorful apple base. Made with diced Granny Smith apples, sweetened with a blend of brown and granulated sugar, and spiced with cinnamon and nutmeg, this filling is cooked gently on the stovetop to achieve a tender yet chunky texture. The addition of butter and vanilla extract deepens the flavor, while cornstarch helps achieve the perfect thickness.
- Prep Time: 10 minutes
- Cook Time: 15 minutes
- Total Time: 25 minutes
- Yield: Approximately 2 cups of apple filling 1x
- Category: Dessert Filling
- Method: Stovetop
- Cuisine: American
Ingredients
Apples
- 4 medium apples (peeled, cored, and diced, Granny Smith recommended)
Sugars and Spices
- 1/4 cup brown sugar
- 1/4 cup granulated sugar
- 1 tsp ground cinnamon
- 1/8 tsp ground nutmeg (optional)
Liquids and Thickeners
- 3 tbsp butter
- 1/4 cup water (can substitute apple cider for stronger flavor, divided)
- 2 tsp vanilla extract
- 1 tbsp cornstarch
Instructions
- Prepare the apples: Peel, core, and dice the apples into small, evenly sized cubes to ensure even cooking.
- Cook apples with spices: In a medium saucepan over medium heat, melt the butter. Add the diced apples, brown sugar, granulated sugar, cinnamon, and optional nutmeg. Stir everything together thoroughly to coat the apples evenly.
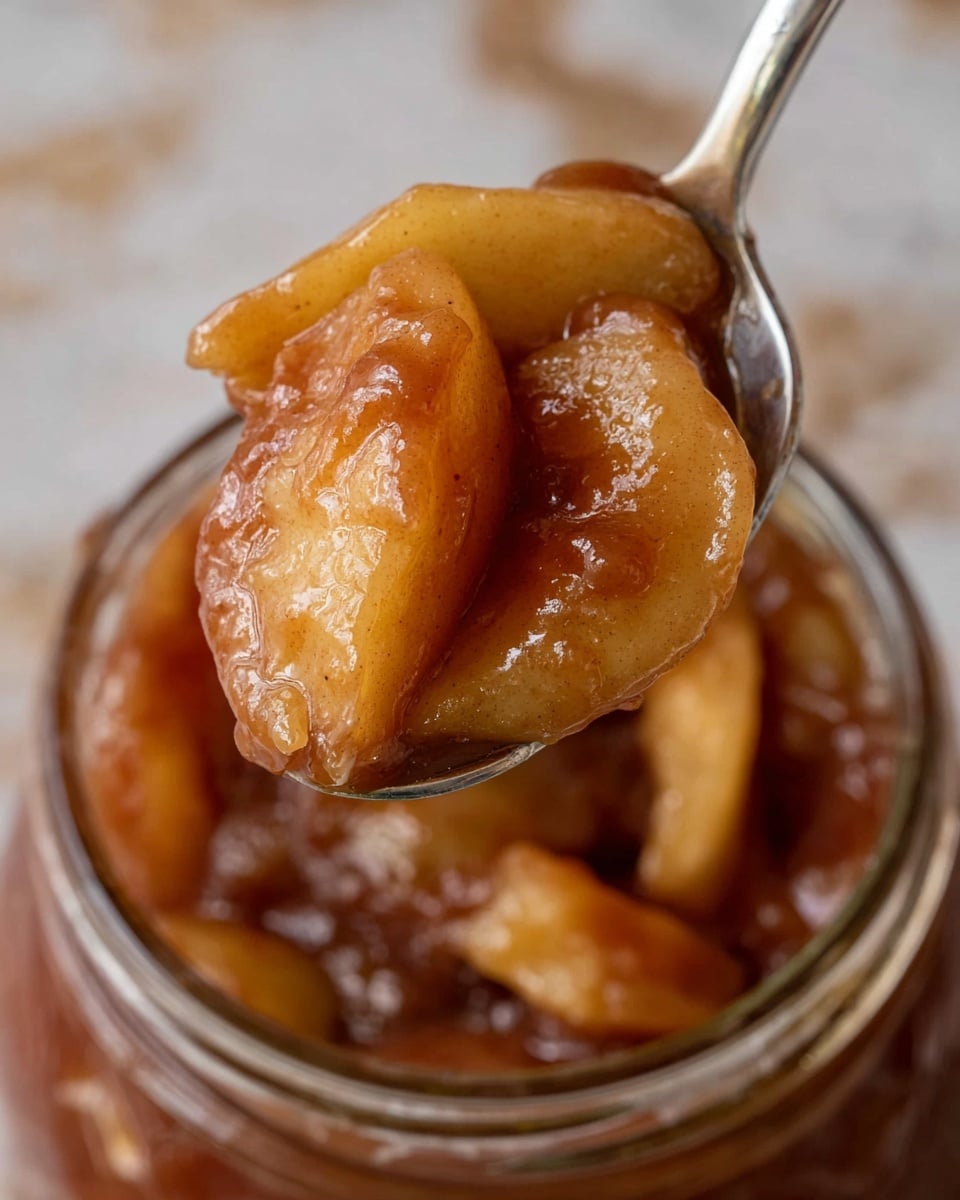
- Simmer the mixture: Add 2 tablespoons of water (or apple cider if preferred), then cook the mixture for 8-10 minutes, stirring occasionally. The apples should become soft but maintain some texture, not turning mushy.
- Thicken the filling: For a thicker consistency, mix 1 tablespoon cornstarch with 2 tablespoons water to form a slurry. Stir the slurry into the apple mixture and continue cooking for 2-3 minutes until the filling thickens sufficiently.
- Finish and cool: Remove the saucepan from heat and stir in the vanilla extract to enhance flavor. Allow the apple filling to cool slightly before using it in your desired dessert.
Notes
- Using Granny Smith apples provides a nice tartness that balances the sweetness.
- Apple cider can replace water to intensify apple flavor.
- Adjust sugar levels based on the tartness of your apples.
- The filling can be stored in the refrigerator for up to 4 days.
- For a chunkier texture, avoid overcooking the apples.
Keywords: apple filling, apple pie filling, apple dessert filling, homemade apple filling, cinnamon apple filling


