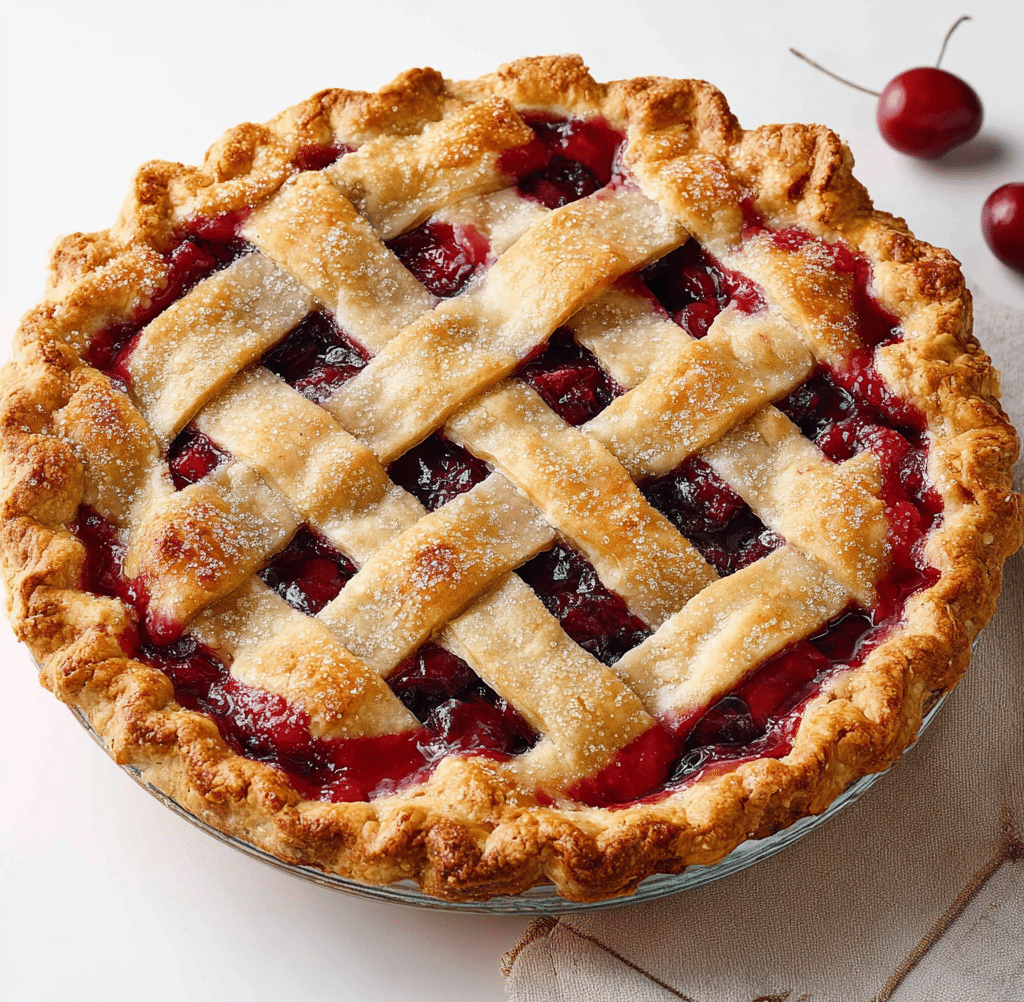
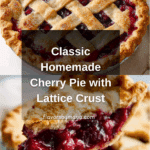
Homemade Cherry Pie Recipe
If there’s one dessert that captures the pure joy of summer and homemade comfort, it’s the Homemade Cherry Pie Recipe. Tart, juicy cherries nestled into a buttery, flaky crust, all kissed with a hint of almond and lemon—this pie is a labor of love that’s absolutely worth every step. Whether you’re celebrating a family gathering or just craving a slice of nostalgia, this cherry pie will steal the show and leave everyone swooning for seconds.
Ingredients You’ll Need
Let’s start by gathering our perfect lineup of ingredients. Each one is simple, yet plays a crucial role in creating the ideal texture, flavor, and the most vibrant color for your Homemade Cherry Pie Recipe. Here’s what you’ll need and why:
- Homemade Pie Crust or All Butter Pie Crust: The foundation! You’ll want a double crust—one for the base, one for the lattice. Homemade delivers that shatteringly crisp, golden exterior.
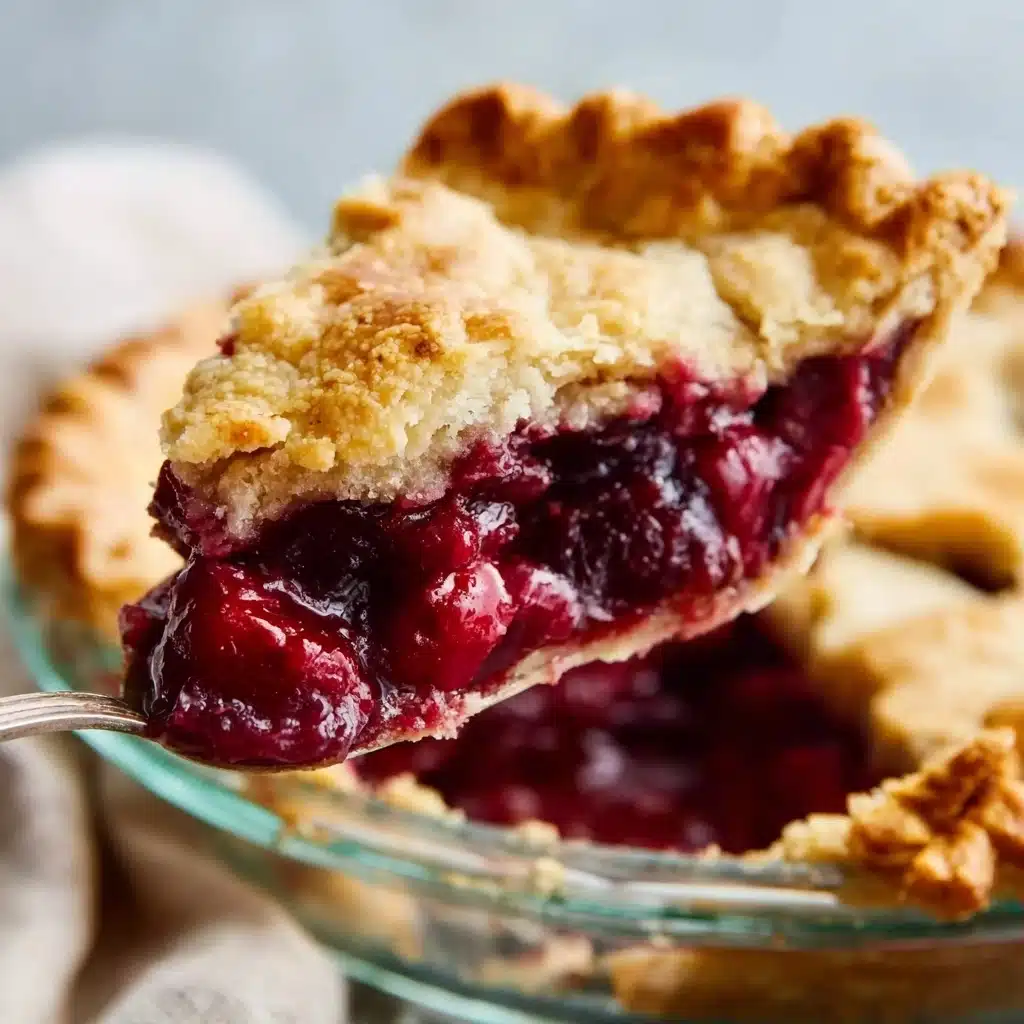
- Fresh Cherries (4 and 1/2 cups, halved and quartered): Nothing beats the burst of summer flavor from fresh cherries. Halving and quartering means a more even filling and easier slicing.
- Granulated Sugar (2/3 cup): Sweetens the tart cherries, amplifies their natural juiciness, and gives that classic pie flavor.
- Cornstarch (1/4 cup): The thickener that ensures your filling is luscious, not runny. No one wants a soggy slice!
- Lemon Juice (1 Tablespoon): Adds brightness and lifts the cherry flavor. A squeeze is all it takes.
- Pure Vanilla Extract (1 teaspoon): Enhances the cherry flavor with subtle, warm undertones.
- Almond Extract (1/4 teaspoon): The secret! A tiny bit brings out that classic cherry pie essence with a hint of aromatic nuttiness.
- Cold Unsalted Butter (1 Tablespoon, cubed): Dotted on the filling, it melts into richness and adds buttery depth.
- Egg Wash (1 egg + 1 Tablespoon milk): Brushed on top for a lovely golden, glossy finish.
- Coarse Sugar (optional): For a bit of crunch and sparkle, giving your pie a gorgeous bakery-style look.
How to Make Homemade Cherry Pie Recipe
Step 1: Prepare Your Pie Dough
You’ll want to start your Homemade Cherry Pie Recipe by making your favorite pie dough. Prepare the dough according to your recipe, making sure to chill it for at least 2 hours. Proper chilling is key for flakiness and easier rolling—don’t skip this step! If you’re using a homemade or all-butter crust, get ready for an incredible melt-in-your-mouth experience.
Step 2: Make the Cherry Filling
In a large bowl, gently toss together your halved and quartered cherries, sugar, cornstarch, lemon juice, vanilla, and almond extract. The mixture should become glossy and fragrant, with the cornstarch beginning to absorb the juices. Cover and refrigerate the filling while you roll out the dough—this rest period helps the flavors meld and keeps your filling cool.
Step 3: Roll Out the Bottom Pie Crust
Lightly flour your work surface, then roll out one disk of chilled dough into a 12-inch circle. Turn the dough as you go to prevent sticking. Gently fit it into a 9-inch pie dish, tucking it into the edges without stretching. Spoon in your cherry mixture using a slotted spoon to leave extra juice behind—you’ll use that in the next step. Pop the crust-and-filling into the fridge while you move on.
Step 4: Reduce the Cherry Juices
Pour the reserved cherry juices into a small saucepan. Simmer over low heat, stirring until it thickens and looks syrupy (about 3–4 minutes). Allow to cool for 5 minutes, then drizzle over the cherries in your pie dish. Gently toss or use a spoon to combine—don’t worry if some parts seem thick, it will all come together during baking. Dot the cubed butter over the filling to add richness.
Step 5: Roll and Lattice the Top Crust
Grab your second disk of dough from the fridge and roll into another 12-inch round. Use a pastry wheel or sharp knife to cut strips—about four strips at 2 inches wide and four strips at 1 inch wide—then create a beautiful lattice over the pie. Weave the strips over and under, gently pressing the edges into the bottom crust to seal. Trim any overhang, then flute or crimp those edges for a picture-perfect finish.
Step 6: Egg Wash and Chill
Brush the top and edges of the pie with the egg wash mixture, taking care to coat the entire surface but not saturate it. For a pro touch, sprinkle with coarse sugar. Chilling the pie for another 20–30 minutes at this stage helps prevent shrinkage and ensures extra flakiness once baked. Meanwhile, preheat your oven to 400°F (204°C).
Step 7: Bake to Golden Perfection
Place the pie on a large baking sheet to catch any bubbling juices and bake for 20 minutes. Without removing the pie, lower the oven temperature to 375°F (190°C) and continue baking for 30–40 minutes, until the crust is golden brown and cherry juices are bubbling all around. About 20 minutes in, use a pie shield or foil to protect the edges if they’re browning too quickly. Let cool for at least 3–4 hours so your filling sets—resist diving in too soon for those flawless slices!
How to Serve Homemade Cherry Pie Recipe
Garnishes
Top each slice with a creamy scoop of vanilla ice cream or a swirl of lightly whipped cream—the coolness is divine against the warm, tart cherries. For a little extra sparkle, dust with powdered sugar just before serving. A fresh cherry on top never hurts for a show-stopping look!
Side Dishes
This classic dessert pairs beautifully with a simple summer salad, grilled peaches, or even a light, bright fruit salad. A cup of strong, hot coffee or a glass of chilled milk rounds out the experience and lets the Homemade Cherry Pie Recipe shine as the star.
Creative Ways to Present
Try cutting your cooled pie into mini squares for a party-perfect treat, or bake the filling and crust in individual ramekins for adorable, single-serve pies. You can even sprinkle almonds or chocolate curls over the plate for a touch of flair that elevates each slice into something restaurant-worthy.
Make Ahead and Storage
Storing Leftovers
Keep leftover Homemade Cherry Pie Recipe slices fresh by covering tightly with plastic wrap or foil and storing in the refrigerator. They’ll stay delicious for up to five days—if they last that long! The crust will soften slightly but the flavor remains irresistible.
Freezing
To freeze, allow the baked pie to cool completely. Wrap the whole pie or individual slices separately in plastic and then foil. Store in the freezer for up to three months. When cravings strike, thaw overnight in the refrigerator, then reheat before serving for a just-like-fresh taste.
Reheating
Reheat slices in a 325°F (163°C) oven for 10–15 minutes until warmed through and the crust crisps up again. For a speedier option, use the microwave in short bursts, though the crust will be softer. Always let the pie cool for a few minutes before serving—the filling can get piping hot!
FAQs
What’s the best kind of cherries to use?
Sweet cherries like Bing or Rainier are excellent for this Homemade Cherry Pie Recipe, but you can mix in some tart varieties (like Montmorency) for extra depth. Fresh cherries are ideal, but frozen (thawed and drained) can work in a pinch.
Can I make the cherry filling ahead of time?
Absolutely! You can prepare the filling up to 24 hours ahead and keep it refrigerated until ready to assemble your pie. This gives the flavors extra time to meld and makes your baking day easier.
How do I prevent a soggy bottom crust?
There are a couple of secrets: chill your pie before baking, use a glass or ceramic pie dish for even heat, and bake on a lower oven rack. Reducing the cherry juices before adding to the pie also keeps the crust crisp, a crucial tip for the best Homemade Cherry Pie Recipe.
Is it necessary to do a lattice crust?
Not at all! While a lattice lets those ruby juices bubble up in beautiful style, you can simply top your pie with a solid crust and cut a few vents for steam. Either way, the flavor will wow you.
Can I substitute almond extract?
If you’re not a fan of almond, leave it out or swap in more vanilla. The almond extract adds a classic aroma, but your Homemade Cherry Pie Recipe will still taste incredible without it.
Final Thoughts
I truly hope you feel inspired to roll up your sleeves and try this Homemade Cherry Pie Recipe. Nothing tops the joy of baking a bursting-with-cherries pie from scratch and sharing it with people you love. So grab those cherries and get baking—your new favorite summer tradition awaits!
PrintHomemade Cherry Pie Recipe
Indulge in the sweet and tangy flavors of this homemade cherry pie. With a buttery crust and a luscious cherry filling, this classic dessert is perfect for any occasion.
- Prep Time: 30 minutes
- Cook Time: 1 hour
- Total Time: 1 hour 30 minutes
- Yield: 1 9-inch pie 1x
- Category: Dessert
- Method: Baking
- Cuisine: American
- Diet: Vegetarian
Ingredients
Pie Crust:
- Homemade Pie Crust or All Butter Pie Crust (both recipes make 2 crusts, 1 for bottom and 1 for top)
Filling:
- 4 and 1/2 cups halved & quartered pitted fresh cherries
- 2/3 cup (135g) granulated sugar
- 1/4 cup (28g) cornstarch
- 1 Tablespoon (15ml) lemon juice
- 1 teaspoon pure vanilla extract
- 1/4 teaspoon almond extract
- 1 Tablespoon (14g) cold unsalted butter, cut into small cubes
- egg wash: 1 large egg beaten with 1 Tablespoon (15ml) milk
- optional: coarse sugar for sprinkling on crust
Instructions
- The crust – Prepare either pie crust recipe through step 5. The pie dough needs to chill in the refrigerator for at least 2 hours before using.
- Make the filling – In a large bowl, stir the cherries, sugar, cornstarch, lemon juice, vanilla, and almond extract together until thoroughly combined. Cover the filling and place in the refrigerator as you roll out the pie dough (or for up to 24 hours).
- Roll out the chilled pie dough – On a floured work surface, roll out one of the discs of chilled dough (keep the other one in the refrigerator). Turn the dough about a quarter turn after every few rolls until you have a circle 12 inches in diameter. Carefully place the dough into a 9-inch pie dish. Tuck it in with your fingers, making sure it is smooth. Use a slotted spoon to transfer the cherries into the crust. Reserve the juice in the bowl for the next step. Refrigerate pie, uncovered, as you reduce the juice in the next step.
- Pour the leftover juice – Pour the leftover juice into a small saucepan. Cook over low heat, stirring, until juice has slightly reduced and thickened, about 3–4 minutes. Cool for 5 minutes, then pour over cherries in filling. Dot the pieces of cold butter on top of the filling. Place the pie in the refrigerator while you roll out the top crust.
- Arrange the lattice – Remove the other disc of pie dough from the refrigerator. Roll the dough into a circle 12 inches in diameter. Using a pastry wheel, sharp knife, or pizza cutter, cut the dough into strips and carefully weave them over and under one another. Press the edges of the strips into the bottom pie crust edges to seal. Brush the top with egg wash, sprinkle with sugar, and refrigerate while preheating the oven.
- Bake the pie – Bake at 375°F (190°C) for 50-60 minutes or until the crust is golden brown and the filling is bubbling. Shield the edges with foil if needed. Cool before serving.
Notes
- For a shiny finish, brush the crust with egg wash before baking.
- Serve with a scoop of vanilla ice cream for a classic pairing.
Nutrition
- Serving Size: 1 slice
- Calories: 320
- Sugar: 22g
- Sodium: 150mg
- Fat: 12g
- Saturated Fat: 6g
- Unsaturated Fat: 4g
- Trans Fat: 0g
- Carbohydrates: 50g
- Fiber: 3g
- Protein: 4g
- Cholesterol: 35mg
Keywords: cherry pie, homemade pie, dessert, baking, cherry recipe