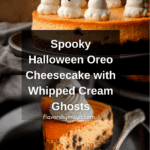
Halloween Cheesecake Recipe
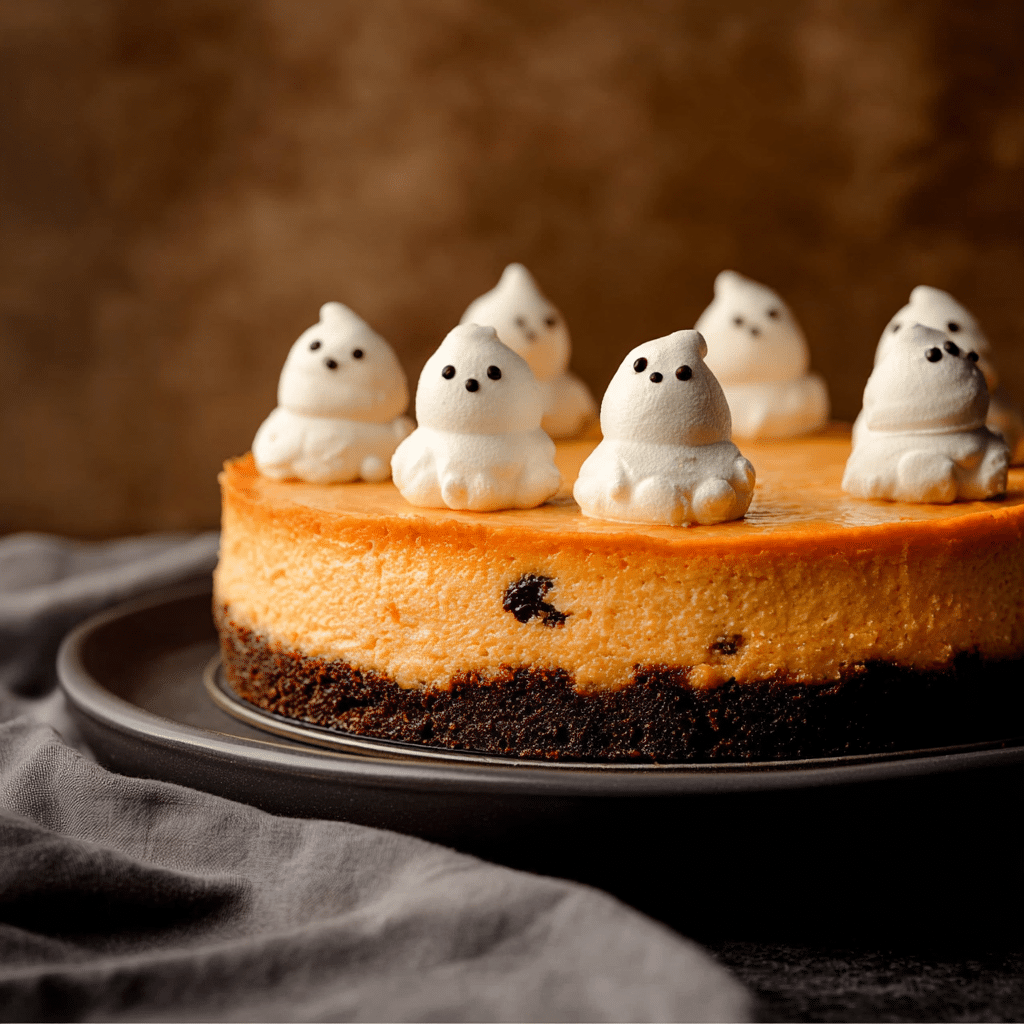
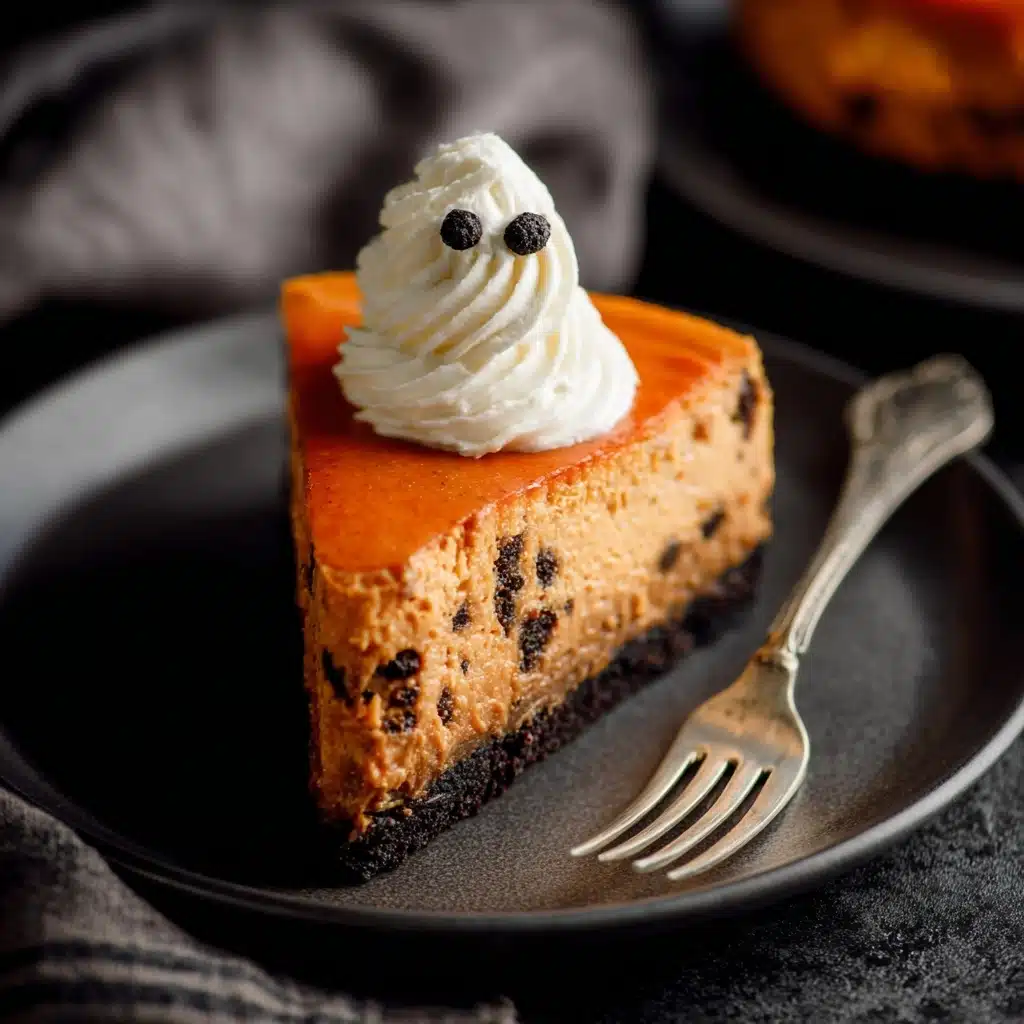
If you’re on the hunt for a show-stopping dessert that perfectly captures the festive spirit, look no further than this Halloween Cheesecake. It’s not just any cheesecake; it’s a rich, creamy, cookies-and-cream delight with a fun and spooky twist. Imagine biting into a velvety smooth orange-hued filling studded with chunks of Oreos and topped with whimsical whipped cream ghosts with candy eyes. This Halloween Cheesecake is guaranteed to be the star at your seasonal celebrations, offering a balance of flavors and textures that everyone will rave about.
Ingredients You’ll Need
This recipe keeps things straightforward but relies on a harmonious blend of ingredients to achieve its fantastic taste and texture. Each component is crucial, from the crunchy Oreo crust to the creamy, orange-hued filling, giving this dessert its festive vibe and irresistible flavor.
- Oreos: Use 20 for a perfectly crumbly crust and 14 chopped to mix into the cheesecake for delightful cookie surprises.
- Unsalted butter (¼ cup melted): Helps bind the Oreo crust and adds a rich buttery flavor.
- Full fat block cream cheese (32 ounces, softened): The creamy base that ensures the cheesecake has a luscious texture.
- Granulated sugar (1 cup): Sweetens the mixture without overpowering the other flavors.
- Heavy whipping cream (¼ cup at room temp): Adds richness and creaminess to the filling.
- Greek yogurt or sour cream (5 ounces at room temp): Provides a subtle tang that balances the sweetness.
- Vanilla extract (1 tablespoon): Enhances the overall flavor with warm, comforting notes.
- Orange food coloring: Gives the cheesecake its festive Halloween glow for that perfect seasonal look.
- Large eggs (4, at room temp): Help set and stabilize the cheesecake filling.
- Large egg yolks (2, at room temp): Add extra richness for a silky smooth texture.
- Homemade whipped cream (1 cup): For topping, perfectly light and fluffy to create the ghost decorations.
- Candy eyes: The final spooky touch that brings the whipped cream ghosts to life.
How to Make Halloween Cheesecake
Step 1: Prepare the Oreo Crust
Start by preheating your oven to 325ºF. After spraying your 9-inch springform pan, crush 20 Oreos until they’re fine crumbs—using a food processor works best here. Mix the crumbs with melted butter to create the crust base, then press it firmly into the pan. Bake this crust for about 8 to 10 minutes so it sets perfectly, then set it aside to cool while you move on to the filling.
Step 2: Make the Cookies and Cream Cheesecake Filling
Next, beat the softened cream cheese until smooth and creamy using a mixer. Add sugar and continue beating until combined. Lower your mixer speed and incorporate heavy cream, Greek yogurt or sour cream, vanilla extract, and a splash of orange food coloring for that Halloween vibe. Add the eggs one by one, mixing gently to avoid overworking the batter. Finally, fold in the chopped Oreos carefully to keep those delightful cookie chunks intact within the smooth filling.
Step 3: Bake the Cheesecake in a Water Bath
Pour the batter into your prepared crust and set up a water bath to bake it evenly and avoid cracks. Place your springform pan inside two larger pans filled partially with hot water. Bake for about 1 hour and 40 minutes until just set with a slight jiggle in the middle. Let it cool gradually in the turned-off oven for an hour, then at room temperature on a rack for two hours before chilling it in the fridge overnight. Patience here pays off with the creamiest texture!
Step 4: Decorate with Whipped Cream Ghosts
Once chilled thoroughly, remove the cheesecake from the pan carefully. Use your homemade whipped cream to pipe ghost shapes atop the cake, and add candy eyes to give them their spooky but adorable personality. This final step takes your Halloween Cheesecake from delicious to delightfully festive!
How to Serve Halloween Cheesecake
Garnishes
The whimsical whipped cream ghosts with candy eyes are an absolute must to capture the Halloween theme. You might also consider a light dusting of cocoa powder or crushed Oreos around the edges to add a shadowy effect. Edible glitter in orange or black can add a playful sparkle that kids and adults alike will adore.
Side Dishes
This cheesecake pairs beautifully with fresh raspberries or a tangy berry compote. The tartness cuts through the richness and complements the cookies-and-cream flavor perfectly. A scoop of vanilla bean ice cream on the side is another great choice for those craving an extra indulgence during your Halloween feast.
Creative Ways to Present
For an impressive presentation, serve your Halloween Cheesecake on a dark or rustic wood platter to contrast with the bright orange filling and white whipped cream ghosts. Surround the platter with miniature pumpkins, autumn leaves, or Halloween-themed decorations. You could also slice the cheesecake and place each portion on individual spooky plates for a fun touch at parties.
Make Ahead and Storage
Storing Leftovers
Leftover Halloween Cheesecake will keep well in the refrigerator for up to 5 days. Make sure it’s covered tightly with plastic wrap or stored in an airtight container to preserve its moisture and prevent it from absorbing any fridge odors. This means you can enjoy a slice (or two) the next day without losing any of that fresh-baked charm.
Freezing
This cheesecake freezes wonderfully for up to 3 months. Wrap it securely in plastic wrap and then in aluminum foil to protect it from freezer burn. When you’re ready to enjoy, simply thaw the cheesecake overnight in the refrigerator. The texture holds up nicely, making it perfect for prepping ahead of your Halloween festivities.
Reheating
Unlike many desserts, Halloween Cheesecake is best served cold or at room temperature, so reheating isn’t necessary. If you prefer it less chilled, simply allow it to sit on the counter for 15 to 20 minutes before slicing and serving. This lets the flavors and textures soften just perfectly without losing the creamy consistency.
FAQs
Can I make the Halloween Cheesecake without a water bath?
While it’s possible to skip the water bath, using one helps prevent cracks and ensures even baking. If you don’t have the larger pans for a water bath, try placing a pan with water on the lower oven rack to create steam and maintain moisture.
What if I don’t have orange food coloring?
If you don’t have orange food coloring, you can substitute with natural alternatives like a small amount of carrot juice or pumpkin puree for color and subtle flavor. Just keep in mind this can slightly affect the texture and taste.
Can I use regular yogurt instead of Greek yogurt or sour cream?
Greek yogurt or sour cream is preferred because of their thickness and tang, which contribute to the cheesecake’s creaminess. Regular yogurt tends to be thinner and could make the filling less stable, but you can strain it first to remove excess liquid for a similar effect.
How do I prevent the cheesecake from cracking?
A few key steps help: using the water bath, mixing the batter gently on low speed, and not overbaking. Also, letting the cheesecake cool gradually in the turned-off oven helps relax the structure and minimizes cracks.
Can I make the whipped cream ghosts ahead of time?
It’s best to add the whipped cream ghosts just before serving so they stay light and fluffy. You can prepare your whipped cream in advance and store it chilled, then quickly pipe on the ghosts and add candy eyes when ready to serve.
Final Thoughts
This Halloween Cheesecake is such a delightful way to celebrate the season with friends and family. The festive orange color, the rich cookies-and-cream flavor, and those adorable whipped cream ghosts come together to create a dessert that’s as fun to make as it is to eat. Whether you’re hosting a spooky party or just want to treat yourself during October, this cheesecake will quickly become your go-to festive favorite. Give it a try—you won’t be disappointed!
PrintHalloween Cheesecake Recipe

This festive Halloween Cheesecake features a rich and creamy cookies and cream filling with a crunchy Oreo crust. Enhanced with orange food coloring for a spooky twist, it’s topped with homemade whipped cream ghosts and candy eyes—perfect for your Halloween celebrations.
- Prep Time: 25 minutes
- Cook Time: 1 hour 50 minutes
- Total Time: 8 hours 40 minutes
- Yield: 12 servings 1x
- Category: Dessert
- Method: Baking
- Cuisine: American
- Diet: Vegetarian
Ingredients
Oreo Crust
- 20 Oreos
- ¼ cup (57g) unsalted butter, melted
Cheesecake Filling
- 32 ounces (900g) full fat block cream cheese, completely softened to room temperature
- 1 cup (200g) granulated sugar
- ¼ cup (60mL) heavy whipping cream, at room temperature
- 5 ounces (153g) Greek yogurt or sour cream (about ⅔ cup), at room temperature
- 1 tablespoon vanilla extract
- Orange food coloring, to desired color
- 4 large eggs, at room temperature
- 2 large egg yolks, at room temperature
- 14 Oreos, chopped
Topping
- 1 cup homemade whipped cream
- Candy eyes
Instructions
- Prepare the Oreo crust: Preheat your oven to 325ºF (162ºC) and spray a 9″ springform pan with nonstick spray. Crush 20 Oreos into fine crumbs using a food processor, mix with melted butter, and press evenly into the bottom of the pan. Bake the crust for 8-10 minutes until set and then let it cool while you prepare the filling.
- Make the cheesecake batter: Beat softened cream cheese on medium-high speed until smooth, about 2 minutes. Add sugar and continue beating for another 2 minutes. Lower mixer speed and add the heavy cream, Greek yogurt or sour cream, vanilla extract, and orange food coloring. Mix thoroughly until combined. Add eggs one at a time, mixing on low speed till just incorporated. Gently fold in the chopped Oreos without overmixing.
- Set up water bath and bake: Pour batter into the Oreo crust in the springform pan. Place this pan inside a slightly larger pan, which is then placed inside an even larger pan. Fill the outermost pan halfway with hot water, carefully creating a water bath. Transfer everything to the oven.
- Bake cheesecake: Bake for 1 hour 35 minutes to 1 hour 50 minutes. The center should jiggle slightly, and the internal temperature should reach 145ºF (63ºC). Turn off the oven and allow the cheesecake to cool inside for 1 hour.
- Cool and chill: After cooling in the oven, remove the cheesecake from the water bath pans and cool on a rack for 2 hours. Then cover and refrigerate for at least 6 hours or overnight, allowing the cheesecake to fully set.
- Decorate with whipped cream ghosts: Loosen the edges of the cheesecake and remove the springform pan ring. Pipe homemade whipped cream onto the top to create ghost shapes and adorn with candy eyes. Keep refrigerated and enjoy!
Notes
- Ensure all dairy ingredients and eggs are at room temperature to avoid lumps in the batter.
- Do not overmix after adding eggs or Oreos to maintain a smooth and creamy texture.
- A water bath helps prevent cracks by providing gentle, even heat during baking.
- Chilling overnight improves the texture and flavor development.
- Leftover cheesecake can be stored in the refrigerator for up to 5 days or frozen for up to 3 months.
- Thaw frozen cheesecake overnight in the refrigerator before serving.
Nutrition
- Serving Size: 1 slice (1/12 of cheesecake)
- Calories: 480
- Sugar: 32g
- Sodium: 320mg
- Fat: 34g
- Saturated Fat: 20g
- Unsaturated Fat: 10g
- Trans Fat: 0.5g
- Carbohydrates: 35g
- Fiber: 1g
- Protein: 8g
- Cholesterol: 140mg
Keywords: Halloween cheesecake, Oreo cheesecake, cookies and cream cheesecake, Halloween dessert, whipped cream ghosts, festive cheesecake, holiday dessert


