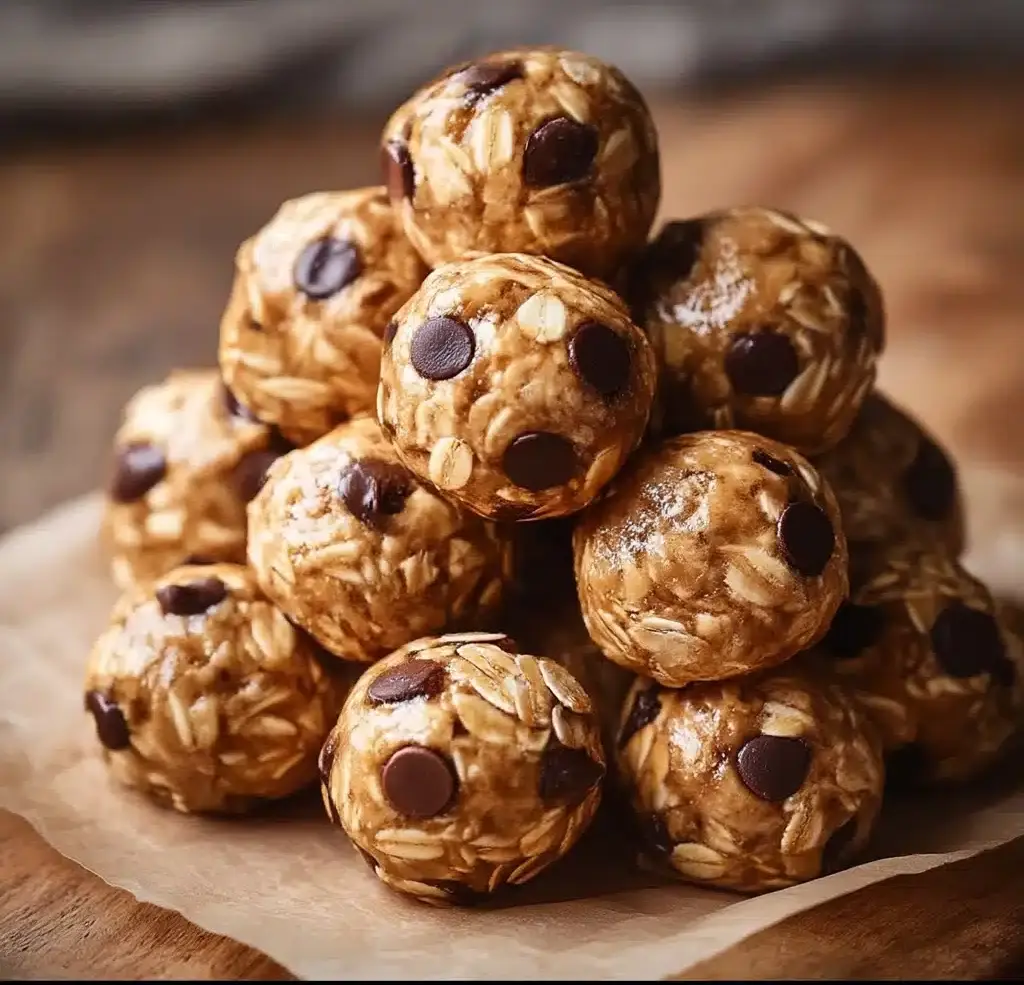
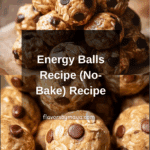
Energy Balls Recipe (No-Bake) Recipe
If you find yourself craving a wholesome treat that tastes like dessert, delivers an energy boost, and only takes minutes to whip up, this Energy Balls Recipe (No-Bake) might just become your go-to snack. They’re sweet, chewy, and dotted with mini chocolate chips for just enough indulgence. The best part? There’s no baking involved, making this recipe as speedy as it is scrumptious. Whether you’re stashing a batch for afternoon pick-me-ups, lunchbox surprises, or sharing with friends over coffee, these little bites are destined to disappear.
Ingredients You’ll Need
With just four simple ingredients, this recipe proves that you don’t need anything fancy to make a seriously delicious (and satisfying) snack. Each component plays a key role in flavor, texture, and visual appeal, so let’s take a closer look at what you’ll need for your Energy Balls Recipe (No-Bake).
- Quick oats: These oats have a finer texture, so they blend smoothly, creating perfectly tender energy balls that are also easy for kids to eat.
- Creamy peanut butter: Choose regular, not natural, peanut butter for the best mixability and a rich, nutty taste that also provides protein and staying power.
- Honey: Acts as both a natural sweetener and the glue that pulls everything together with a subtle floral flavor.
- Mini chocolate chips: These bring little bursts of chocolate in every bite, and their small size ensures you get a lovely bit of sweetness throughout.
How to Make Energy Balls Recipe (No-Bake)
Step 1: Mix Everything Together
Start by grabbing your largest mixing bowl—you’ll want plenty of room. Add the quick oats, creamy peanut butter, and honey, then pour in the mini chocolate chips. Use a sturdy spoon (or even clean hands) to stir until all the oats are coated and the mixture looks cohesive and sticky. Don’t worry if it’s thick; that means it’ll hold its shape!
Step 2: Chill the Mixture
Pop the bowl in the refrigerator for 20 to 30 minutes. This simple step firms up the mixture, making it much easier to roll into bite-sized rounds later. If you try to roll them right away, they might stick to your hands and lose their shape—chilling saves you from that sticky mess!
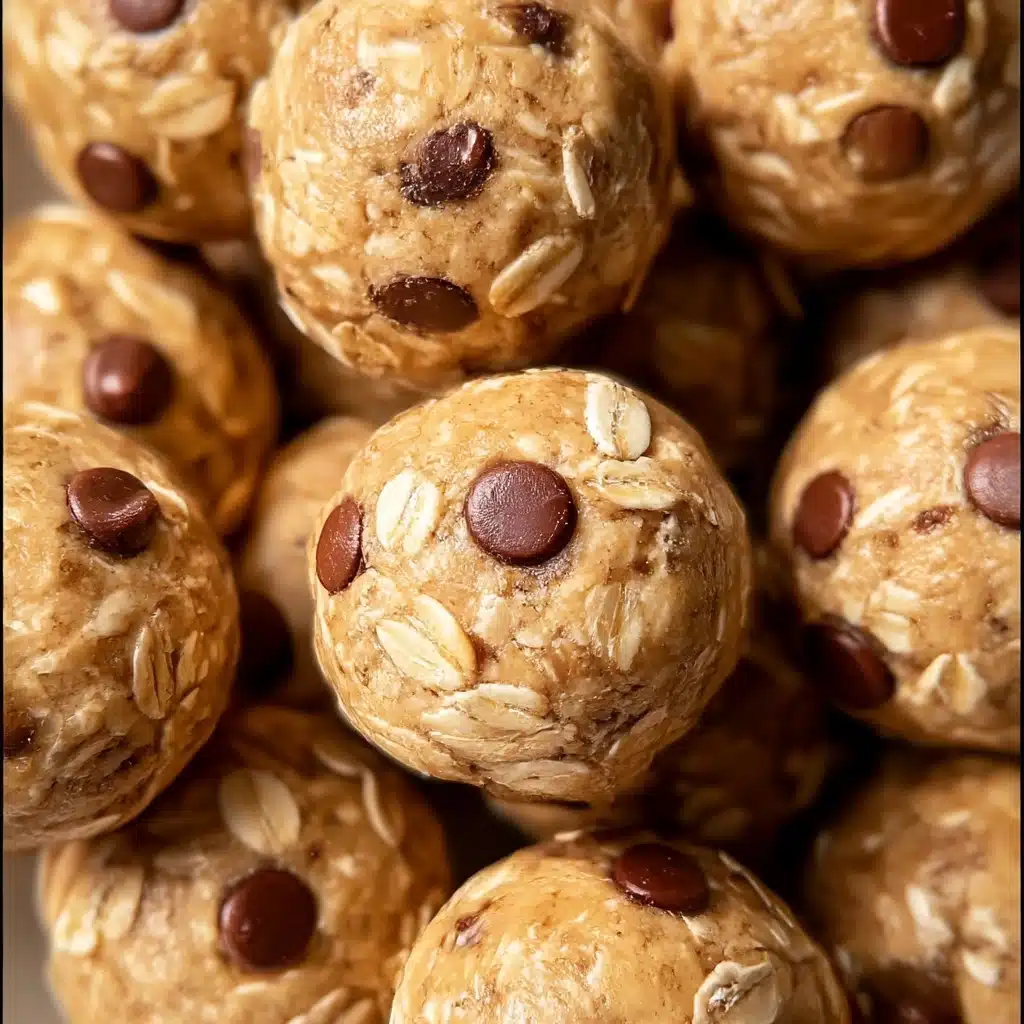
Step 3: Roll into Balls
Once chilled, take a small cookie scoop (or just use your hands), and scoop out portions of the mixture. Roll each between your palms into 1-inch balls. You should end up with about 30 perfectly snackable energy balls. Don’t stress about perfection—it’s the homemade charm that counts!
Step 4: Store and Enjoy
Line up your finished balls in an airtight container or resealable bag. Store them in the refrigerator if you’ll eat them within a week, or stash them in the freezer for up to three months. This way, your Energy Balls Recipe (No-Bake) is ready to go whenever your snack cravings hit.
How to Serve Energy Balls Recipe (No-Bake)
Garnishes
Give your energy balls a dressed-up look by sprinkling a touch of flaky sea salt on top or rolling them lightly in shredded coconut before chilling. These tiny additions make each bite look and taste a little more special—perfect for lunchboxes, snack trays, or after-school surprises.
Side Dishes
Pair your Energy Balls Recipe (No-Bake) with simple sides for a balanced snack plate. Fresh fruit makes a naturally sweet pairing, or try setting out some yogurt or a small bowl of nuts for added crunch and flavor. They also make a wonderful afternoon pick-me-up alongside your favorite smoothie or cup of tea.
Creative Ways to Present
You can line up your energy balls in mini cupcake liners for a party-ready effect, or stack them in mason jars tied with a cute ribbon for a homemade gift. For a playful twist, skewer a few onto colorful toothpicks or arrange them on a platter with a drizzle of warm peanut butter on the side for dipping. No one will ever guess how easy this Energy Balls Recipe (No-Bake) really is!
Make Ahead and Storage
Storing Leftovers
Place your finished energy balls in a single layer (or between layers of parchment paper) in an airtight container. Tucked into the fridge, they’ll stay fresh and chewy for up to a week, making it easy to grab one whenever you need a quick burst of energy or a satisfying treat.
Freezing
For longer storage, pop your energy balls in a freezer-safe zip bag or container. They don’t freeze rock hard, so you can eat them straight from the freezer—no thawing required. You’ll love having a stash of your favorite Energy Balls Recipe (No-Bake) ready at a moment’s notice, especially for busy mornings or road trips.
Reheating
These are best enjoyed chilled or at room temperature, so you won’t need to reheat them. If you prefer a softer texture, just let them sit out for a few minutes before eating. Unlike baked goods, these no-bake snacks are always ready to go—no oven required!
FAQs
Can I use rolled oats instead of quick oats?
You can, but the texture of the energy balls will be a bit chewier and chunkier. Quick oats bind better and create a smoother, softer bite, which is why I recommend them for this Energy Balls Recipe (No-Bake).
What if I’m allergic to peanut butter?
No problem at all! Almost any creamy nut or seed butter will work—try almond butter, sunflower seed butter, or cashew butter as delicious substitutes. Just make sure you use a similar consistency for the best results.
Are these gluten-free?
They can be! Just be sure to use certified gluten-free oats, and you’ll have a perfectly gluten-free batch of energy balls. All the other ingredients in this Energy Balls Recipe (No-Bake) are naturally gluten-free.
How do I make these vegan?
Simply swap the honey for an equal amount of maple syrup or agave nectar, and check that your chocolate chips are dairy-free. The balls will be just as tasty and perfect for anyone following a plant-based diet.
Can I add extras like dried fruit or chia seeds?
Absolutely! This recipe is a great starting point—stir in a handful of dried cranberries, raisins, coconut flakes, or even chia or flax seeds for a custom twist on your Energy Balls Recipe (No-Bake). Have fun experimenting!
Final Thoughts
There’s something so special about sharing a recipe that’s as easy and rewarding as this Energy Balls Recipe (No-Bake). I hope you’ll give it a try, customize it to your taste, and find yourself reaching for these sweet, satisfying bites again and again. Snacking never felt so good!
PrintEnergy Balls Recipe (No-Bake) Recipe

These no-bake Energy Balls are a perfect snack that combines quick oats, creamy peanut butter, honey, and mini chocolate chips for a delicious and satisfying treat. Easy to make and great for a quick energy boost anytime!
- Prep Time: 10 minutes
- Cook Time: 0 minutes
- Total Time: 30 minutes
- Yield: 30 energy balls 1x
- Category: Snack
- Method: No-Bake
- Cuisine: American
- Diet: Vegetarian
Ingredients
Quick Oats:
- 3 cups quick oats
Creamy Peanut Butter:
- 1 cup creamy peanut butter
Honey:
- 1/2 cup honey
Mini Chocolate Chips:
- 1/2 cup mini chocolate chips
Instructions
- Combine Ingredients: In a large mixing bowl, stir together the quick oats, peanut butter, honey, and chocolate chips until everything is well combined.
- Chill the Mixture: Place the bowl in the refrigerator for about 20–30 minutes. This makes the mixture easier to roll and prevents sticking.
- Roll into Balls: Using a small cookie scoop or your hands, roll the mixture into 1-inch balls. This recipe makes around 30 snack-sized energy balls.
- Store and Enjoy: Place the balls in an airtight container or resealable bag. Store in the fridge for up to 1 week or freeze for up to 3 months.
Nutrition
- Serving Size: 1 energy ball
- Calories: 100
- Sugar: 5g
- Sodium: 40mg
- Fat: 5g
- Saturated Fat: 1.5g
- Unsaturated Fat: 3.5g
- Trans Fat: 0g
- Carbohydrates: 12g
- Fiber: 1g
- Protein: 3g
- Cholesterol: 0mg
Keywords: Energy Balls, No-Bake, Quick Oats, Peanut Butter, Honey, Chocolate Chips, Snack
