Easy Oreo Mug Cake Recipe
Introduction
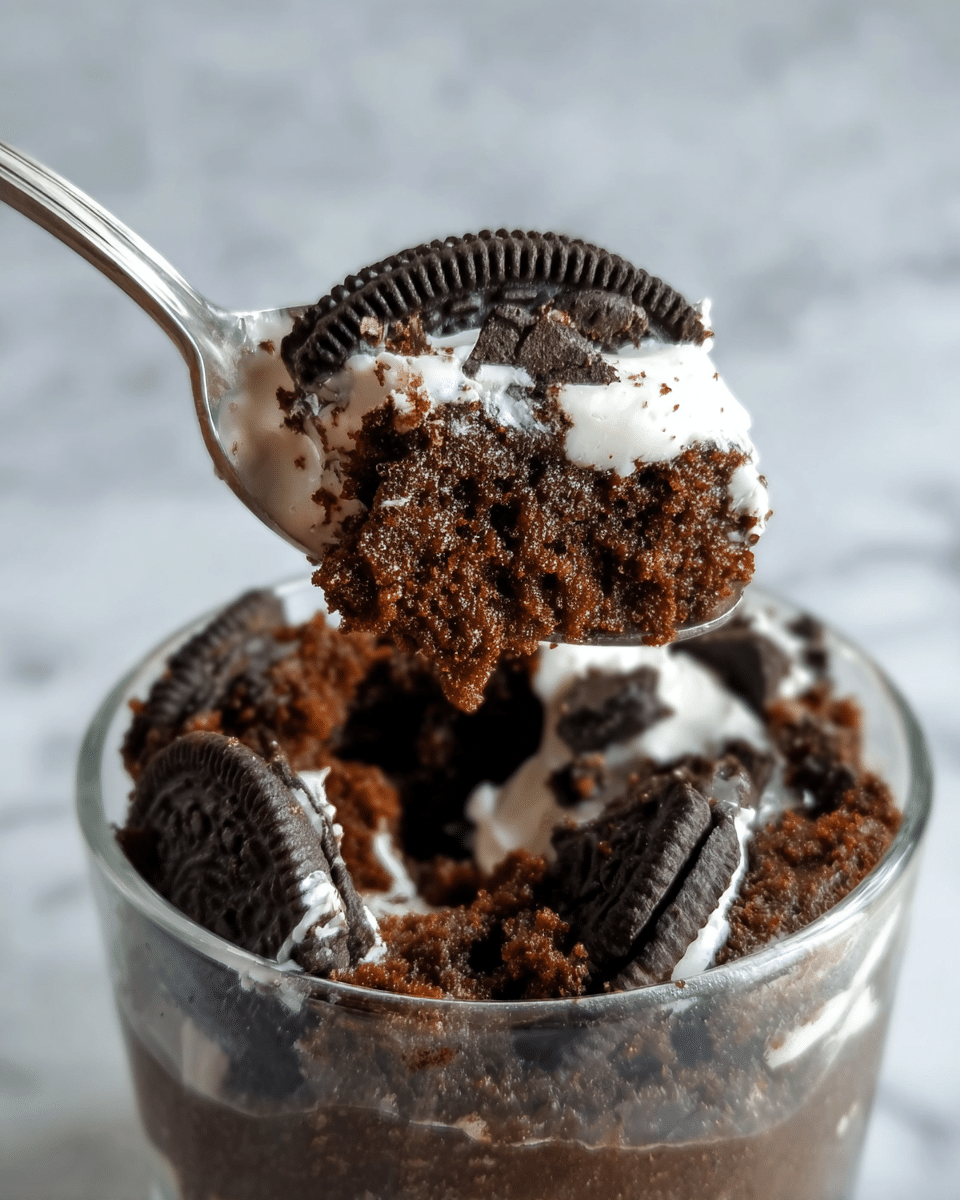
This easy Oreo mug cake is a quick and delicious treat you can make in just minutes. With a few simple ingredients and your microwave, enjoy a warm, soft cake packed with crushed Oreos—perfect for satisfying sudden sweet cravings.
Ingredients
- 3½ tablespoons milk
- 5 Oreos
- 1 tablespoon all-purpose flour
- ⅛ teaspoon (or a pinch) baking powder
- 1 crushed Oreo (optional, for topping)
Instructions
- Step 1: Pour 3½ tablespoons of milk into a microwave-safe mug and heat it in the microwave until it is just a little warm.
- Step 2: Add 5 Oreos into the warm milk and crush them well with a fork until no large pieces remain. The warm milk will make crushing easier.
- Step 3: Stir in 1 tablespoon of all-purpose flour and ⅛ teaspoon (or a pinch) of baking powder. Mix gently until combined, being careful not to overmix to keep the cake tender.
- Step 4: (Optional) Wipe the inner walls of the mug for a neat appearance.
- Step 5: Microwave the mug for about 1 minute. The top should look mostly set but still a little moist. If it looks too wet, continue microwaving in 10-second increments until done.
- Step 6: Let the cake sit for a minute to finish cooking and cool slightly. Top with a crushed Oreo if desired and enjoy warm.
Tips & Variations
- Use a mug with straight sides for even cooking and easier mixing.
- Add a small scoop of vanilla ice cream or a drizzle of chocolate sauce for an extra indulgent treat.
- If you prefer a stronger Oreo flavor, add an extra crushed Oreo before microwaving.
- Try using chocolate milk instead of regular milk for a richer taste.
Storage
This mug cake is best enjoyed fresh and warm. If you have leftovers, store them in an airtight container in the refrigerator for up to 2 days. To reheat, microwave for about 20–30 seconds until warm but not overcooked.
How to Serve
Serve this delicious recipe with your favorite sides.
FAQs
Can I use a different type of cookie instead of Oreos?
Yes, you can experiment with other cookies, but Oreos work best for their texture and flavor in this recipe.
What if my mug cake turns out dry?
Be careful not to overmix and avoid microwaving for too long. The cake should be slightly moist on top when done. Adjust your microwave time as needed based on your equipment.
PrintEasy Oreo Mug Cake Recipe

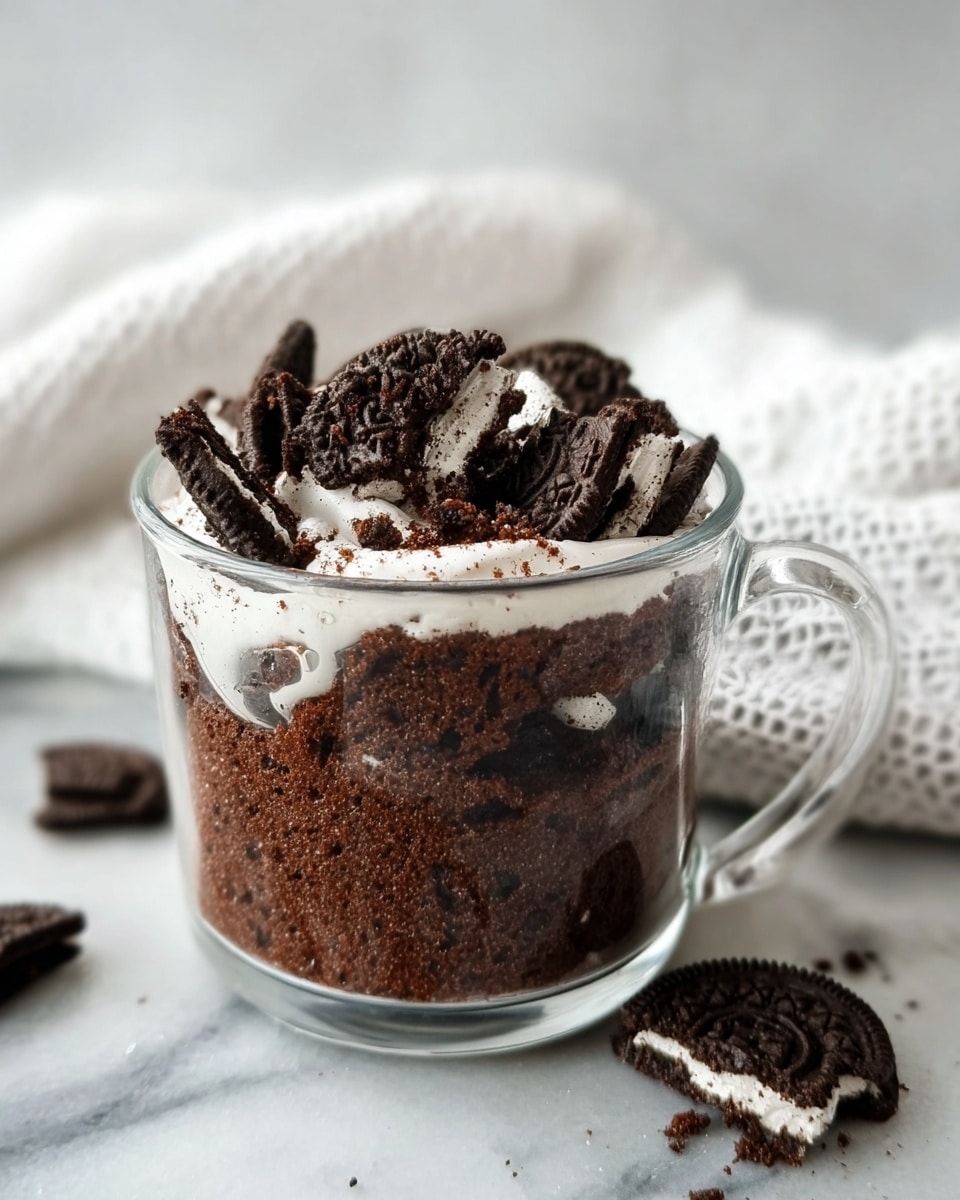
This Easy Oreo Mug Cake is a quick and delightful single-serving dessert made in just minutes using simple ingredients. Combining crushed Oreos, milk, flour, and baking powder, it’s cooked effortlessly in the microwave to create a moist, tender cake perfect for satisfying sweet cravings anytime. Optional toppings like crushed Oreo, whipped cream, or ice cream make it even more indulgent.
- Prep Time: 3 minutes
- Cook Time: 1-2 minutes
- Total Time: 5 minutes
- Yield: 1 serving 1x
- Category: Dessert
- Method: Microwave
- Cuisine: American
Ingredients
Dry Ingredients
- 5 Oreos
- 1 tbsp all purpose flour
- ⅛ tsp (a pinch) baking powder
Wet Ingredients
- 3½ tbsp milk
Toppings (Optional)
- 1 crushed Oreo to add on top
- Whipped cream (optional)
- Ice cream (optional)
- Caramel sauce (optional)
- Chocolate sauce (optional)
- Thick creamy heavy cream (optional)
Instructions
- Warm the milk and crush Oreos: Pour 3½ tablespoons of milk into a microwave-safe mug and heat it in the microwave until just warm. Add 5 Oreos into the mug and crush them thoroughly with a fork until no large pieces remain. The warm milk softens the Oreos making them easier to crush.
- Add dry ingredients and mix: Add 1 tablespoon of all-purpose flour and ⅛ teaspoon (pinch) of baking powder to the mug. Gently mix all ingredients together until just combined, being careful not to overmix to avoid a tough or dense cake. For a neat appearance, you can wipe the inner walls of the mug before mixing.
- Microwave the mug cake: Place the mug in the microwave and cook for about 1 minute. Check the cake’s top surface; it should look mostly set but still a bit moist to maintain softness inside. If it appears too raw and liquidy, continue microwaving in 10-second increments until the desired consistency is reached. Cooking times can vary depending on your microwave and mug size.
- Cool and add toppings: Let the mug cake sit for about a minute after microwaving to finish cooking as it cools. Optionally, sprinkle 1 crushed Oreo on top. You may also add whipped cream, ice cream, caramel sauce, chocolate sauce, or thick creamy heavy cream to enhance the flavor. Enjoy your warm, delicious treat with a glass of milk if you like.
Notes
- Cooking time may vary depending on your microwave wattage and mug size.
- Do not overmix the batter to keep the cake light and tender.
- Use a microwave-safe mug to avoid any damage or safety issues.
- Adjust toppings as preferred for extra indulgence.
- The cake is best enjoyed warm immediately after cooking.
Keywords: Oreo mug cake, microwave cake, easy dessert, quick dessert, single serving cake, Oreo dessert, mug cake recipe


