Chocolate Peanut Butter Christmas Trees Recipe
Introduction
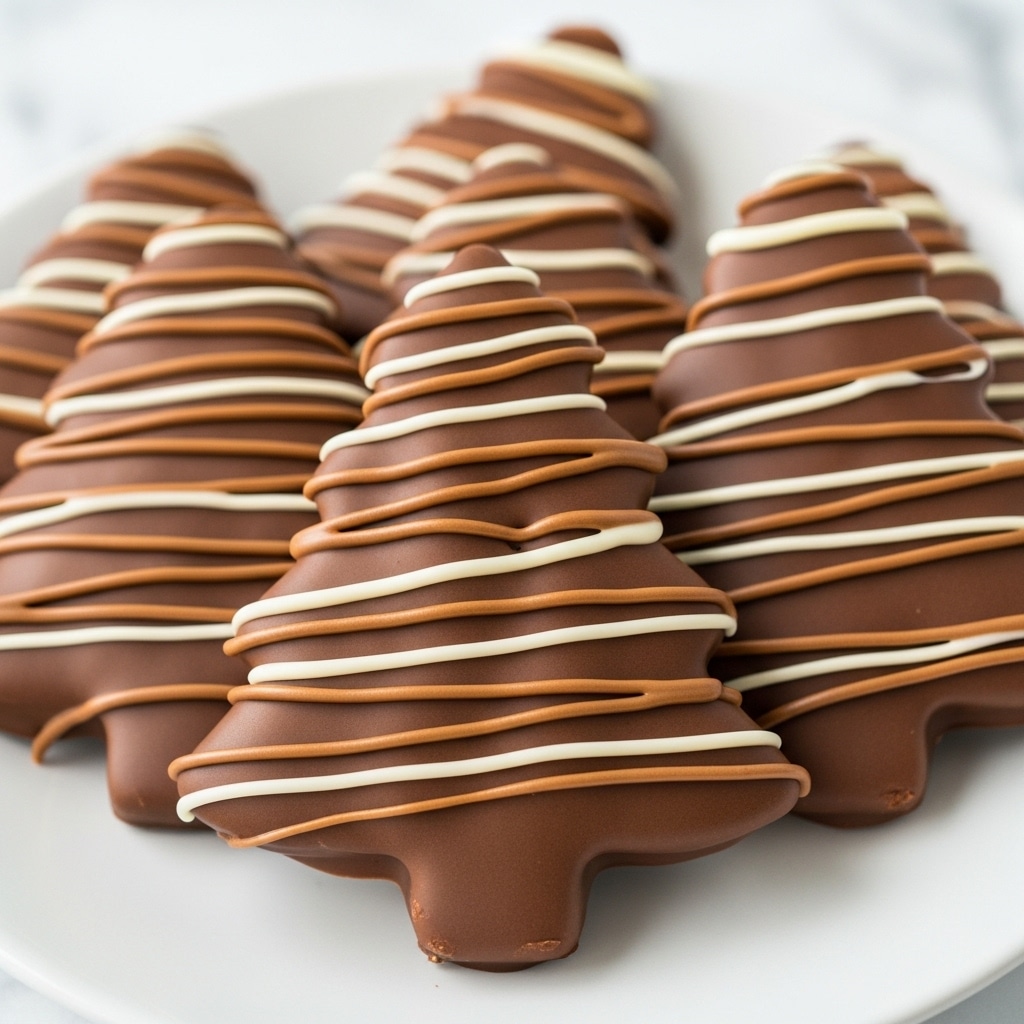
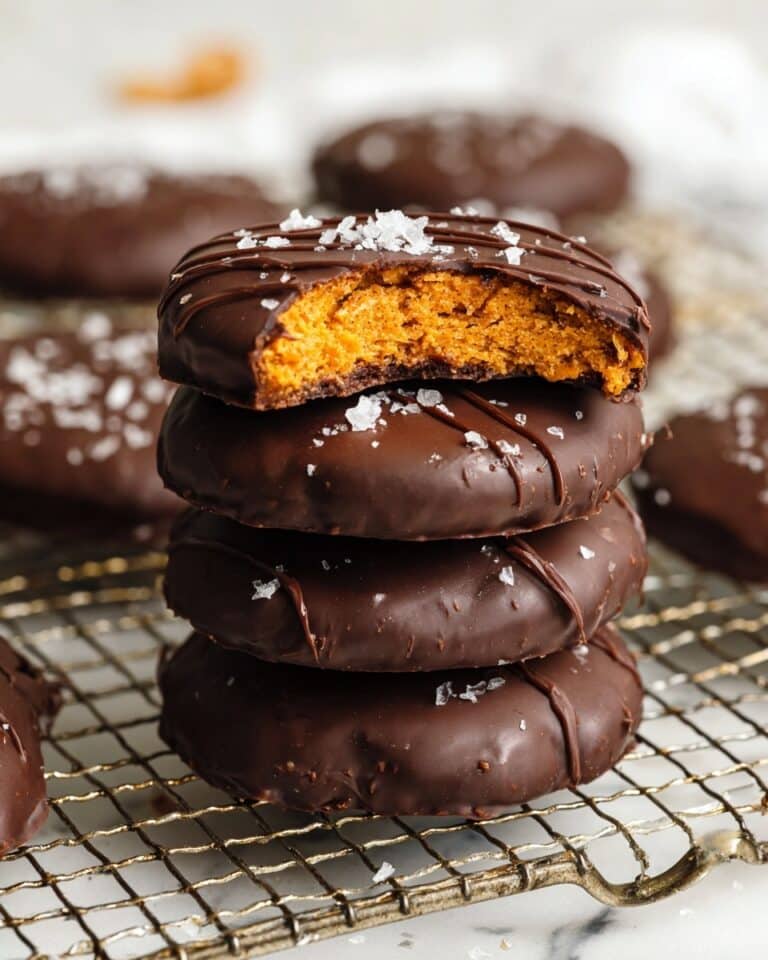
Chocolate Peanut Butter Christmas Trees are a festive and delicious holiday treat that combine creamy peanut butter with rich chocolate. These bite-sized goodies are perfect for gifting or enjoying at holiday parties. Simple to make and sure to impress, they bring together classic flavors in a fun seasonal shape.
Ingredients
- ½ cup salted butter (melted and cooled)
- 2 cups creamy peanut butter
- ¼ cup granulated sugar
- 1 tablespoon vanilla extract
- 4 cups powdered sugar
- 3 cups semi-sweet chocolate chips (or a mix of semi and milk chocolate chips)
- 2 tablespoons shortening
- ½ cup milk chocolate chips (or pieces)
- ½ cup white chocolate chips (or pieces)
- 1 teaspoon shortening (divided in half)
Instructions
- Step 1: Line a jelly roll or half sheet pan with parchment paper and set aside.
- Step 2: Using a hand mixer, beat together the melted butter, peanut butter, granulated sugar, and vanilla extract until smooth and creamy. Gradually beat in the powdered sugar until fully combined.
- Step 3: Press the peanut butter mixture evenly into the lined pan to about ½-inch thickness.
- Step 4: Place the pan in the freezer for 15 minutes to firm up the mixture.
- Step 5: Lift the parchment paper to remove the chilled peanut butter layer from the pan. Place a fresh sheet of parchment paper back on the pan.
- Step 6: Use a cookie cutter to cut out ½-inch thick Christmas tree shapes from the chilled peanut butter layer.
- Step 7: Arrange the cutouts on a parchment-lined sheet pan and freeze for 30 minutes to firm completely.
- Step 8: Gather the leftover peanut butter mixture, press it again to ½-inch thickness, and cut additional shapes as needed.
- Step 9: After the cutouts have chilled for 25 minutes, prepare the chocolate coating.
- Step 10: Combine the milk chocolate chips and 2 tablespoons shortening in a heatproof bowl. Microwave in 30-second increments, stirring until the chocolate is smooth and fully melted.
- Step 11: Using a fork, dip each peanut butter tree into the melted chocolate, coating completely. Tap off excess chocolate and place on the parchment-lined pan.
- Step 12: Work in batches, coating the cutouts before they soften.
- Step 13: Allow the chocolate coating to harden at room temperature.
- Step 14: For an optional drizzle, melt the white chocolate chips (or pieces) and ½ teaspoon shortening in the microwave in 30-second increments until smooth.
- Step 15: Transfer the melted chocolate to a small bag or piping bag. Snip a small corner and drizzle over the coated trees in a zigzag pattern. Let set for about 5 minutes before serving.
Tips & Variations
- Use a mix of semi-sweet and milk chocolate chips for a balanced sweetness.
- For a festive touch, sprinkle crushed candy canes or colored sugar over the chocolate before it sets.
- If white chocolate is too thick for drizzling, add a little cream or shortening to thin it out.
- Substitute natural peanut butter, but expect a slightly different texture.
Storage
Store the finished Christmas trees in an airtight container at room temperature or in the refrigerator for up to one week. To keep the chocolate firm, refrigeration is best in warmer climates. Allow refrigerated treats to come to room temperature before serving for the best texture.
How to Serve
Serve this delicious recipe with your favorite sides.
FAQs
Can I make these ahead of time?
Yes, these treats can be made several days in advance and stored in an airtight container. Just keep them refrigerated if your home is warm, and bring them to room temperature before serving.
What if I don’t have a Christmas tree cookie cutter?
You can use other festive-shaped cookie cutters or simply cut the peanut butter layer into squares or triangles for the coating step. The taste remains delicious regardless of the shape.
PrintChocolate Peanut Butter Christmas Trees Recipe

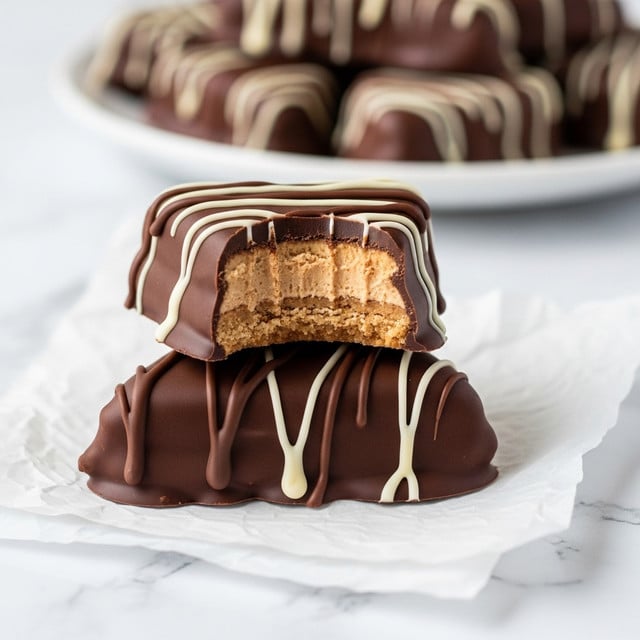
Delightfully festive and delicious, these Chocolate Peanut Butter Christmas Trees are the perfect no-bake holiday treat. Creamy peanut butter is combined with melted butter, sugar, and powdered sugar, then chilled and cut into festive tree shapes. These are then dipped in smooth melted chocolate and optionally drizzled with contrasting chocolate for an elegant finish. Ideal for holiday gatherings or gifting, these treats combine classic flavors in a fun and eye-catching presentation.
- Prep Time: 20 minutes
- Cook Time: 0 minutes
- Total Time: 1 hour 15 minutes
- Yield: About 24 Christmas tree-shaped treats 1x
- Category: Dessert
- Method: No-Cook
- Cuisine: American
- Diet: Vegetarian
Ingredients
Peanut Butter Base
- ½ cup salted butter, melted and cooled
- 2 cups creamy peanut butter
- ¼ cup granulated sugar
- 1 tablespoon vanilla extract
- 4 cups powdered sugar
Chocolate Coating and Drizzle
- 3 cups semi-sweet chocolate chips (or a mix of semi-sweet and milk chocolate chips)
- 2 tablespoons shortening
- ½ cup milk chocolate chips (or pieces)
- ½ cup white chocolate chips (or pieces)
- 1 teaspoon shortening, divided in half
Instructions
- Prepare the pan. Line a jelly roll pan or half sheet pan with parchment paper and set it aside to use for forming the peanut butter mixture.
- Mix the peanut butter base. Using a hand mixer, beat together the melted and cooled butter, creamy peanut butter, granulated sugar, and vanilla extract until smooth and creamy. Gradually add and beat in the powdered sugar until fully combined.
- Press into pan. Spread the peanut butter mixture evenly into the prepared pan to about ½-inch thickness, smoothing the surface.
- Freeze to set. Place the pan in the freezer for 15 minutes to firm up the mixture.
- Remove and prepare for cutting. Lift the chilled peanut butter layer out of the pan using the parchment paper and place it onto a clean sheet of parchment on the pan for cutting.
- Cut shapes. Use a cookie cutter to cut out ½-inch thick Christmas tree shapes from the chilled peanut butter layer, removing the cutouts carefully.
- Chill cutouts. Arrange the cutouts on a parchment-lined sheet pan and freeze for 30 minutes to firm completely.
- Repress and cut more shapes. Gather the leftover peanut butter mixture from around the cutouts, press it back to ½-inch thickness, and cut additional Christmas tree shapes.
- Prepare chocolate coating. After the cutouts have chilled for at least 25 minutes, melt the milk chocolate chips with 2 tablespoons of shortening in a heatproof bowl, microwaving in 30-second increments and stirring until smooth and fully melted.
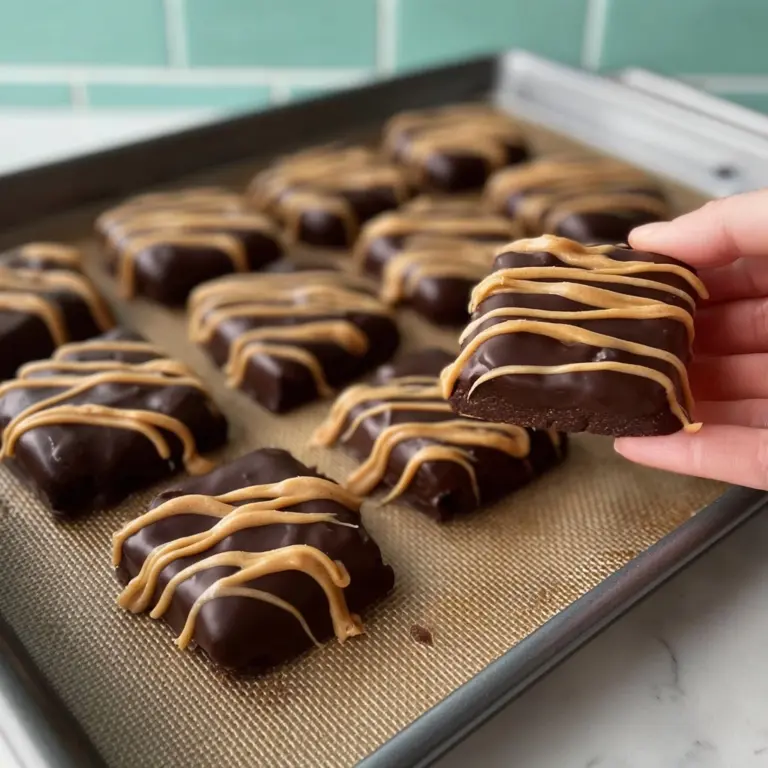
- Coat cutouts. Using a fork, lift each peanut butter tree and fully coat it in the melted chocolate. Tap off excess chocolate and place the coated trees back on the parchment-lined sheet pan. Work quickly and in batches to prevent softening.
- Let chocolate harden. Allow the chocolate coating to set completely at room temperature or briefly chill if desired.
- Prepare drizzle (optional). For a decorative drizzle, melt the white chocolate chips (or pieces) with ½ teaspoon shortening per ½ cup chocolate in 30-second microwave increments until smooth.
- Drizzle chocolate decoration. Transfer melted chocolate to a plastic or piping bag, snip a tiny corner off, and drizzle over the chocolate-coated trees in a zigzag pattern.
- Set the drizzle. Let the drizzle set for about 5 minutes before serving or storing.
Notes
- Ensure the butter is cooled before mixing to avoid melting the powdered sugar prematurely.
- Work quickly when coating the trees with chocolate to prevent the peanut butter layer from softening.
- Use parchment paper to easily lift and transfer the peanut butter layer and cutouts.
- The shortening in the chocolate helps achieve a smooth, shiny coating that hardens well.
- Store finished treats in an airtight container at room temperature or in the refrigerator for longer freshness.
Keywords: chocolate peanut butter Christmas trees, no bake Christmas treats, holiday desserts, festive peanut butter cookies, chocolate coated peanut butter bites
