Caramel Apples with Toppings Recipe
Introduction
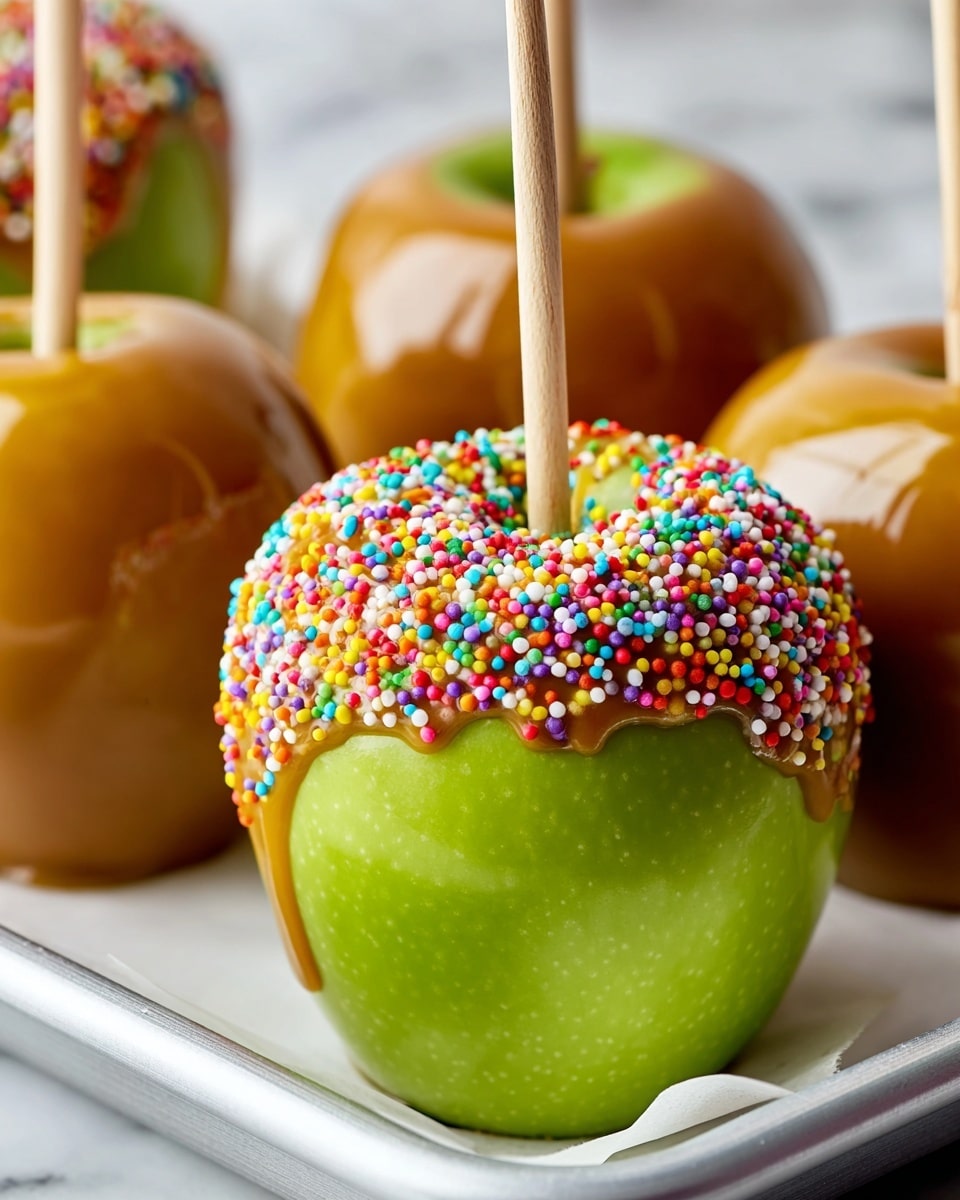
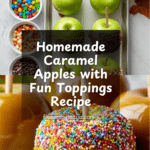
Caramel apples are a classic treat that combine crisp, tart apples with rich, buttery caramel and your choice of fun toppings. Perfect for celebrations or a cozy snack, these homemade caramel apples are surprisingly easy to make and sure to impress.
Ingredients
- 6-7 apples (such as Granny Smith or Honeycrisp), refrigerated until cold
- 1/2 cup (115 grams) water
- 1 ⅓ cups (255 grams) granulated sugar
- 1 teaspoon kosher salt
- 1 cup + 2 tablespoons (255 grams) heavy cream, cold
- 1 teaspoon vanilla
- Melted chocolate (optional)
- Reese’s Pieces, M&Ms, crushed Oreos, rainbow sprinkles, mini chocolate chips, or chopped nuts for toppings
Instructions
- Prepare the apples: Line a baking sheet with parchment paper. Bring a large pot of water to a boil over high heat, making sure there’s enough water to fully submerge an apple. Remove the stems from the apples and insert a popsicle stick about three-quarters of the way into each apple. Once the water boils, turn off the heat. Submerge each apple for 15-20 seconds to remove wax, then place them on the parchment-lined sheet.
- Dry and chill the apples: When the apples are just warm to the touch, thoroughly dry them with paper towels. Store in the fridge until ready to dip in caramel.
- Make the caramel: In a medium heavy-duty saucepan, combine water, sugar, and salt over medium heat. Whisk frequently until the sugar dissolves completely and the mixture starts boiling, about 4 minutes.
- Cook the caramel: Attach a candy thermometer to the pan without touching the bottom. Let the mixture simmer without stirring until it darkens to a deep brown and reaches 315°F (about 8-10 minutes).
- Add cream and finish caramel: Carefully add the cold heavy cream; the mixture will bubble vigorously. Stir constantly with a silicone whisk until the caramel reaches 250°F (about 7-9 minutes). Remove from heat and stir in vanilla gently to avoid air bubbles. Transfer to a heat-resistant bowl and let cool until just warm (5-10 minutes).
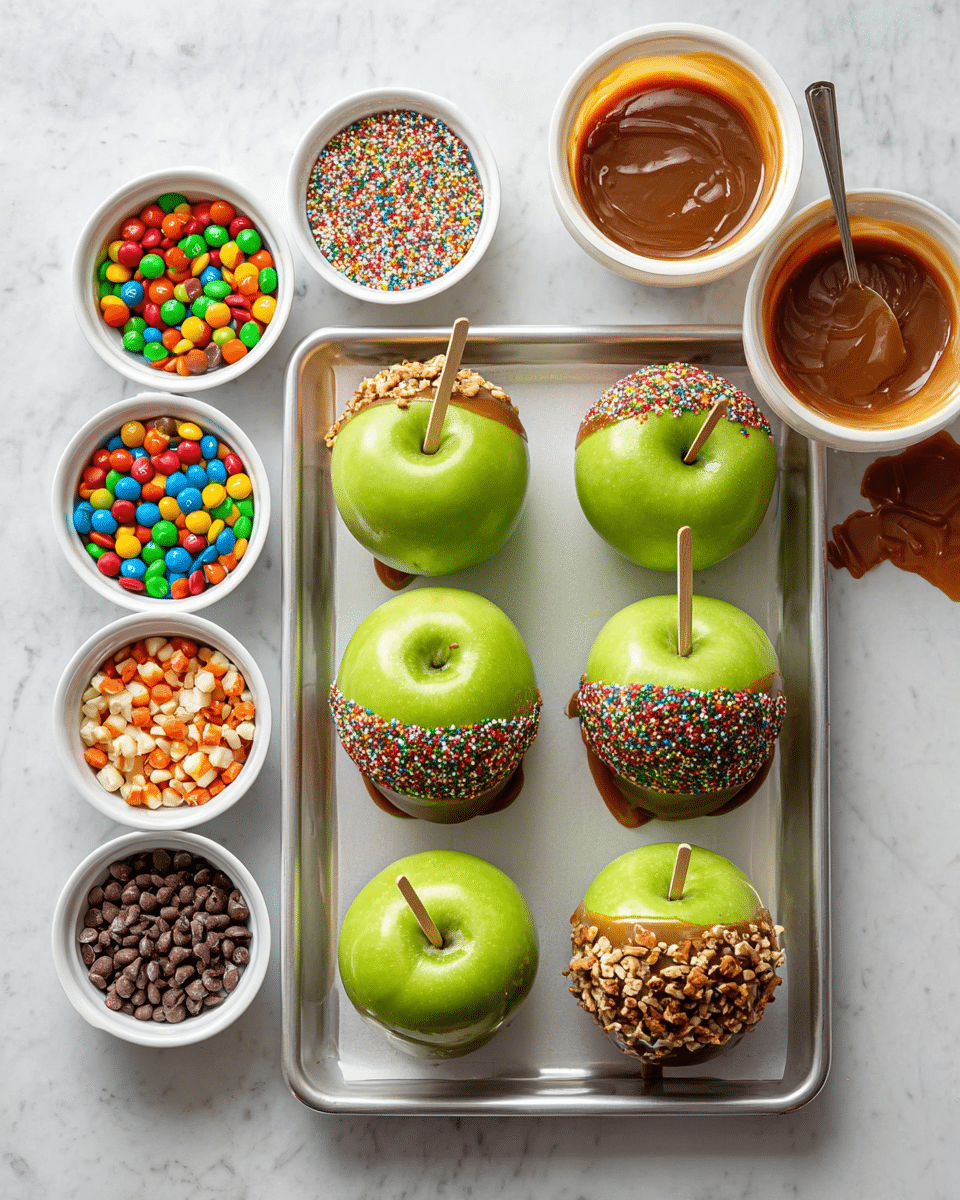
- Prepare toppings: While caramel cools, set out any toppings you want to use.
- Dip the apples: Holding an apple by the stick, quickly dip it into the warm caramel, turning to coat evenly. Let excess caramel drip off and scrape the bottom against the bowl edge. Place back on the parchment paper. Repeat with all apples.
- Add toppings: Immediately roll or sprinkle toppings over the freshly dipped apples before the caramel sets. For chocolate, wait 10 minutes for caramel to set, then dip or drizzle as desired.
- Reheat caramel if needed: If caramel thickens during dipping, reheat in the microwave for about 10 seconds to soften.
- Set and store: Allow the caramel apples to fully set. Wrap individually in plastic wrap and store in the fridge for up to 1 week. Bring to room temperature for about 10 minutes before serving.
Tips & Variations
- Use firm, tart apples like Granny Smith or Honeycrisp for the best contrast with sweet caramel.
- For smoother caramel, be careful not to stir after boiling starts to avoid crystallization.
- Try different toppings like chopped nuts, crushed cookies, or colorful sprinkles for fun variety.
- If you want extra flavor, add a pinch of cinnamon or sea salt to the caramel before cooling.
- Keep apples cold until dipping to ensure caramel adheres well and sets properly.
Storage
Wrap caramel apples individually in plastic wrap and store in the refrigerator for up to one week. When ready to enjoy, let them sit at room temperature for about 10 minutes to soften slightly and bring out the flavors. Avoid storing at room temperature as the caramel may soften too much and become sticky.
How to Serve
Serve this delicious recipe with your favorite sides.
FAQs
Can I use any type of apple for caramel apples?
While you can use many types, firm and tart apples like Granny Smith or Honeycrisp are best because their crispness and slight tartness balance the rich caramel flavor perfectly.
What should I do if the caramel hardens too much while dipping?
If the caramel thickens or hardens too much, reheat it gently in the microwave for about 10 seconds to soften it again, then continue dipping the apples.
PrintCaramel Apples with Toppings Recipe

Classic homemade caramel apples featuring crisp refrigerated apples dipped in a rich homemade caramel sauce, then optionally coated with a variety of fun toppings like chocolate, nuts, and colorful sprinkles. This festive treat is perfect for autumn celebrations or whenever you crave a sweet and tangy snack.
- Prep Time: 15 minutes
- Cook Time: 25 minutes
- Total Time: 40 minutes
- Yield: 6–7 caramel apples 1x
- Category: Dessert
- Method: Stovetop
- Cuisine: American
Ingredients
Apples
- 6–7 apples (such as Granny Smith or Honeycrisp), refrigerated until cold
Caramel
- 1/2 cup (115 grams) water
- 1 ⅓ cups (255 grams) granulated sugar
- 1 teaspoon kosher salt
- 1 cup + 2 tablespoons (255 grams) heavy cream, cold
- 1 teaspoon vanilla extract
Toppings (optional)
- Melted chocolate
- Reese’s Pieces
- M&Ms
- Oreos (crushed)
- Rainbow sprinkles
- Mini chocolate chips
- Chopped nuts
Instructions
- Prepare the apples: Line a baking sheet with parchment paper. Bring a large pot of water to a boil over high heat deep enough to submerge an apple. Remove stems from each refrigerated apple and insert a popsicle stick 3/4 down into each apple. Once water is boiling, turn off the heat and submerge each apple for 15-20 seconds to remove wax. Place apples on parchment-lined sheet.
- Dry and chill apples: When apples are just warm to the touch, thoroughly dry each with a paper towel. Store in the refrigerator until you are ready to dip them in caramel.
- Make the caramel base: In a medium heavy-duty stainless steel saucepan over medium heat, combine water, sugar, and kosher salt. Whisk frequently until sugar dissolves completely. Mixture will begin boiling after about 4 minutes.
- Cook caramel to amber stage: Attach a candy thermometer to the pan without touching the bottom. Let the syrup simmer, do not stir, until dark brown color and thermometer reads about 315°F, approximately 8-10 minutes.
- Add heavy cream carefully: Slowly pour cold heavy cream into the hot caramel mixture; it will bubble and pop vigorously. Stir continuously with a silicone whisk until caramel reaches 250°F, about 7-9 minutes.
- Remove from heat and add vanilla: Stir in the vanilla extract gently to avoid incorporating air bubbles. The mixture will bubble slightly. Transfer caramel to a heat-resistant bowl and allow to cool for 5-10 minutes until just warm.
- Prepare toppings: While caramel cools, prepare your toppings like crushed Oreos, nuts, and sprinkles for easy dipping.
- Dip the apples: Hold each cold apple by the stick and quickly dip into the warm caramel, tilting to coat evenly. Let excess caramel drip off by swirling or tapping the bottom against the bowl edge. Place on parchment paper to set.
- Add toppings if desired: Immediately roll or sprinkle dip-covered apples with toppings before caramel sets. For a chocolate coating, wait about 10 minutes for the caramel to fully set, then dip or drizzle with melted chocolate.
- Reheat caramel if needed: If the caramel thickens due to cooling, gently reheat in the microwave for 10 seconds to soften before continuing to dip apples.
- Set and store: Allow caramel apples to fully set at room temperature. Store wrapped individually in plastic wrap in the refrigerator for up to one week. Let apples sit at room temperature for about 10 minutes before serving for best texture and flavor.
Notes
- Cold refrigerated apples help the caramel adhere better and prevent immediate melting.
- Submerging apples briefly in boiling water removes wax, improving caramel stickiness.
- Use a candy thermometer for precise caramel cooking; heating beyond 315°F will cause burning.
- Be cautious when adding cold cream to hot caramel as it bubbles vigorously.
- Do not over-stir caramel after adding vanilla to avoid air bubbles which affect texture.
- If caramel sets too fast while dipping, brief microwaving softens it for easier coating.
- Variety in toppings allows customization and makes these treats fun for all ages.
- Store apples wrapped tightly to maintain freshness and prevent moisture loss.
Keywords: caramel apples, homemade caramel, fall treats, candy apples, Halloween dessert

