Baked Apples with Cinnamon, Oats, and Brown Sugar Recipe
Introduction
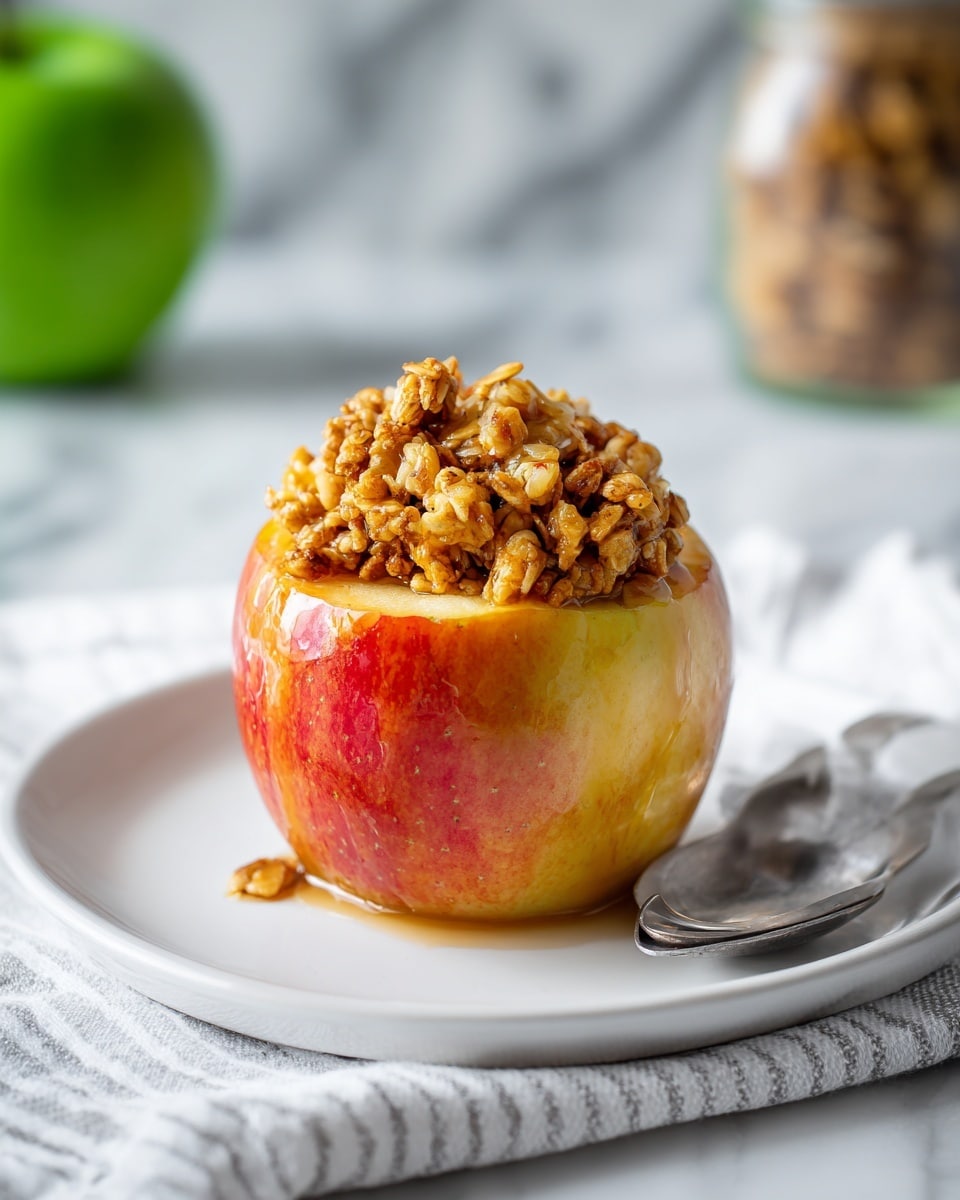
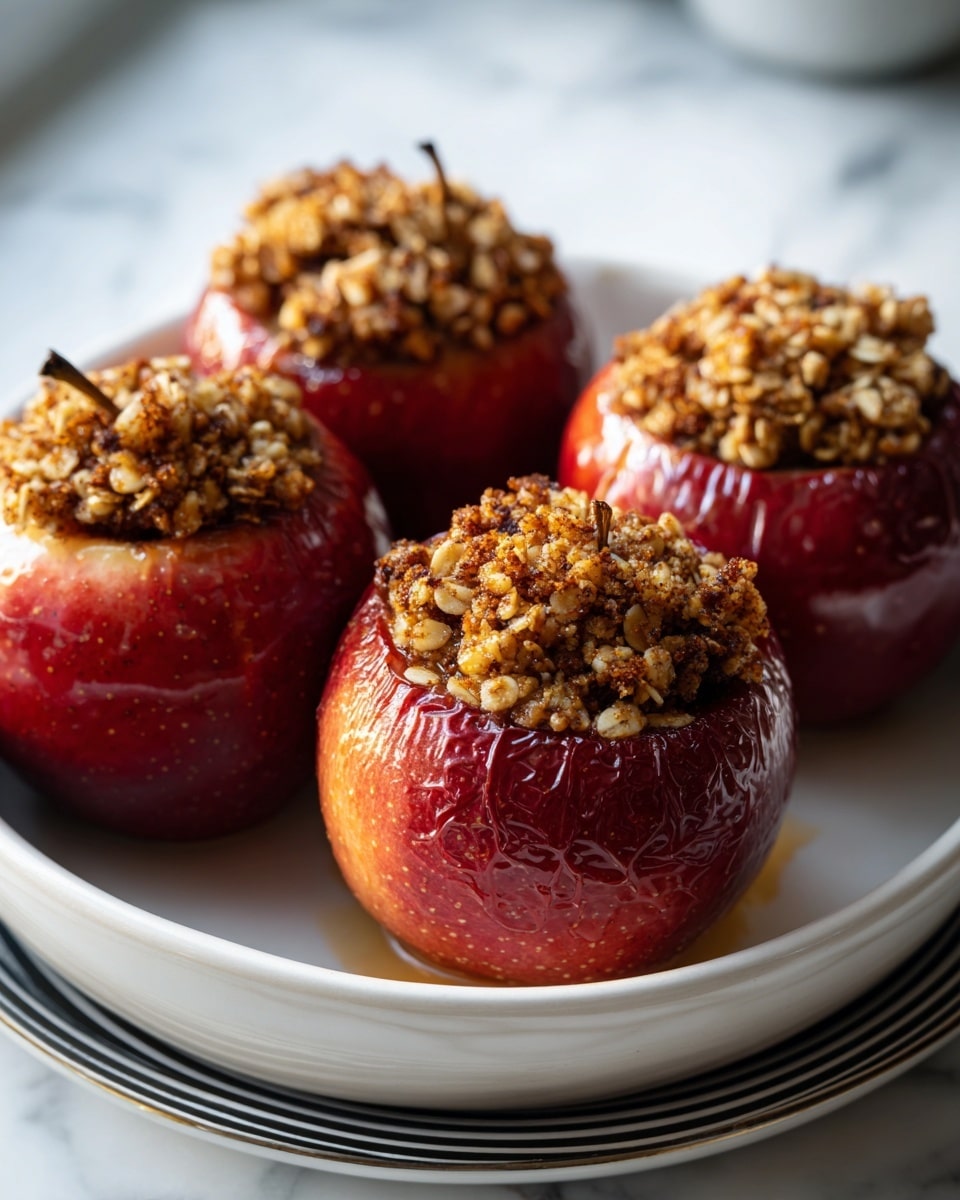
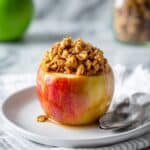
Baked apples are a comforting and easy dessert that highlights the natural sweetness of the fruit. Filled with a warm, spiced oat mixture, they make a perfect treat for chilly evenings or anytime you crave a cozy dessert.
Ingredients
- 3 Tablespoons (43g) unsalted butter, softened to room temperature
- 1/4 cup (50g) packed light or dark brown sugar
- 1/2 teaspoon ground cinnamon
- 1/8 teaspoon ground nutmeg
- 1/4 cup (21g) old-fashioned whole rolled oats
- 4 large apples, rinsed and patted dry
- Optional: 2 Tablespoons raisins, dried cranberries, or chopped nuts
- 3/4 cup (180ml) warm water
Instructions
- Step 1: Preheat your oven to 375°F (191°C).
- Step 2: In a bowl, mash the softened butter, brown sugar, cinnamon, and nutmeg together until well combined. Stir in the rolled oats and, if using, the raisins, dried cranberries, or chopped nuts. Set this filling mixture aside.
- Step 3: Core each apple carefully using a sharp paring knife and a spoon, or an apple corer. Cut around the core about halfway or three-quarters down into the apple, then scoop out the core and seeds with a spoon. Take your time to avoid breaking the apple.
- Step 4: Place the cored apples upright in an 8- or 9-inch baking pan or pie dish. Fill each apple completely with the oat filling, packing it to the top.
- Step 5: Pour the warm water into the baking pan around the apples. This helps keep the apples moist during baking and prevents them from drying out.
- Step 6: Bake the apples for 40 to 45 minutes, or until they become slightly soft. For softer, mushier apples, bake for a longer time depending on your texture preference and the firmness of your apples.
- Step 7: Remove the apples from the oven. If you like, spoon some of the pan juices over the apples to add moisture to the skin, although this step is optional.
- Step 8: Serve the baked apples warm, with salted caramel, whipped cream, or ice cream for an extra special touch. Leftovers can be covered and stored in the refrigerator for up to 2 days.
Tips & Variations
- Use tart apples like Granny Smith or Honeycrisp for the best balance of sweetness and acidity.
- For a nutty crunch, try adding chopped walnuts or pecans to the filling.
- If you prefer a gluten-free option, substitute oats with chopped nuts or gluten-free granola.
- To enhance flavor, soak the raisins or dried cranberries in warm water or a splash of apple brandy before adding them to the filling.
Storage
Store any leftover baked apples in an airtight container in the refrigerator for up to 2 days. To reheat, warm them gently in the microwave or oven until heated through. Adding a little extra sauce or fresh cream can help restore moisture after refrigeration.
How to Serve
Serve this delicious recipe with your favorite sides.
FAQs
What type of apples work best for baking?
Tart and firm apples such as Granny Smith, Honeycrisp, or Braeburn are ideal because they hold their shape well during baking and provide a balanced flavor.
Can I prepare baked apples ahead of time?
Yes, you can prepare the apples with filling and store them covered in the refrigerator for a few hours before baking. Just add the water before placing them in the oven.
PrintBaked Apples with Cinnamon, Oats, and Brown Sugar Recipe
This classic baked apples recipe offers a warm, comforting dessert featuring tender apples filled with a delicious mixture of butter, brown sugar, spices, oats, and optional dried fruits or nuts. Perfectly baked to soft perfection and served with your favorite toppings, it’s an easy and wholesome treat for any season.
- Prep Time: 15 minutes
- Cook Time: 45 minutes
- Total Time: 1 hour
- Yield: 4 servings 1x
- Category: Dessert
- Method: Baking
- Cuisine: American
Ingredients
Filling
- 3 Tablespoons (43g) unsalted butter, softened to room temperature
- 1/4 cup (50g) packed light or dark brown sugar
- 1/2 teaspoon ground cinnamon
- 1/8 teaspoon ground nutmeg
- 1/4 cup (21g) old-fashioned whole rolled oats
- Optional: 2 Tablespoons raisins, dried cranberries, or chopped nuts
Apples and Liquid
- 4 large apples, rinsed and patted dry
- 3/4 cup (180ml) warm water
Instructions
- Preheat Oven: Set your oven to 375°F (191°C) to ensure it’s ready to bake the apples evenly.
- Prepare Filling: Using a mixer or utensil, blend the softened butter, brown sugar, cinnamon, and nutmeg until well combined and smooth. Stir in the rolled oats and any optional dried fruits or nuts, mixing thoroughly to distribute the ingredients.
- Core the Apples: With a sharp paring knife, cut around the apple core about halfway or three-quarters down, then use a spoon to carefully hollow out the core and seeds without breaking the apple. This step requires patience and gentle arm strength. An apple corer can be used if preferred.
- Fill the Apples: Place the cored apples upright in an 8-inch or 9-inch baking dish. Spoon the oat and spice filling into each apple cavity, packing the filling to the top for maximum flavor.
- Add Water and Bake: Pour warm water into the baking dish around the apples. This moisture prevents the apples from drying out during baking. Bake in the preheated oven for 40-45 minutes, or until the apples are tender to your liking. For softer, more mushy apples, bake a bit longer based on apple firmness and preference.
- Baste (Optional): Once baked, carefully remove the apples from the oven. You may baste the apple skins with the pan juices to add extra moisture and glaze, though this is optional.
- Serve: Serve the baked apples warm, complemented by salted caramel, whipped cream, or ice cream for an indulgent finish. Store leftovers covered in the refrigerator for up to 2 days.
Notes
- Use firm apples such as Honeycrisp, Fuji, or Granny Smith for best results—they hold shape well during baking.
- If you prefer a crunchier texture, reduce the baking time slightly.
- Optional mix-ins like nuts and dried fruits add texture and flavor but can be omitted for a simpler version.
- Cover the baking dish loosely with foil if you want softer apples while baking.
- Allow baked apples to cool slightly before serving to avoid burns from hot filling.
Keywords: baked apples, apple dessert, healthy dessert, fall dessert, cinnamon apples, oat filling


