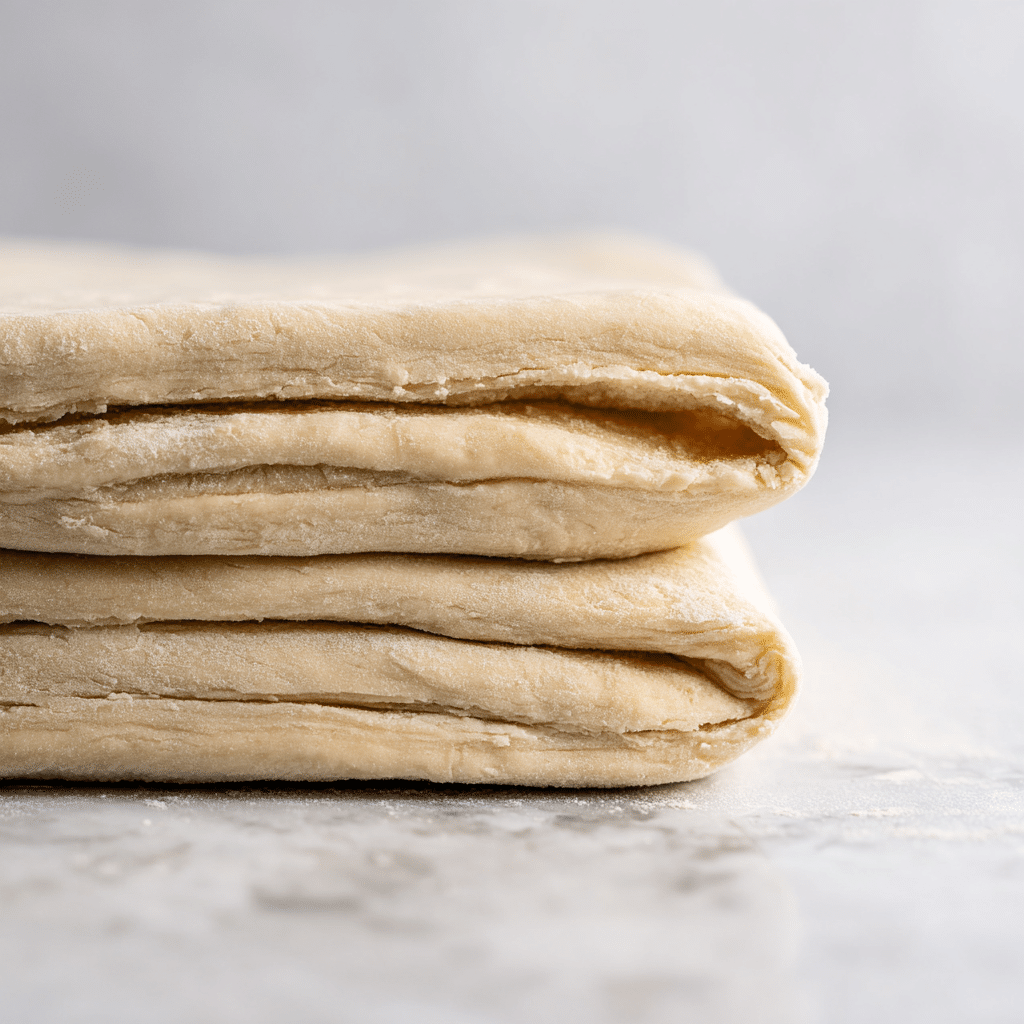
Handmade Puff Pastry (Rough Puff Method) Recipe
Get ready for a pastry adventure that will completely change the way you see breakfast or dessert! This Handmade Puff Pastry (Rough Puff Method) is endlessly flaky, deeply buttery, and shockingly easy to make—all without any fancy equipment or intimidating techniques. You’re about to learn how to turn a handful of humble ingredients into layers upon layers of crisp, golden magic. Whether you want to wrap up sweet fruit fillings or create a show-stopping appetizer, this is the secret weapon you’ll reach for again and again.

Ingredients You’ll Need
All it takes are a few simple but totally essential ingredients to make this magic happen. Each one plays a key role in creating the airy, flaky texture and irresistible taste we crave in handmade puff pastry (rough puff method). Let’s break down why they matter:
- All-purpose flour: The structure superstar, giving your pastry body and strength so those buttery layers really shine.
- Granulated sugar: Just a hint lifts the flavor and helps browning for that bakery-style golden finish.
- Salt: Crucial for balance—this perk-ups all the flavors and keeps blandness at bay.
- Unsalted butter (very cold, cubed): The heart and soul of this recipe. Those cold, chunky cubes are what puff up into all those gorgeous flaky layers.
- Ice cold water: Temperature matters! The chill helps hold everything together and keeps the butter from melting too soon.
- Extra flour for dusting: For your hands, surface, and dough—so nothing sticks as you roll and fold your masterpiece.
How to Make Handmade Puff Pastry (Rough Puff Method)
Step 1: Make the Dough
This is where the magic begins! In a large bowl, whisk together your flour, sugar, and salt so everything is nicely distributed. Pile in those cold, cubed butter pieces and gently toss them into the flour mixture with your hands. The goal is to just start working the butter in, leaving plenty of visible chunks—this is what creates the puff. Don’t try to make it uniform; a shaggy mixture is a good thing!
Step 2: Add the Ice Water
Now, bit by bit, add the ice cold water. Start with a couple tablespoons and gently toss with your hands after each addition. It might look a tad messy, but keep gently squeezing and pressing it together until a rough, shaggy mound forms—large pieces of butter should still be peeking out! If the dough feels wet before you’ve added about 6 tablespoons, it means your butter warmed up too much, but don’t panic—you’ll still get nice results.
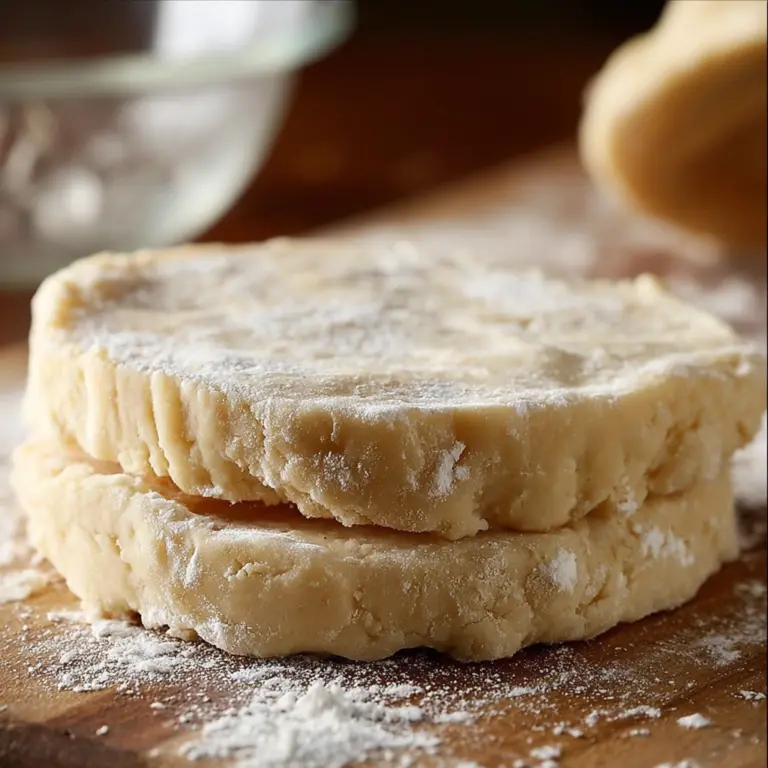
Step 3: Shape into a Rectangle and Chill
Turn your dough out onto a well-floured counter. Gather it together into a 5×8 inch rectangle, and pat it down to about 3/4 to 1 inch thick. You want to see big marbles of butter in the dough. Fold the rectangle into thirds like a business letter—it’s not about perfect edges, just a solid fold. Once it’s folded, wrap it tightly in plastic wrap or parchment paper and pop it into the fridge.
Step 4: Initial Refrigeration
This rest is crucial! Let the wrapped dough chill for at least 2 hours (and up to 24) so the butter stays firm and the gluten can relax. This short break pays off with the most heavenly flakiness later.
Step 5: Roll and Fold
After chilling, let the dough rest at room temperature for a few minutes if it’s too stiff. Lightly flour your surface and flatten the dough into a small square. Roll it out to a 6×12 inch rectangle, about 1/2 inch thick, flipping and dusting with more flour so nothing sticks. Fold it into thirds like a business letter, then rotate and repeat the rolling and folding process a total of six times. Each round builds those classic puff pastry layers—so satisfying!
Step 6: Second Refrigeration
Your masterpiece needs just a bit more chilling to lock in all those lovely layers. After the final fold, wrap and refrigerate for at least 15 minutes (or up to 24 hours). If you’re not using it right away, it even freezes beautifully at this point—making future projects a breeze!
Step 7: Ready to Use!
Your handcrafted dough is now ready for any recipe calling for store-bought puff pastry. To bake it plain, simply roll it into a 10×16-inch sheet, slap it onto a parchment-lined tray, brush it with a quick egg wash, and bake at 400°F until irresistibly golden and puffy. In around 25–28 minutes, you’ll have the best puff pastry you’ve ever tasted!
How to Serve Handmade Puff Pastry (Rough Puff Method)
Garnishes
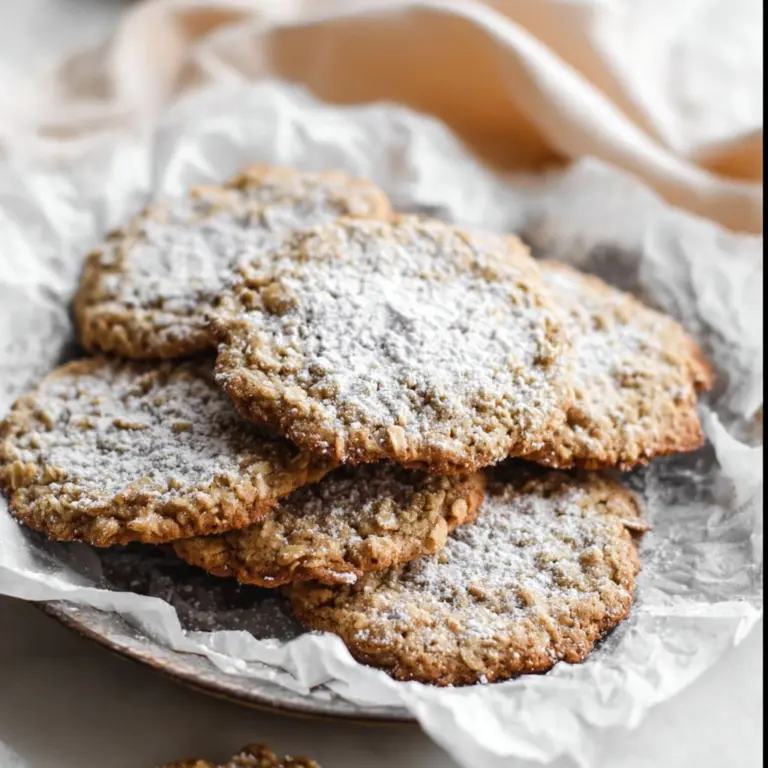
The finishing touches matter! Lightly dust your freshly baked handmade puff pastry (rough puff method) with powdered sugar for a sweet touch, or a sprinkle of sea salt for something savory. A swipe of melted chocolate or a dollop of jam can turn “just pastry” into pastry perfection.
Side Dishes
This puff pastry pairs wonderfully with soups—think classic French onion, creamy tomato, or butternut squash. For brunch, serve next to fresh fruit, yogurt, or a little herby salad. If you’ve made a savory filling, simple roasted veggies or a sharp cheese platter elevate things even further.
Creative Ways to Present
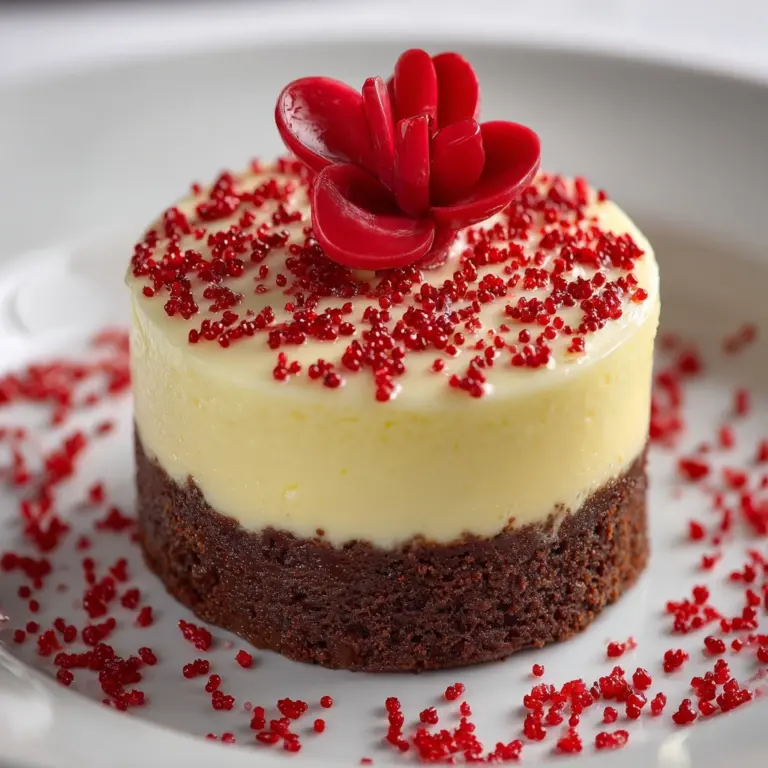
Cut your sheet into squares for elegant napoleons, twist into palmiers for a party-ready snack, or wrap it around fruit, cheese, or sausage for bite-sized appetizers that vanish fast. There’s no end to the ways you can let your creativity (and that gorgeous handmade puff pastry rough puff method) shine!
Make Ahead and Storage
Storing Leftovers
If you have any baked puff pastry left (lucky you!), store it at room temperature for a day or two, lightly covered so it doesn’t get soggy. For longer freshness, pop it in the fridge, though crispness will fade a touch.
Freezing
Handmade puff pastry (rough puff method) freezes exceptionally well. Freeze the prepared dough (after its final chill) tightly wrapped. It will keep in the freezer for up to two months. When you’re ready, thaw in the fridge overnight before rolling and baking as needed.
Reheating
To regain that irresistible flakiness, heat leftovers in a 350°F oven for about 5–8 minutes, right on a baking sheet. This is much better than microwaving, which can make things tough or soggy.
FAQs
Can I make this recipe ahead of time?
Absolutely! The beauty of this handmade puff pastry (rough puff method) is that the dough can be made the night before, or even stored in the freezer for weeks so you’re always just a bake away from fresh pastry.
What can I use if I don’t have unsalted butter?
You can use salted butter in a pinch—just reduce or omit the extra salt in your dough to balance things out. The flavor will still be wonderfully rich and satisfying.
Is there a gluten-free version?
Yes! Swap in your favorite gluten-free all-purpose flour blend. The texture won’t be quite as classic, but you’ll still get plenty of delicious, tender layers.
Can I use a mixer or food processor for the dough?
It’s best to stick with your hands. Machines tend to overwork the butter, which means you’ll miss out on those signature flaky layers that make this handmade puff pastry (rough puff method) so special.
What’s the difference between rough puff and classic puff pastry?
Classic puff pastry involves lots of precise rolling and folding with thin sheets of butter, while the rough puff method cuts down on time and complexity by keeping bigger butter pieces and fewer folds—but both give you fantastic layers!
Final Thoughts
Your kitchen is about to smell like a Parisian bakery! Once you see how easy and rewarding it is to make Handmade Puff Pastry (Rough Puff Method), you’ll be hooked. Don’t be surprised if friends and family start requesting your flaky creations for every occasion—give it a try and enjoy every delicious, buttery bite!
PrintHandmade Puff Pastry (Rough Puff Method) Recipe
Learn how to make your own flaky and buttery puff pastry using the rough puff method. This handmade puff pastry recipe is easier than the traditional method but yields equally delicious results.
- Prep Time: 20 minutes
- Cook Time: 0 minutes
- Total Time: 3 hours 35 minutes
- Yield: 1 sheet of puff pastry 1x
- Category: Pastry
- Method: Baking
- Cuisine: French
- Diet: Vegetarian
Ingredients
Dough:
- 1 and 1/3 cups (166g) all-purpose flour (spoon & leveled)
- 1 teaspoon granulated sugar
- 1/2 teaspoon salt
- 3/4 cup (1.5 sticks; 170g) unsalted butter, very cold and cubed
- 6–8 Tablespoons (90-120ml) ice cold water
Instructions
- Make the dough – Whisk the flour, sugar, and salt together. Add cold cubed butter and combine without breaking down the butter too much. Add ice cold water gradually until dough forms a clump.
- 1st refrigeration – Refrigerate dough for at least 2 hours and up to 24 hours.
- Roll & Fold – Roll out dough, fold into thirds, and repeat the process 6 times.
- 2nd Refrigeration – Refrigerate for at least 15 minutes and up to 24 hours before using.
Notes
- Ensure butter is very cold for flakiness.
- Rest dough as needed for easier rolling.
- Use additional flour to prevent sticking.
Nutrition
- Serving Size: 1 serving (prepared dough)
- Calories: 250
- Sugar: 1g
- Sodium: 150mg
- Fat: 18g
- Saturated Fat: 11g
- Unsaturated Fat: 6g
- Trans Fat: 0g
- Carbohydrates: 20g
- Fiber: 1g
- Protein: 2g
- Cholesterol: 45mg
Keywords: Puff Pastry, Rough Puff Method, Homemade Pastry
