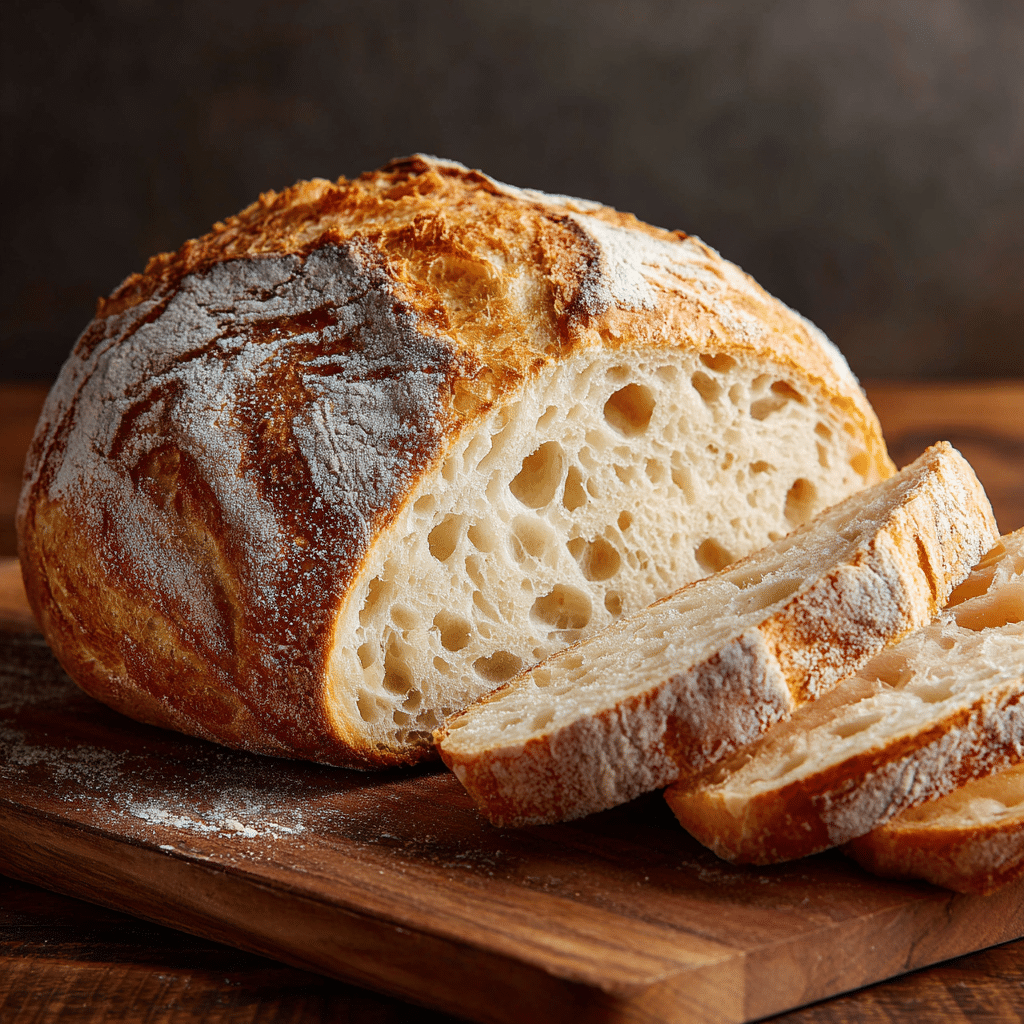
No-Knead Bread without Dutch Oven Recipe
If there’s a bread recipe my friends request again and again, it’s this brilliantly simple No-Knead Bread without Dutch Oven. The crust is golden and crisp, the crumb is dreamily soft and airy, and best of all: you don’t need any special equipment. No bread-maker, no heavy Dutch oven, not even a mixer. Just a bowl, a baking pan, and your own two hands. Even if you’re new to bread-making, this recipe makes you look like a seasoned baker—the kind with a secret up their sleeve (but really, it’s just the magic of time, yeast, and patience)! Get ready, because your kitchen is about to smell absolutely irresistible.
Ingredients You’ll Need
This No-Knead Bread without Dutch Oven is all about minimalist ingredients that work together to give you outstanding flavor and texture. Each one plays a role — from building structure, to flavoring, to creating that irresistible golden crust.
- All-purpose flour: The reliable backbone of our bread, giving structure without fuss. Bread flour works too, but all-purpose is perfect for this rustic loaf.
- Salt: Flavor enhancer and crust builder — don’t skip this or you’ll notice the difference!
- Instant dry yeast: The tiny powerhouse that does all the rising for us overnight. No need to bloom, just mix it right in.
- Water (warm, about 110F): The magic transporter for yeast activation and hydration. Make sure it’s not too hot or too cold for best results.
- Olive oil: Adds richness and a lovely tenderness to the crumb, plus a subtle flavor you’ll absolutely love.
- Sugar: Just a bit to feed the yeast and encourage a richer, more golden color.
How to Make No-Knead Bread without Dutch Oven
Step 1: Mix the Dry Ingredients
Start this easy peasy No-Knead Bread without Dutch Oven by grabbing your largest bowl and tossing in the flour and salt. A quick stir ensures the salt is evenly distributed, which helps bring out all the flavor and makes your bread taste like it came straight from a bakery.
Step 2: Combine the Wet Ingredients
In a measuring cup or a smaller bowl, pour in your warm water, then add the olive oil, sugar, and yeast. Give everything a quick mix with a fork or small whisk until blended. You’ll begin to see the yeast dissolving—this is a good sign that everything is waking up!
Step 3: Bring Wet and Dry Together
Pour the yeast-water mixture over the flour mixture. Using a wooden spoon or spatula, stir until all the flour is wet and you have a shaggy, sticky dough. Don’t worry about lumps—resist the urge to knead! Just make sure no dry flour hides at the bottom.
Step 4: Let It Rise
Cover your bowl with a clean towel or plastic wrap. Leave it out on the counter in a warm spot for about an hour (the dough will get nice and puffy), then transfer it to the fridge for a slow rise—anywhere from 4 hours to overnight. This is where the magic (and the flavor) happens!
Step 5: Shape the Dough
With your countertop dusted generously with flour, scrape the chilled dough out and onto it. A bench scraper or spatula really helps deal with sticky dough. Divide the dough in half for two loaves, and gently gather each half into a rough, round ball—don’t overthink it or handle it too much.
Step 6: Second Proof in Baking Pans
Flour two 8-inch round pans (Pyrex, enamel, or ceramic also work great) and plop a dough ball in each, seam side down. A little shake settles them nicely in the center. Sprinkle more flour on top, cover again, and let them rest for 30 minutes while the oven preheats. If you’d rather, you can set the loaves on parchment paper for easy transfer.
Step 7: Preheat the Oven
Crank your oven up to 400°F (200°C). Let it preheat for at least thirty minutes so it’s hot and ready. This helps the bread spring in the oven and develop a fabulous crust, even without a Dutch oven.
Step 8: Score and Bake
With a razor blade or sharp knife, make a few slashes atop each loaf—this lets steam escape and gives your bread those beautiful splits. Pop both pans in the oven and bake until golden brown and your kitchen smells absolutely heavenly!
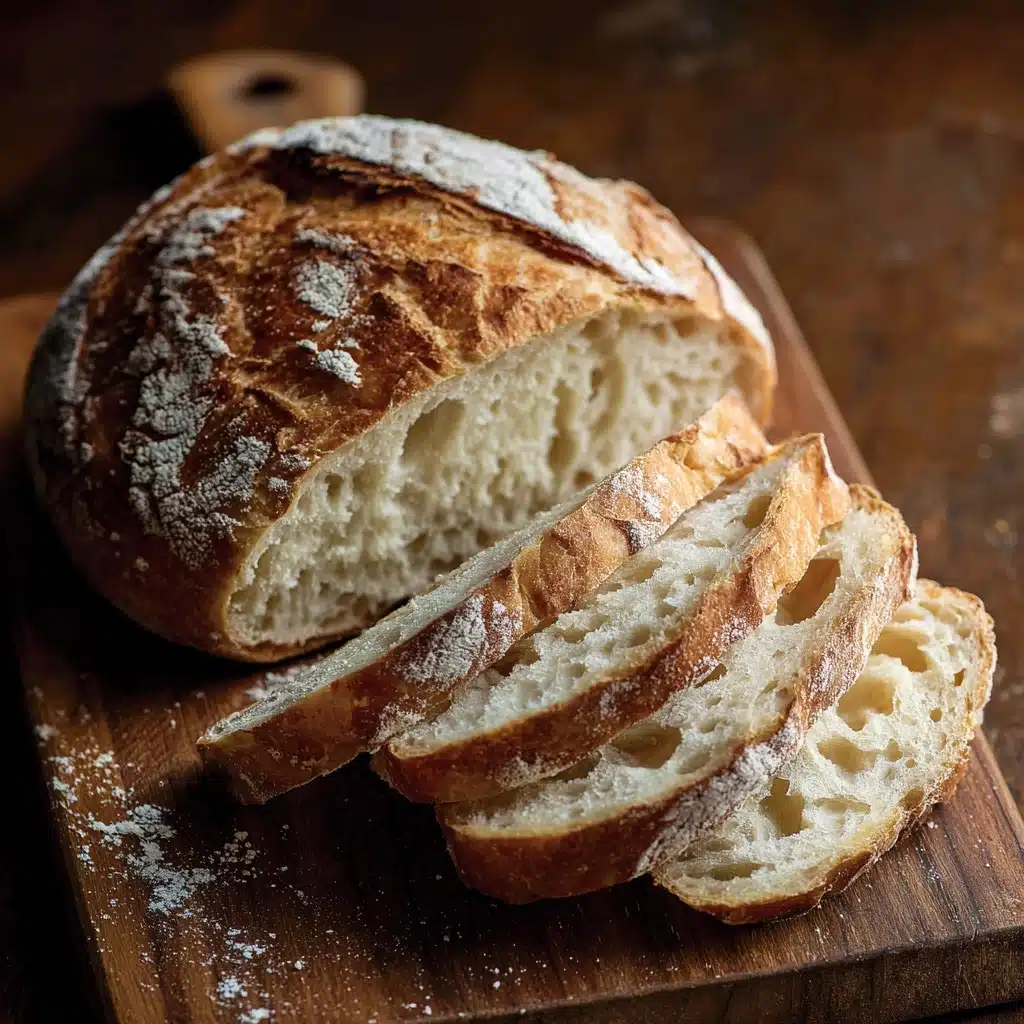
How to Serve No-Knead Bread without Dutch Oven
Garnishes
Once your No-Knead Bread without Dutch Oven comes out of the oven, why not brush the top with a little melted butter or olive oil? For extra flair, sprinkle on flaky sea salt, sesame seeds, or fresh herbs. It’s a simple way to make each loaf a little bit fancy (and irresistible).
Side Dishes
This bread is a superstar with so many dishes! Serve warm slices alongside soups, stews, or salad for a comforting meal. It also makes a killer sandwich base, and is wonderful for sopping up pasta sauces or olive oil dips.
Creative Ways to Present
Think beyond just slicing! Tear the bread by hand for a rustic feel, cube it for platters with dips, or toast thick slices under the broiler with garlic and cheese for a homemade bruschetta. For a showstopper, serve the whole round at the table and let everyone tear off their own chunk.
Make Ahead and Storage
Storing Leftovers
If you happen to have any of your No-Knead Bread without Dutch Oven left (good luck with that!), wrap it tightly in a clean kitchen towel, then stash it in a paper or bread bag. This keeps the crust crisp while preventing it from drying out too quickly. It’s best enjoyed within a couple of days.
Freezing
Freeze extra loaves by cooling them completely, then wrapping in several layers of plastic wrap and popping them into a freezer bag. You can freeze the whole loaf or slices—just pull out what you need. The bread holds up deliciously for up to three months in the freezer.
Reheating
To recapture that just-baked magic, reheat slices in the toaster, or wrap a whole loaf in foil and warm in a 350°F oven for about 10-15 minutes. The crust crisps up nicely, and the aroma will fill your kitchen all over again.
FAQs
Can I use bread flour instead of all-purpose flour?
Absolutely! Bread flour will give your No-Knead Bread without Dutch Oven a chewier texture and even larger air pockets, so feel free to swap if you have it on hand.
Does the dough really need to chill overnight?
While a long, slow rise in the fridge adds flavor and makes the dough easier to handle, you can shorten it to just 4 hours if you’re in a hurry. But for the ultimate taste and texture, letting it sit overnight is worth it!
What if I only want to make one loaf?
No problem! Halve all the ingredients, and follow the same steps. You’ll end up with a single beautiful No-Knead Bread without Dutch Oven—perfect for smaller households or when you want a fresh loaf every time.
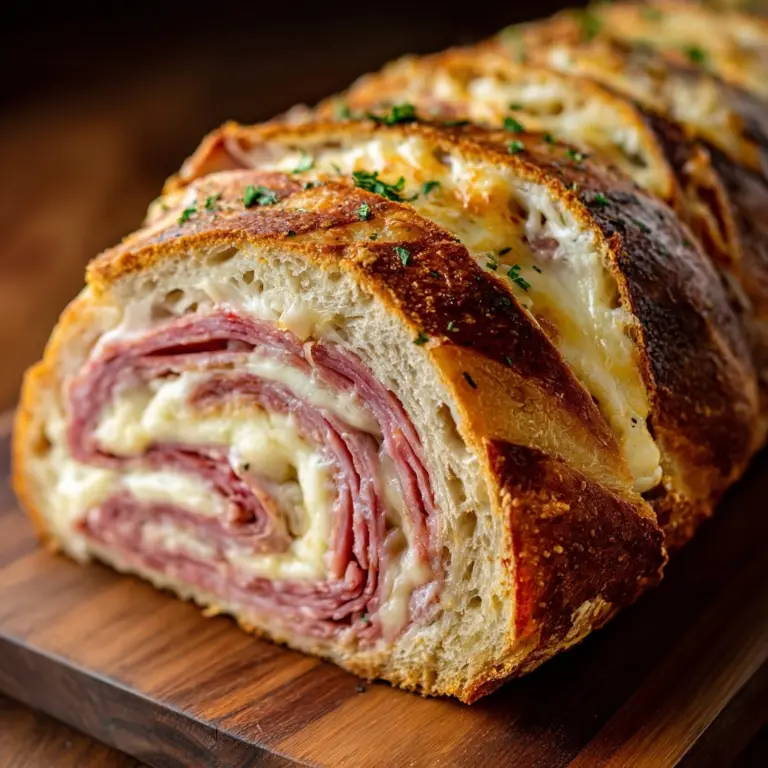
Can I add other ingredients, like cheese or herbs?
Definitely! Fold in anything from shredded cheese and chopped herbs to olives or nuts right after mixing the dough. Personalizing your No-Knead Bread without Dutch Oven is half the fun and a great way to experiment.
How do I know when the bread is done baking?
The crust should be golden brown, and if you tap the bottom it should sound hollow. For extra certainty, an instant-read thermometer inserted in the center should register around 200°F.
Final Thoughts
If you’ve ever wanted bakery-quality homemade bread with almost no effort, this No-Knead Bread without Dutch Oven is truly the answer. It’s simple, forgiving, and ridiculously rewarding—just mix, wait, and bake. Don’t wait for a special occasion; try it soon and enjoy the magic of fresh bread any day of the week!
PrintNo-Knead Bread without Dutch Oven Recipe
Learn how to make delicious no-knead bread without a Dutch oven with this simple recipe. Enjoy freshly baked bread with a crispy crust and soft interior.
- Prep Time: 15 minutes
- Cook Time: 30 minutes
- Total Time: 5 hours
- Yield: 2 loaves 1x
- Category: Bread
- Method: Baking
- Cuisine: Global
- Diet: Vegetarian
Ingredients
Dry Ingredients:
- 4 cups All-purpose flour
- 1 ½ tsp Salt
Wet Ingredients:
- 1½ tsp Instant dry yeast
- 1½ cup Warm Water (110F)
- 1 tbsp Olive oil
- 1 tbsp Sugar
Instructions
- Dry ingredients – In a large bowl, combine flour and salt, and set aside.
- Wet ingredients – In a measuring cup or medium bowl, combine warm water, olive oil, sugar, and yeast.
- Dry to wet – Add the yeast mixture to the flour mixture. Combine thoroughly using a wooden spoon or spatula.
- Rise – Cover the bowl and let it rise at room temperature for an hour, then refrigerate for 4-12 hours.
- Shape – Divide dough, shape into loaves, and place in baking pans.
- Proof – Dust baking pans with flour, place dough inside, and let it proof for 30 minutes.
- Preheat oven – Preheat to 400°F/200°C/Gas Mark 6 for 30 minutes.
- Score – Slash the bread on top with a blade or knife.
Notes
- You can customize by adding herbs, seeds, or nuts to the dough before baking.
- Experiment with different flours for unique flavors and textures.
Nutrition
- Serving Size: 1 slice
- Calories: 160
- Sugar: 1g
- Sodium: 250mg
- Fat: 2g
- Saturated Fat: 0g
- Unsaturated Fat: 2g
- Trans Fat: 0g
- Carbohydrates: 30g
- Fiber: 1g
- Protein: 5g
- Cholesterol: 0mg
Keywords: No-Knead Bread, Homemade Bread, Easy Bread Recipe


