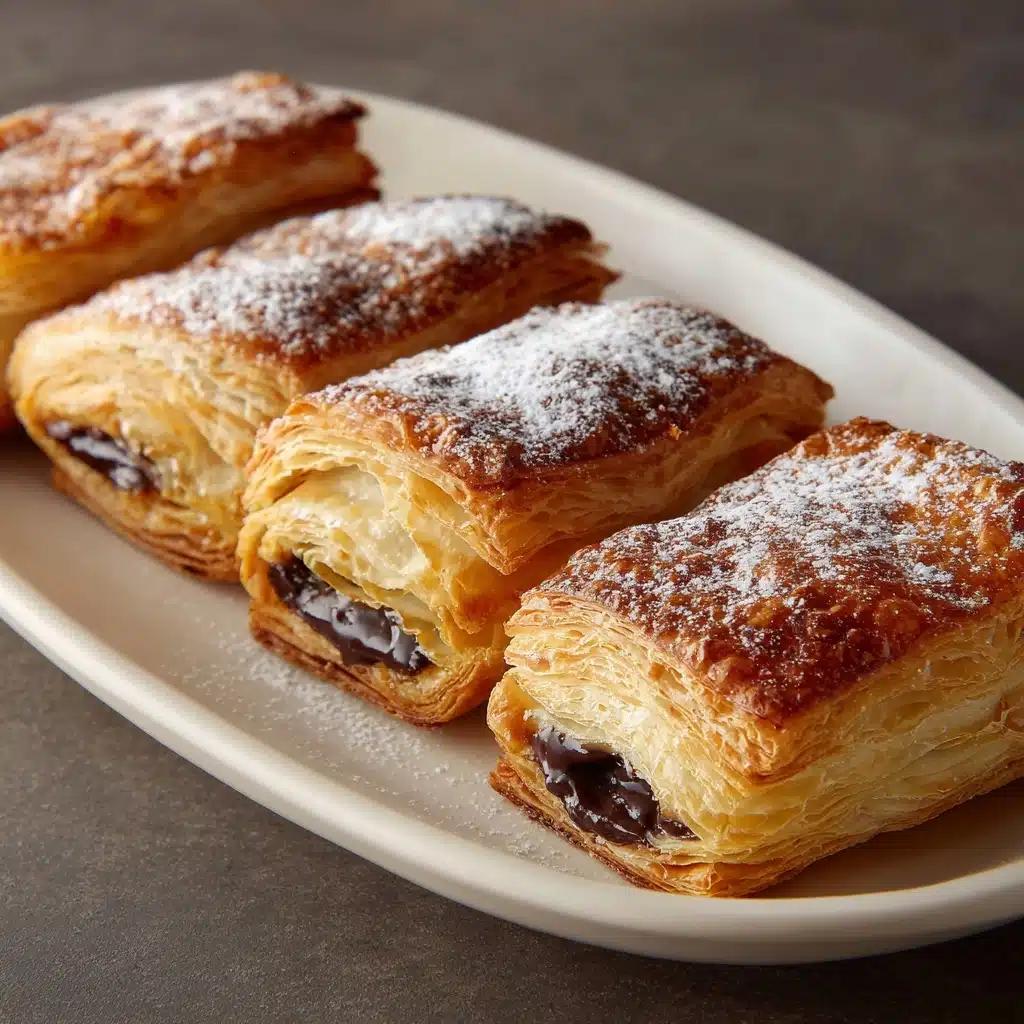
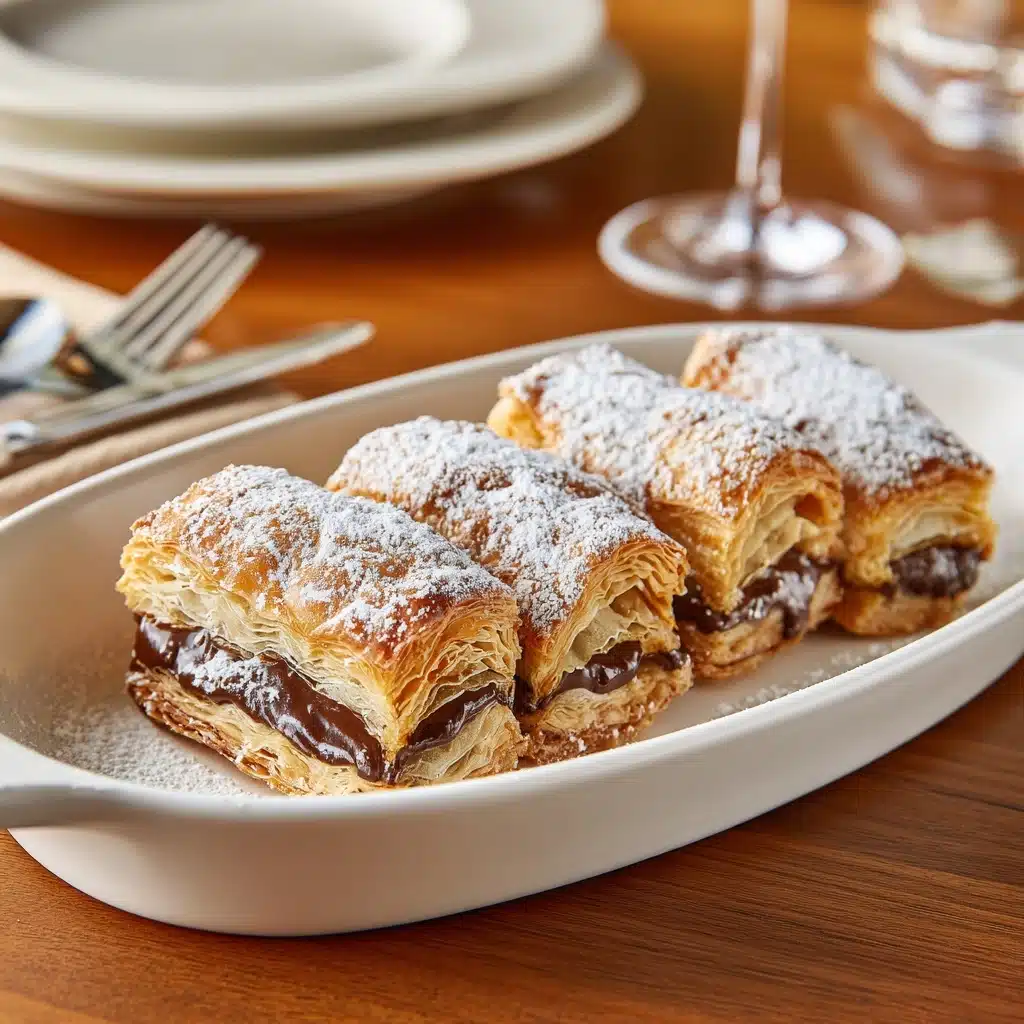
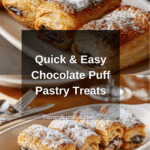
Chocolate Puff Pastry Recipe
If you’re looking for a fast yet impressive treat, Chocolate Puff Pastry is your ultimate secret weapon. This recipe combines the irresistible flavors of velvety chocolate and delicately crisp pastry into perfectly golden parcels, making it impossible to stop at just one. Not only does this treat taste absolutely divine, but with just a few ingredients and minimal fuss, you’ll find yourself whipping up these puff pastry delights for breakfast, dessert, or whenever you crave a sweet pick-me-up. Chocolate Puff Pastry is the magic answer for busy days and spontaneous celebrations alike, delivering bakery-style goodness right from your own kitchen.
Ingredients You’ll Need
You only need a handful of ingredients to make Chocolate Puff Pastry, but each one plays an essential role in creating that classic combination of airy layers and gooey chocolate. Don’t overlook the small additions—they enhance every bite, bringing out the flavor, color, and texture that make these pastries unforgettable.
- Puff Pastry Sheets: Store-bought puff pastry saves you hours and ensures perfectly flaky results every time.
- Chocolate: Whether you use dark, milk, or white, high-quality chocolate melts beautifully and provides the luscious center of each pastry.
- Egg: Brushed over the top, this gives the pastries their signature golden, glossy finish.
- Sugar (optional): A sprinkle on top adds sparkle and a little crunch—totally worth it if you have a sweet tooth!
- Vanilla Extract (optional): Just a teaspoon deepens the aroma and flavor, making each bite more inviting.
- Pinch of Salt (optional): Balances sweetness and lifts the chocolate flavor—you’ll taste the difference.
- Powdered Sugar (optional): A light dusting before serving makes these pastries look as tempting as any bakery treat.
How to Make Chocolate Puff Pastry
Step 1: Preheat the Oven
Start by firing up your oven to 400°F (200°C). This high temperature is what gives Chocolate Puff Pastry its irresistible golden finish and ensures each bite is crisp and meltingly soft inside. Don’t skip this step—a preheated oven makes all the difference!
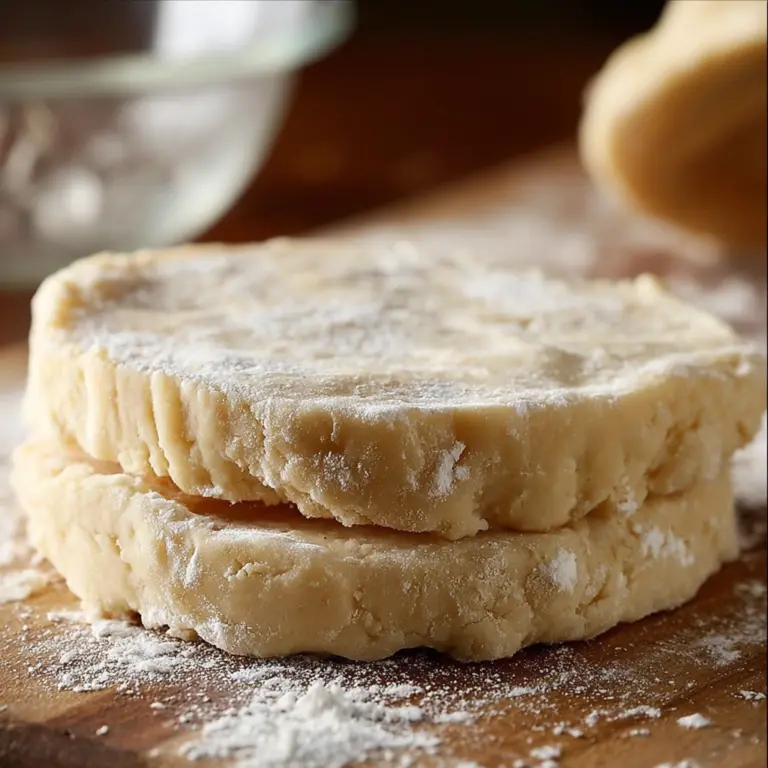
Step 2: Prepare the Puff Pastry
Unroll the puff pastry sheets carefully onto a clean, flat surface. Using a sharp knife or a pizza cutter, slice each sheet into four or five rectangles, depending on how big you want your pastries. You’ll end up with eight to ten rectangles, which allows plenty of room for creativity with filling size and shape.
Step 3: Prepare the Chocolate Filling
Snap your chocolate into small pieces and melt in a microwave-safe bowl using 20-second bursts, stirring in between until silky smooth. Prefer a hands-off approach? A double boiler works too! Once melted, stir in vanilla extract and a pinch of salt if you like. This step infuses the chocolate with warmth and subtle spice, taking the flavor to the next level.
Step 4: Assemble the Pastries
Spoon about one tablespoon of your luscious chocolate filling onto the center of each puff pastry rectangle. Leave a small border around the edges—this keeps the chocolate neatly contained as the pastry puffs up beautifully in the oven. If you’re chasing maximum chocolatey goodness, feel free to layer on a little more.
Step 5: Fold the Pastry
Fold each rectangle over its chocolate center, transforming it into a sealed packet of joy. Press the edges gently but firmly to trap the chocolate inside—no leaky pastries here! For a charming touch, use a fork to crimp the edges. Not only does it look gorgeous when baked, it also acts as an extra seal.
Step 6: Brush with Egg Wash
Whisk your egg, then use a pastry brush to gently coat the tops of each pastry. This step is key for achieving that glossy, golden crust. Want an extra hint of sweetness and sparkle? Sprinkle a little sugar over the egg wash before baking.
Step 7: Bake the Pastries
Arrange the pastries on a baking sheet lined with parchment paper or a silicone mat to prevent sticking. Bake for 20 to 25 minutes, watching closely towards the end. You’re aiming for pastries that are airy, puffy, and richly golden—pure chocolate puff pastry perfection.
Step 8: Cool and Serve
Once your pastries are crisp and golden, move them to a wire rack for a few minutes to cool slightly. They’re at their mouthwatering best when enjoyed warm, but don’t hesitate to save some for later. Go ahead and dust with powdered sugar just before serving for an elegant finish.
How to Serve Chocolate Puff Pastry
Garnishes
For an extra flourish, a sprinkling of powdered sugar gives your Chocolate Puff Pastry that classic bakery look. You can also drizzle melted chocolate or a touch of caramel over the top for even more decadence. Fresh berries on the side add a pop of color and a hint of tartness to balance the rich chocolate.
Side Dishes
If you’re serving these pastries for brunch or a snack, they pair perfectly with fresh fruit salad, a scoop of vanilla ice cream, or even whipped cream. For special occasions, a small cup of espresso or a rich hot chocolate will make every bite feel even more indulgent.
Creative Ways to Present
You can cut the pastry into different shapes using cookie cutters for themed gatherings, or braid the pastry for a unique twist. Stacking mini chocolate puff pastries on a platter for a festive dessert display will absolutely wow your guests. Add edible flowers or mint for a splash of color and instant elegance.
Make Ahead and Storage
Storing Leftovers
If you have any Chocolate Puff Pastry left (which is rare!), keep them in an airtight container at room temperature for up to two days. The pastries stay crisp if stored properly and make a great grab-and-go treat the next day. Avoid refrigerating if possible, as this can make the pastry slightly soggy.
Freezing
Chocolate Puff Pastry freezes wonderfully, whether baked or unbaked. Arrange the cooled pastries on a tray until solid, then transfer to a freezer bag. To freeze unbaked, assemble and seal the pastries, then freeze flat on a tray before bagging. They can be frozen for up to two months—just bake or reheat straight from the freezer when you’re ready!
Reheating
To re-crisp pastries, simply pop them in a preheated oven at 350°F (175°C) for 5 to 8 minutes. Avoid microwaving, as it can make the pastry chewy instead of crisp. This little effort brings back that irresistible texture and melty chocolate center.
FAQs
Can I use semi-sweet or flavored chocolate?
Absolutely! Semi-sweet, milk, dark, white, or even chocolate with caramel or nuts pieces all work beautifully in Chocolate Puff Pastry. Choose your favorite or experiment to discover new flavor combinations.
Why did my pastries unseal during baking?
This often happens if the pastry wasn’t firmly pressed or if there was too much filling. Be sure to leave a border and pinch or crimp the edges thoroughly to seal. Using a fork around the edges helps keep everything neatly inside as the puff pastry rises.
Can I make these ahead for a party?
Yes, you can fully assemble your Chocolate Puff Pastry ahead of time and keep them in the fridge (covered) until ready to bake. If you want to freeze them, prepare them right up to the baking step, freeze, and bake directly from frozen (just add a few extra minutes).
Is it possible to make these pastries vegan?
You can use vegan puff pastry (many brands are accidentally vegan) and swap the chocolate and egg wash for plant-based alternatives. Brush with a little almond milk instead of egg for a glossy finish, and fill with your favorite dairy-free chocolate.
Can I add other fillings with the chocolate?
Definitely! Try adding a spoonful of hazelnut spread, a few chopped nuts, or even a little fruit preserve layered with the chocolate for delicious twists on the classic Chocolate Puff Pastry.
Final Thoughts
I hope you’re inspired to bring a little magic to your kitchen with this Chocolate Puff Pastry recipe. Trust me, once you’ve tasted the gooey chocolate and buttery, flaky pastry together, you’ll understand why it’s a favorite treat in my home. Give it a try and watch your friends and family swoon over every bite!
PrintChocolate Puff Pastry Recipe

Indulge in these delightful Chocolate Puff Pastries with a crispy golden exterior and a luscious molten chocolate filling. Perfect for a sweet treat or a special occasion!
- Prep Time: 20 minutes
- Cook Time: 20-25 minutes
- Total Time: 45 minutes
- Yield: 8–10 pastries 1x
- Category: Dessert
- Method: Baking
- Cuisine: French
- Diet: Vegetarian
Ingredients
Puff Pastry:
- 1 package of store-bought puff pastry (usually contains 2 sheets)
Chocolate Filling:
- 100g (about 3.5 oz) of dark, milk, or white chocolate (choose according to your preference)
- 1 teaspoon vanilla extract (optional)
- A pinch of salt (optional)
Additional:
- 1 egg (for egg wash)
- 1 tablespoon of sugar (optional, for sprinkling)
- Powdered sugar (optional, for dusting)
Instructions
- Step 1: Preheat the Oven – Begin by preheating your oven to 400°F (200°C). This ensures the oven is hot enough to give the puff pastry that perfect golden, crispy finish.
- Step 2: Prepare the Puff Pastry – Unroll the puff pastry sheets and slice each into rectangles. You’ll need 8 to 10 rectangles in total.
- Step 3: Prepare the Chocolate Filling – Melt the chocolate, stir in vanilla extract and salt if desired.
- Step 4: Assemble the Pastries – Spoon melted chocolate onto each pastry rectangle.
- Step 5: Fold the Pastry – Fold the pastry over the filling to create a sealed packet.
- Step 6: Brush with Egg Wash – Brush each pastry with egg wash.
- Step 7: Bake the Pastries – Bake for 20-25 minutes until golden and crisp.
- Step 8: Cool and Serve – Let the pastries cool on a wire rack. Dust with powdered sugar before serving.
Notes
- For a twist, try adding chopped nuts or a sprinkle of sea salt on top before baking.
- These pastries are best enjoyed fresh but can be reheated in the oven for a few minutes.
Nutrition
- Serving Size: 1 pastry
- Calories: 220 kcal
- Sugar: 8g
- Sodium: 120mg
- Fat: 14g
- Saturated Fat: 6g
- Unsaturated Fat: 7g
- Trans Fat: 0g
- Carbohydrates: 20g
- Fiber: 1g
- Protein: 3g
- Cholesterol: 20mg
Keywords: Chocolate Puff Pastry, Puff Pastry Recipe, Chocolate Pastry, Homemade Pastries
