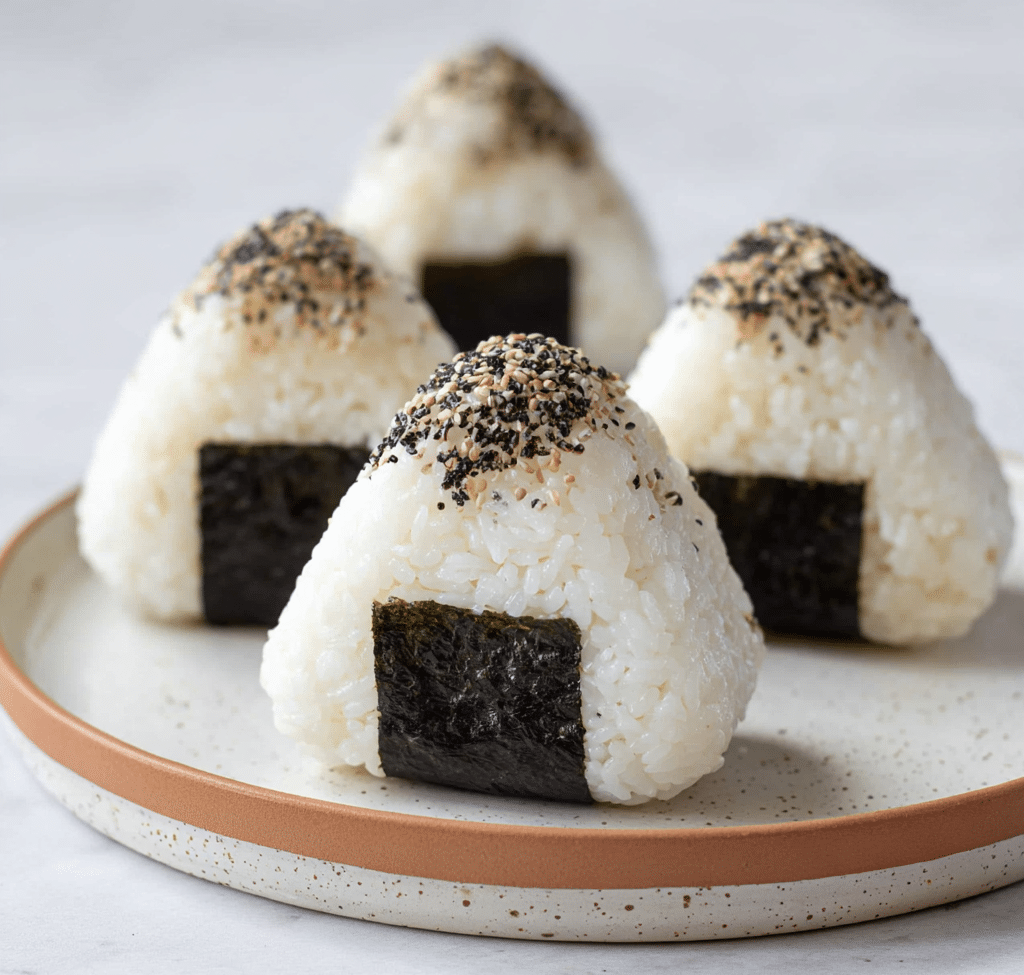
15-min Easy Japanese Tuna Onigiri Recipe
If you’re craving a quick, satisfying snack that’s bursting with umami and nostalgia, then this 15-min Easy Japanese Tuna Onigiri recipe is exactly what you need. These little rice triangles, packed with creamy tuna mayo and encased in crispy nori, are a perfect blend of textures and flavors that feel both comforting and refreshing. Whether you’re new to Japanese cuisine or looking for a speedy meal idea, this dish comes together fast and hits all the right notes every time.
Ingredients You’ll Need
To make this delightful 15-min Easy Japanese Tuna Onigiri, you’ll want to gather a handful of simple, everyday ingredients that each add an essential characteristic—whether it’s the softness of the rice, the savory tuna filling, or the salty crunch of seaweed.
- 2 sheets nori: The roasted seaweed adds a lovely crisp texture and a salty, oceanic flavor that perfectly complements the rice.
- 1 tsp sesame seeds (optional): These little seeds bring a subtle nuttiness and a pretty garnish finish to your onigiri.
- 2 cups cooked short grain rice: This sticky rice holds together beautifully, making shaping the onigiri easy and mess-free.
- 1/2 tsp salt: Just enough to season the rice and bring out its natural sweetness without overpowering.
- 5.29 oz canned tuna: Tuna in oil is ideal for richness, but water-packed works fine if you prefer a lighter filling.
- 2 tbsp Japanese mayo: Creamy, slightly tangy mayo enriches the tuna and gives the filling its signature smooth texture.
How to Make 15-min Easy Japanese Tuna Onigiri
Step 1: Prepare the Rice
Start by handling the rice with care—transfer your hot, freshly cooked short-grain rice into a large bowl and gently season it with salt using a rice paddle. Cover the bowl and let it rest briefly to allow the flavors to marry. If you’re working with leftover rice, no worries; just microwave it for 2-3 minutes to bring it back to that perfect warm softness before seasoning.
Step 2: Make the Tuna Mayo Filling
Drain your canned tuna thoroughly by pressing it through a fine sieve or strainer to remove as much liquid as possible. This step is key to preventing soggy onigiri. Once drained, combine the tuna with Japanese mayo in a small bowl—this mixture is the creamy, flavorful heart of the onigiri.
Step 3: Prepare the Nori
Your nori preparation depends on your personal preference. If you love lots of crunchy seaweed in every bite, cut two sheets of nori into halves, giving you four pieces. Prefer less nori? Use half a sheet sliced into four strips. Having these ready to wrap will make the final shaping a breeze.
Step 4: Shape the Rice and Add Filling
Keep a bowl of water nearby to wet your hands—this prevents rice from sticking as you work. Scoop about 1/2 cup (100 grams) of rice into your palm and gently shape it into a round ball. Flatten it to about half an inch thick, then create a small dent in the center with your finger. Spoon 2 tablespoons of the tuna mayo filling into this indent. Pro tip: if you want a cleaner, less messy shaping process, an onigiri mold or plastic wrap can be a huge help!
Step 5: Form the Triangle
Fold the rice over the filling carefully, pressing firmly so the tuna stays nestled in the middle. Pack the rice into a firm ball, then shape it into a classic triangle about 1.5 inches thick. Wet your hands between shaping to keep everything neat and to prevent sticking.
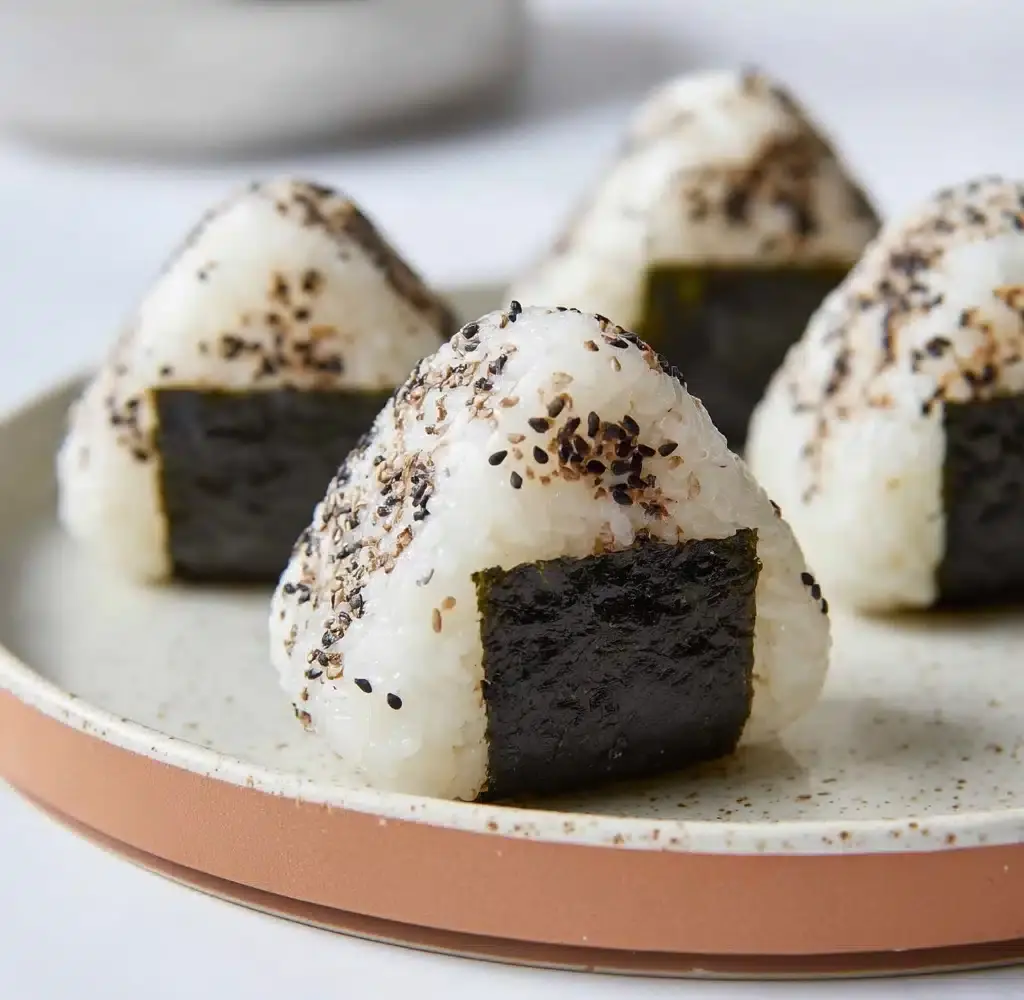
Step 6: Wrap with Nori and Garnish
Wrap your triangle’s base with a piece of nori so it’s easy to hold and adds that signature crispy finish. Repeat the process until you have four delicious onigiri ready to go. Sprinkle some sesame seeds on top if you like, and voila—you have an irresistible batch of 15-min Easy Japanese Tuna Onigiri just waiting to be devoured!
How to Serve 15-min Easy Japanese Tuna Onigiri
Garnishes
A sprinkle of toasted sesame seeds does wonders for both flavor and presentation, adding a slight crunch and nutty aroma. Feel free to experiment with a light dusting of shichimi togarashi for a gentle kick or a few pickled umeboshi pieces on the side to enhance the traditional appeal.
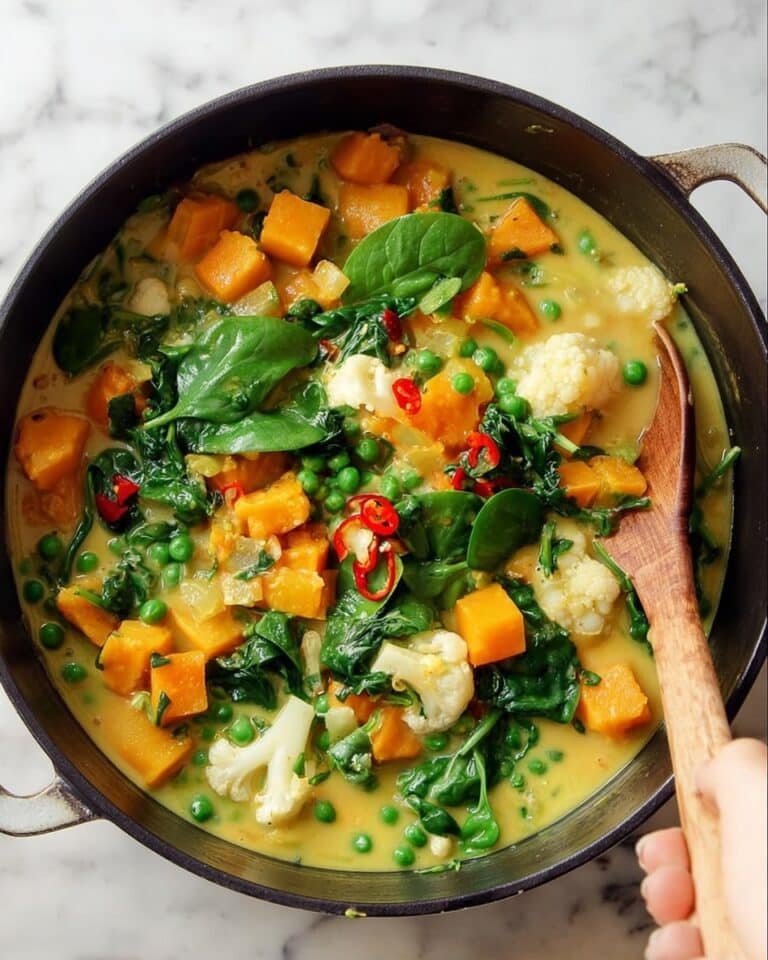
Side Dishes
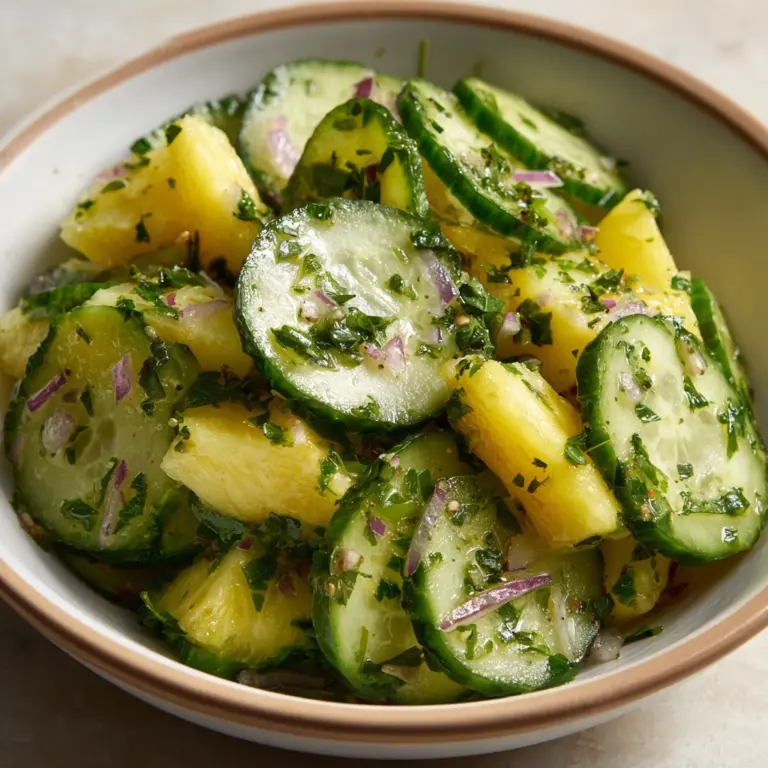
These onigiri shine on their own, but pairing them with a crisp cucumber salad, miso soup, or a small bowl of edamame makes for a complete meal that’s balanced, healthy, and satisfying. A cup of green tea alongside helps to cleanse the palate and tie the whole experience together.
Creative Ways to Present
If you want to impress friends or jazz up your lunchbox, consider wrapping each onigiri in a small sheet of wax paper tied with a colorful string or chopsticks resting beside them. Another fun idea is to use different nori shapes or sprinkle non-traditional seeds like chia or flax for a twist on this classic.
Make Ahead and Storage
Storing Leftovers
If you happen to have leftover onigiri, store them in an airtight container at room temperature for a few hours if you plan to eat them soon. For longer storage, refrigeration is best, but be aware that the rice may harden slightly.
Freezing
These 15-min Easy Japanese Tuna Onigiri freeze exceptionally well. Wrap each piece tightly in plastic wrap, then place in a freezer bag. When you’re ready to enjoy, thaw them at room temperature and reheat gently.
Reheating
To bring your onigiri back to just-right warmth, microwave for about 20-30 seconds. To keep the nori crisp, you might want to rewrap the onigiri with fresh nori after reheating, as the original seaweed can become chewy.
FAQs
Can I use leftover rice for this recipe?
Absolutely! Leftover rice works just fine as long as you warm it up before shaping. Microwaving it for a couple of minutes restores its softness and helps it stick together for perfect onigiri.
What if I don’t have Japanese mayo?
No worries! Regular mayonnaise can be a good substitute, but Japanese mayo tends to be a bit sweeter and creamier, giving that authentic taste. You could add a touch of rice vinegar or a dash of soy sauce to mimic the flavor closely.
How can I make onigiri without getting my hands sticky?
Keeping a bowl of cold water nearby and wetting your hands before handling the rice is the trick. It prevents sticking and makes shaping the onigiri feel easier and less messy.
Can I add other fillings besides tuna?
Definitely! Onigiri is wonderfully versatile. Try fillings like salted salmon, pickled plum (umeboshi), or even a spicy chicken mix. Just adjust the seasoning to taste.
Is it okay to eat onigiri cold?
Yes, onigiri is traditionally enjoyed at room temperature or slightly chilled, making them great for picnics or packed lunches. The flavors actually develop nicely as they sit for a short time.
Final Thoughts
I can’t recommend the 15-min Easy Japanese Tuna Onigiri enough for anyone looking to whip up something tasty, nutritious, and effortlessly fun. It’s a dish that captures the heart of Japanese home cooking without fuss and is perfect for any day when time is tight but you still want something genuinely delicious. Go ahead, give it a try, and watch it become a fast favorite in your kitchen!
Print15-min Easy Japanese Tuna Onigiri Recipe
This easy and delicious 15-minute Japanese Tuna Onigiri recipe offers a perfect blend of seasoned short-grain rice with a creamy tuna mayo filling, wrapped in crispy nori seaweed. Ideal for a quick meal or portable snack, these savory rice balls are simple to prepare and customizable to your seaweed preference.
- Prep Time: 5 minutes
- Cook Time: 10 minutes (if cooking rice fresh)
- Total Time: 15 minutes
- Yield: 4 onigiri rice balls 1x
- Category: Snack
- Method: No-cook assembly (assuming rice is pre-cooked); shaping and mixing
- Cuisine: Japanese
- Diet: Halal
Ingredients
Rice and Seasoning
- 2 cups cooked short grain rice
- 1/2 tsp salt
Tuna Filling
- 5.29 oz canned tuna (in oil recommended, or canned tuna in water)
- 2 tbsp Japanese mayo (or regular mayonnaise)
Assembly & Garnish
- 2 sheets nori (or 1/2 sheet if you prefer less)
- 1 tsp sesame seeds (optional, for garnishing)
Instructions
- Season the Rice: Transfer hot cooked short-grain rice into a large bowl and sprinkle with 1/2 tsp salt. Use a rice paddle to mix carefully and evenly season the rice. Cover and set aside to keep warm. If using leftover cold rice, microwave it for 2-3 minutes before seasoning to soften.
- Prepare Tuna Filling: Open the canned tuna and drain it in a fine sieve, pressing with a fork to remove excess liquid. Transfer the tuna into a small bowl and mix thoroughly with 2 tablespoons of Japanese mayo until well combined. Set aside.
- Prepare Nori Sheets: Decide on your nori preference. For more seaweed, cut 2 nori sheets in half to make 4 rectangular pieces. For less seaweed, use half a sheet cut into 4 equal strips. Set them aside for wrapping later.
- Mold the Rice Base: Fill a bowl with water to wet your hands and prevent sticking. Take about 1/2 cup (100 grams) of cooked rice and place it in your palm. Shape the rice into a round ball and then flatten it into a pancake about 1/2-inch thick. Make a shallow dent in the center to hold the filling. Using tools like an onigiri mold or plastic wrap can help with shaping and reduce stickiness.
- Add Tuna Filling and Shape: Spoon 2 tablespoons (30 ml) of the tuna mayo mixture into the rice dent. Fold the rice over the filling, gently pressing the filling inside as you fold. Firmly pack the mixture into a compact ball, then flatten to about 1.5 inches thick. Shape the rice into a triangle, wetting your hands as needed to keep it smooth and prevent sticking.
- Wrap and Garnish: Wrap one nori piece around the base of the triangular rice ball and press lightly to secure. Repeat the process until you have four onigiri rice balls. Finish by sprinkling sesame seeds on top if desired. Serve immediately and enjoy!
Notes
- When making fresh rice, use short-grain or sushi rice for the best sticky texture suited for onigiri.
- If using leftover rice, warm it to soften before molding to ensure it holds shape.
- You can substitute Japanese mayo with regular mayonnaise but Japanese mayo adds a slight sweetness and umami flavor.
- Adjust nori quantity according to your taste preference for seaweed crunchiness.
- Onigiri molds or plastic wrap make shaping easier and less messy, especially for beginners.
- Consume immediately for best texture, or keep wrapped in plastic wrap to maintain freshness if packing for lunch.
Nutrition
- Serving Size: 1 onigiri (approx. 120g)
- Calories: 220 kcal
- Sugar: 1 g
- Sodium: 350 mg
- Fat: 8 g
- Saturated Fat: 1.5 g
- Unsaturated Fat: 6 g
- Trans Fat: 0 g
- Carbohydrates: 28 g
- Fiber: 1 g
- Protein: 10 g
- Cholesterol: 25 mg
Keywords: Japanese, tuna onigiri, rice balls, quick snack, easy recipe, Japanese mayo, seaweed wrap, portable meal


